
Welcome
I really started The Outdoor Gems to share outdoor experiences through photography and storytelling to inspire more people to get outside. If more people got outdoors; took a walk, hike, went snowboarding, sat around a campfire, and surfed in the ocean, I think the world would be a better place.
-Jeremiah
The Latest
The most scenic trail near Silverthorne Colorado, hiking the Acorn Creek Trail in summer and fall
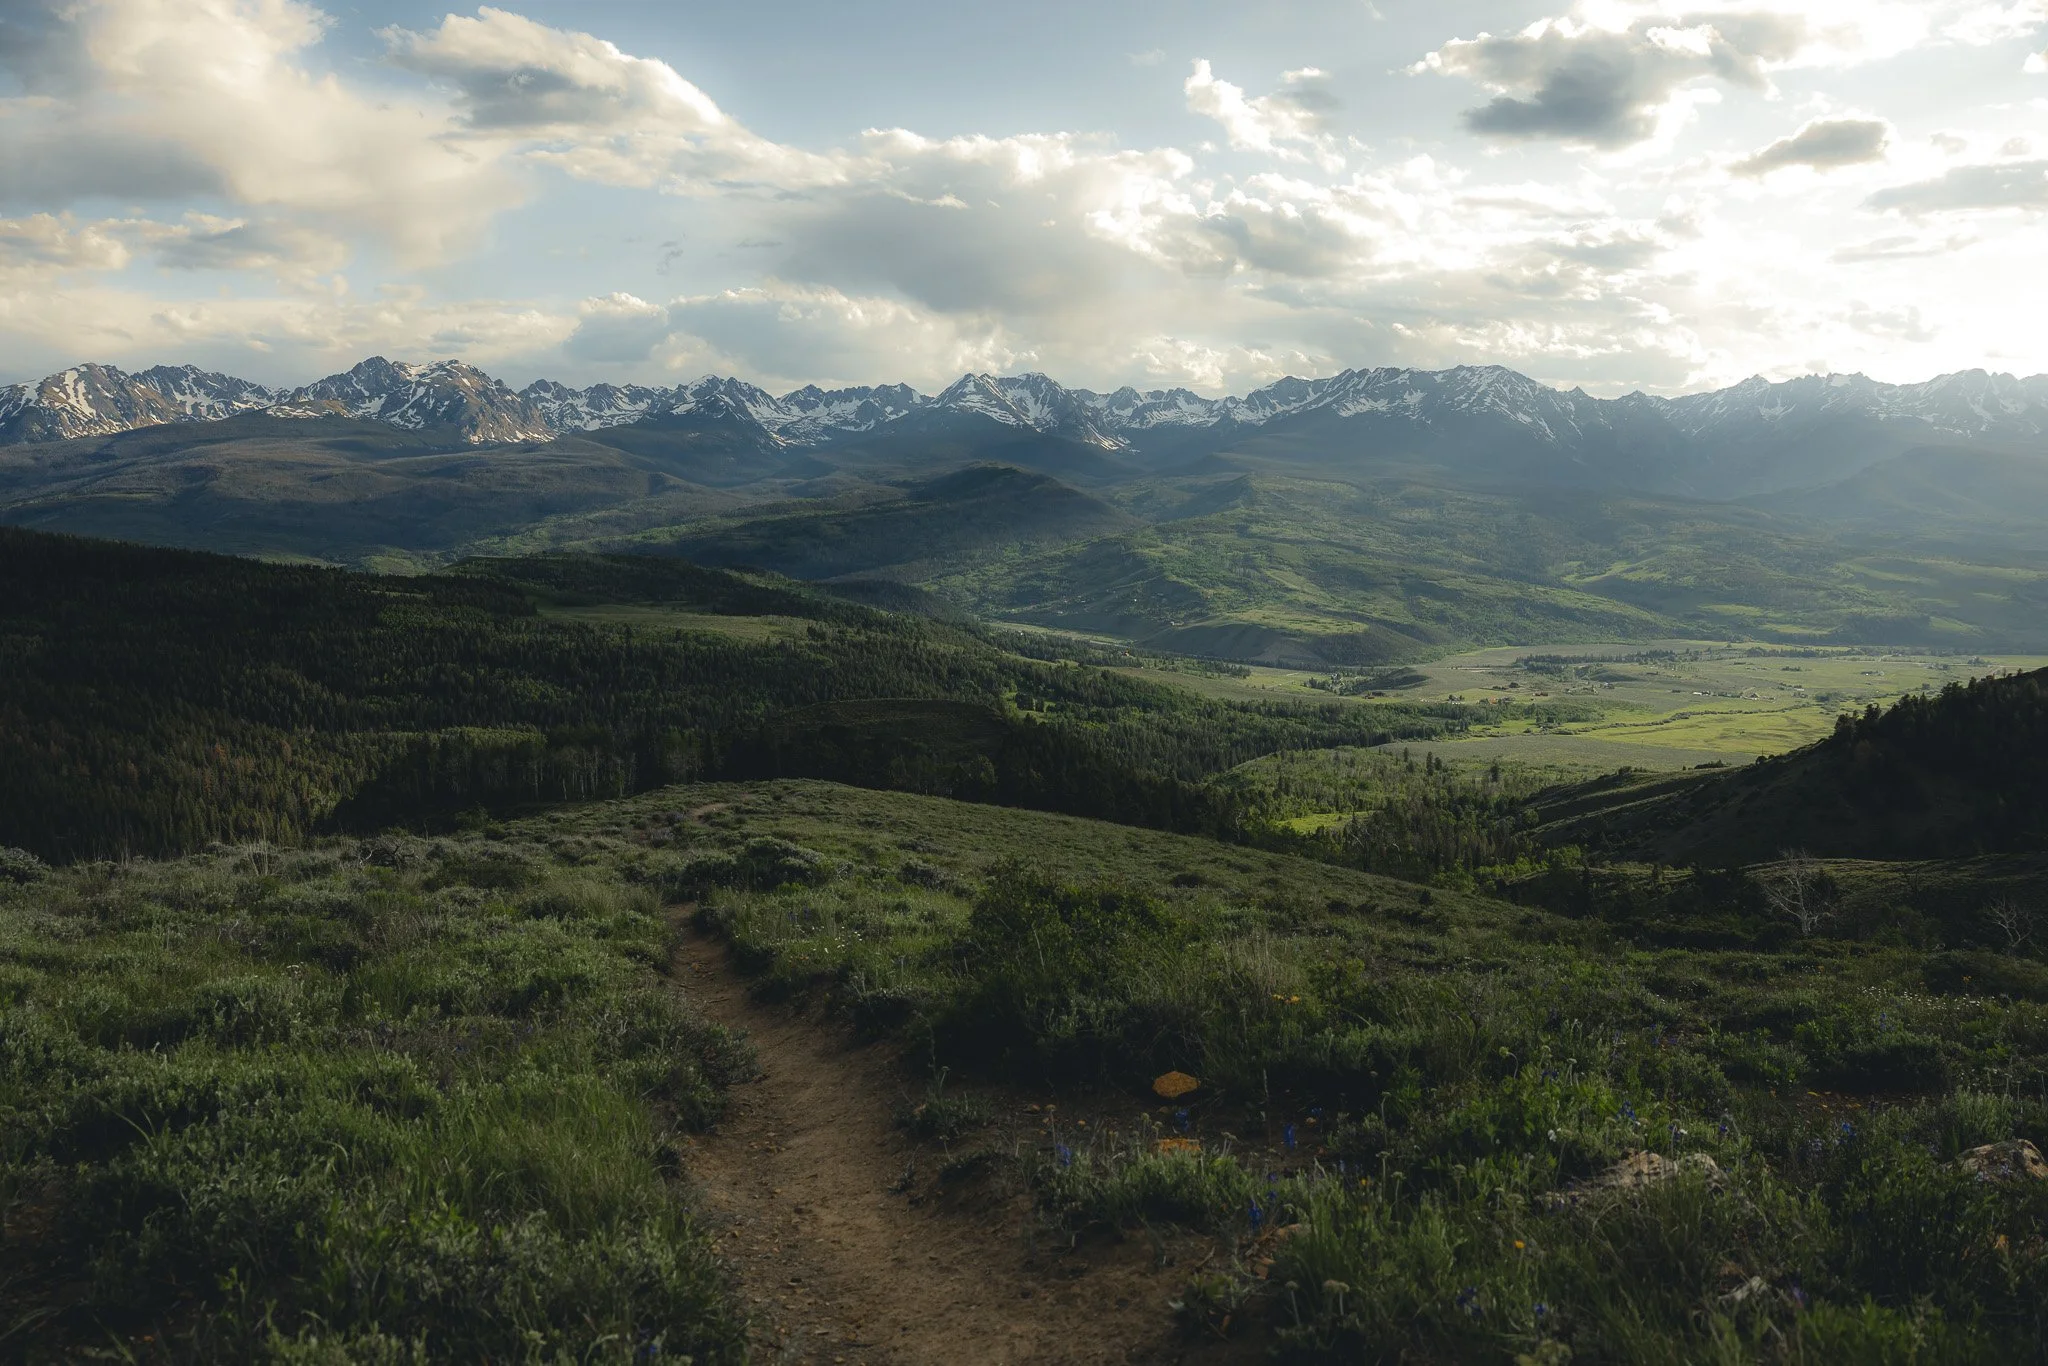
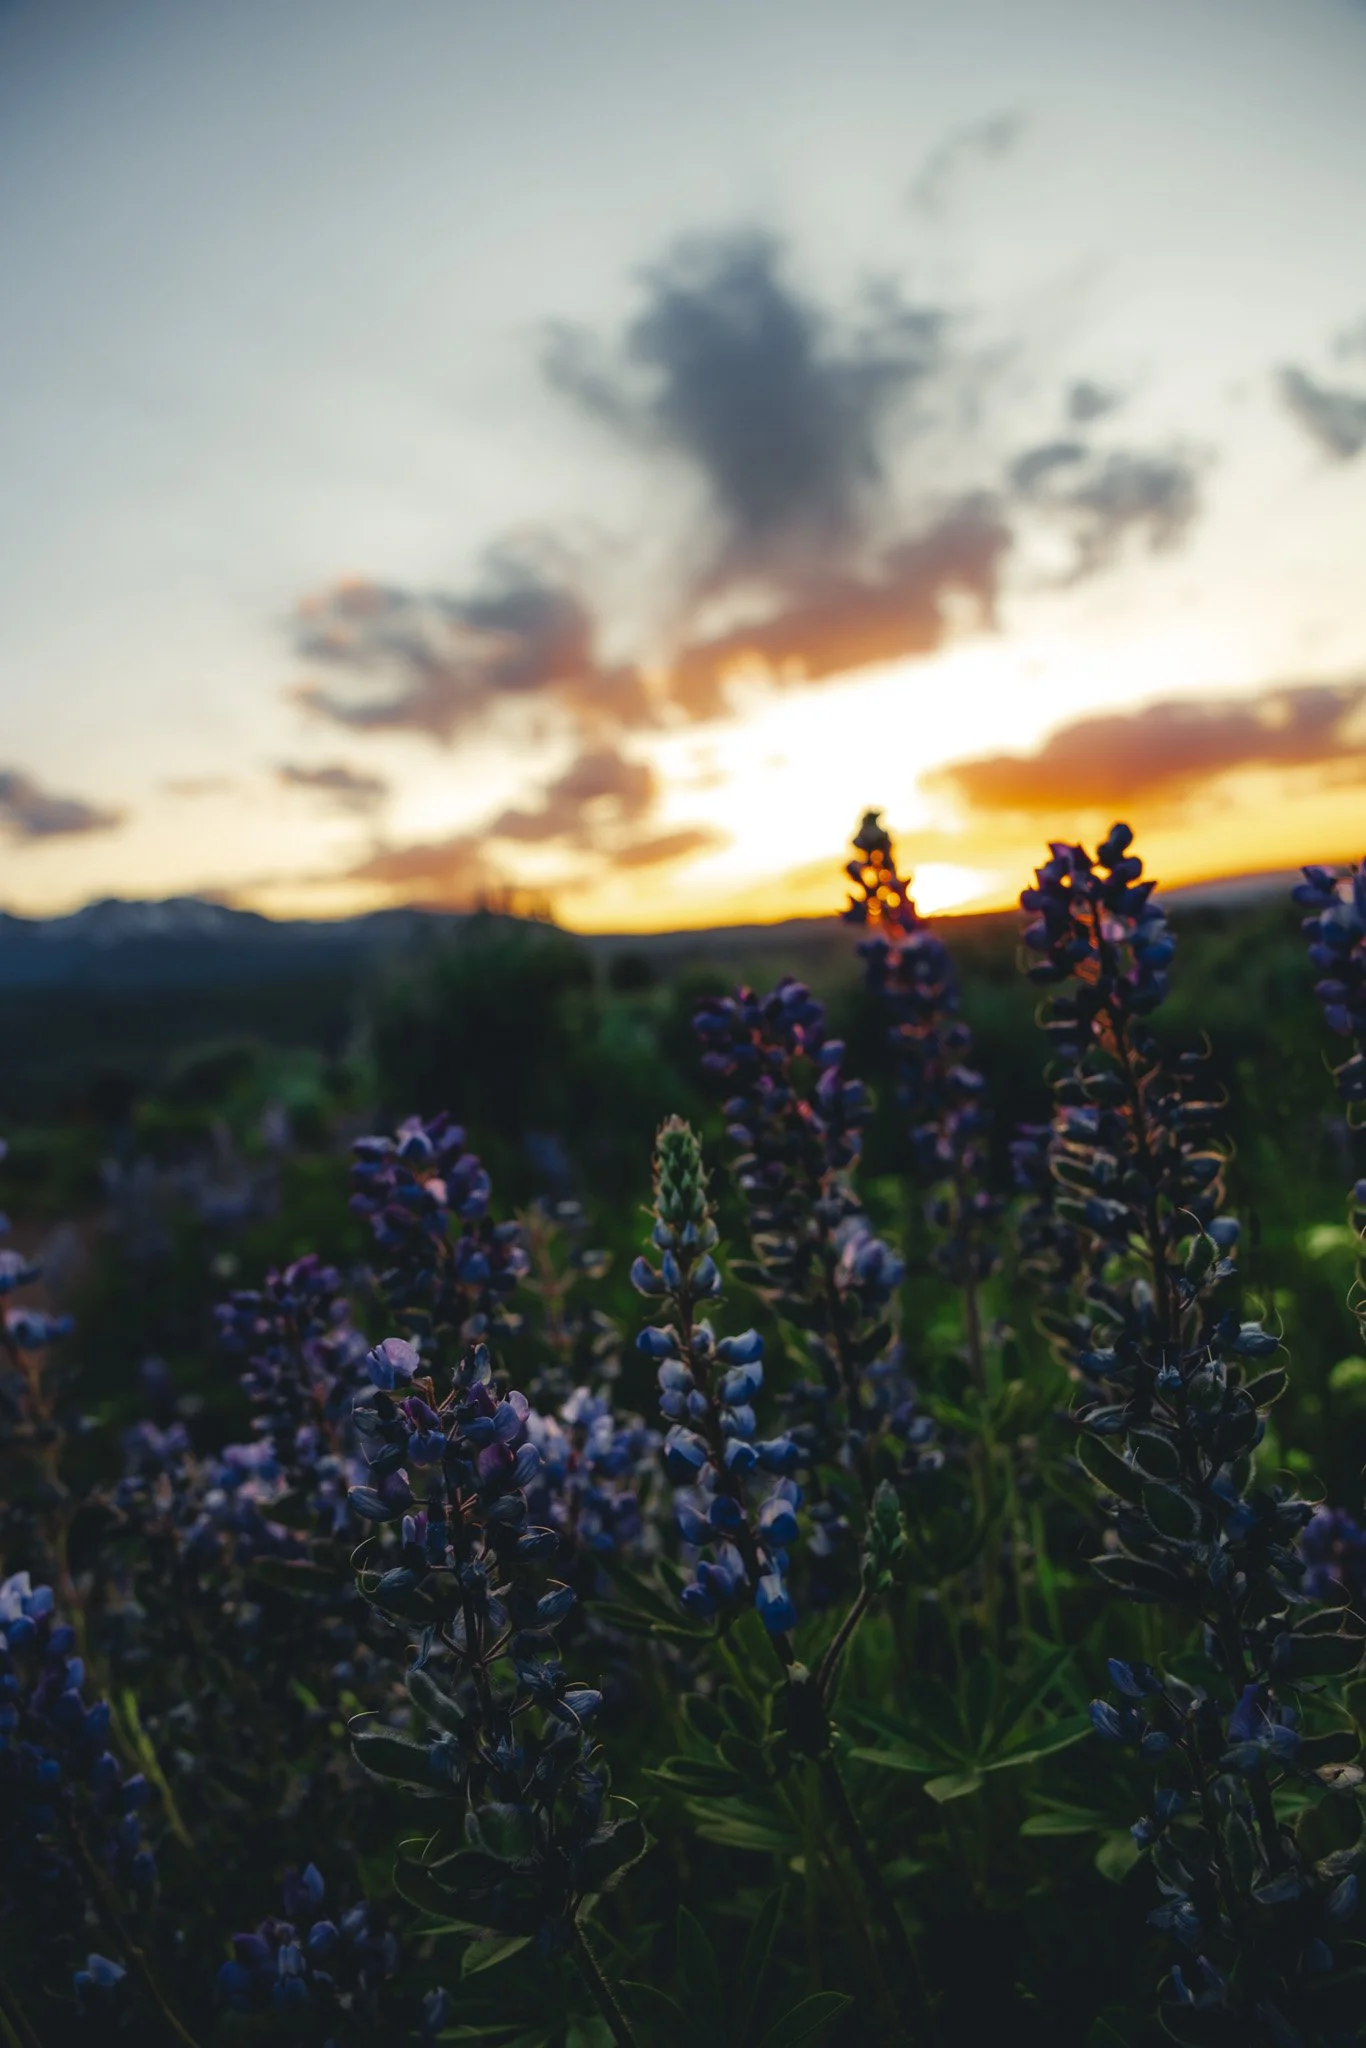
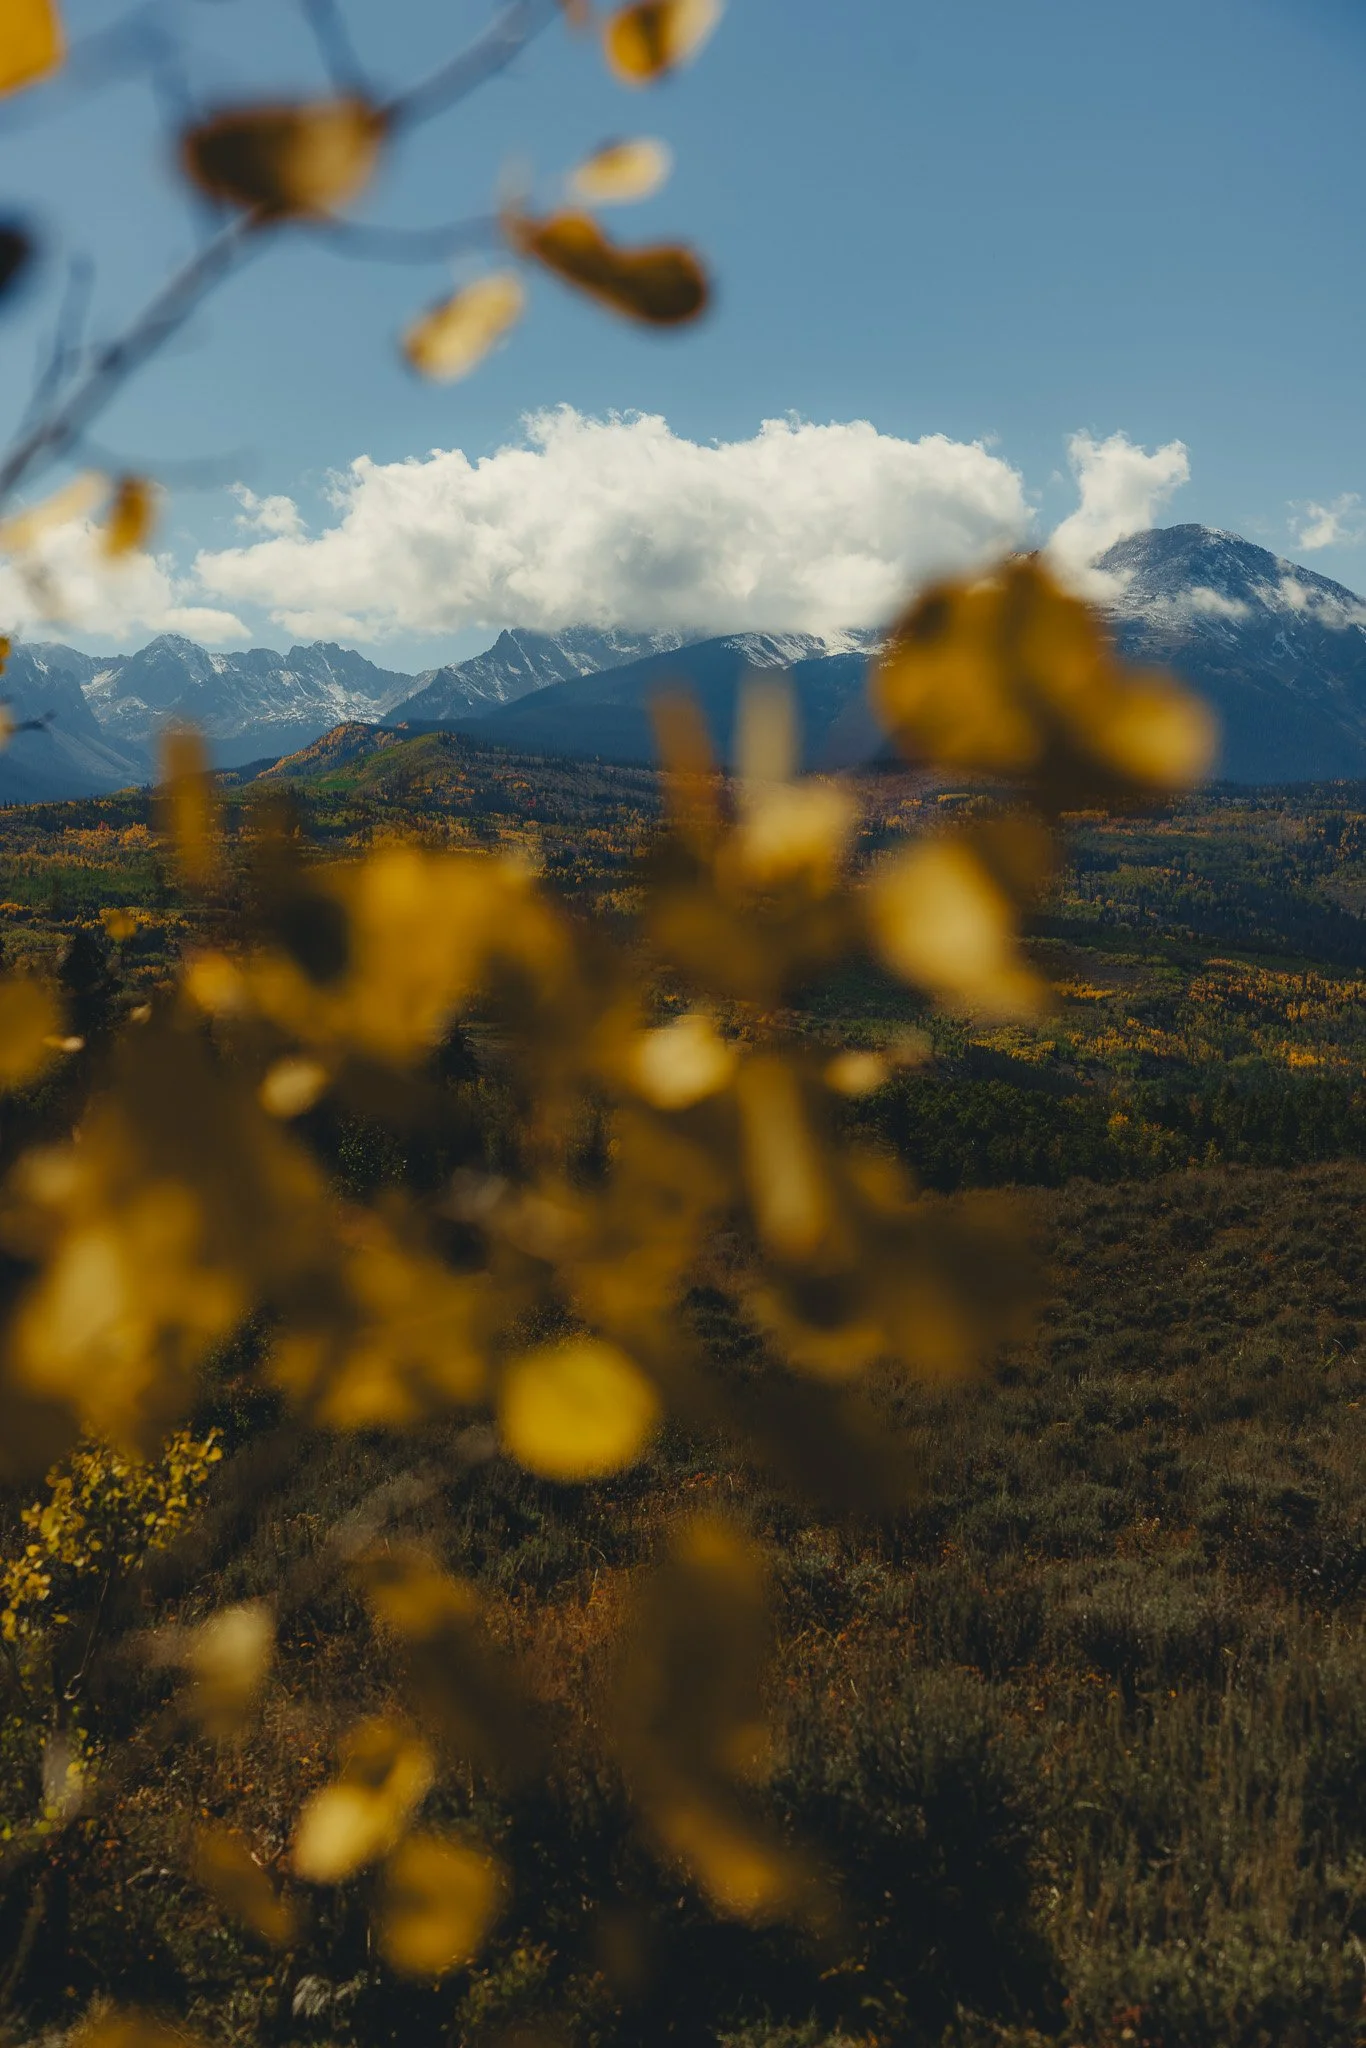
Looking for an awesome summer or fall hike near Silverthorne? Look no further than the Acorn Creek Trail. I first discovered this hike when there happened to be a number of wildflowers in mid June on trail that sparked popularity. After living in Breckenridge for a number of years, I decided to venture over to the trail and couldn’t believe how beautiful the mountain backdrop was. The rugged peaks off in the
Disclosure: When you buy something through the Affiliate product links I have created below, I earn a small commission. I only promote products and companies I support as well as believe in.
Looking for an awesome summer or fall hike near Silverthorne? Look no further than the Acorn Creek Trail. I first discovered this hike when there happened to be a number of wildflowers in mid June on trail that sparked popularity. After living in Breckenridge for a number of years, I decided to venture over to the trail and couldn’t believe how beautiful the mountain backdrop was. The rugged peaks off in the distance almost reminded me of the Tetons.
In this post I’ll be going over where the trailhead is, parking info, trail details, and the best time of year to hike it. Alright lets do this!
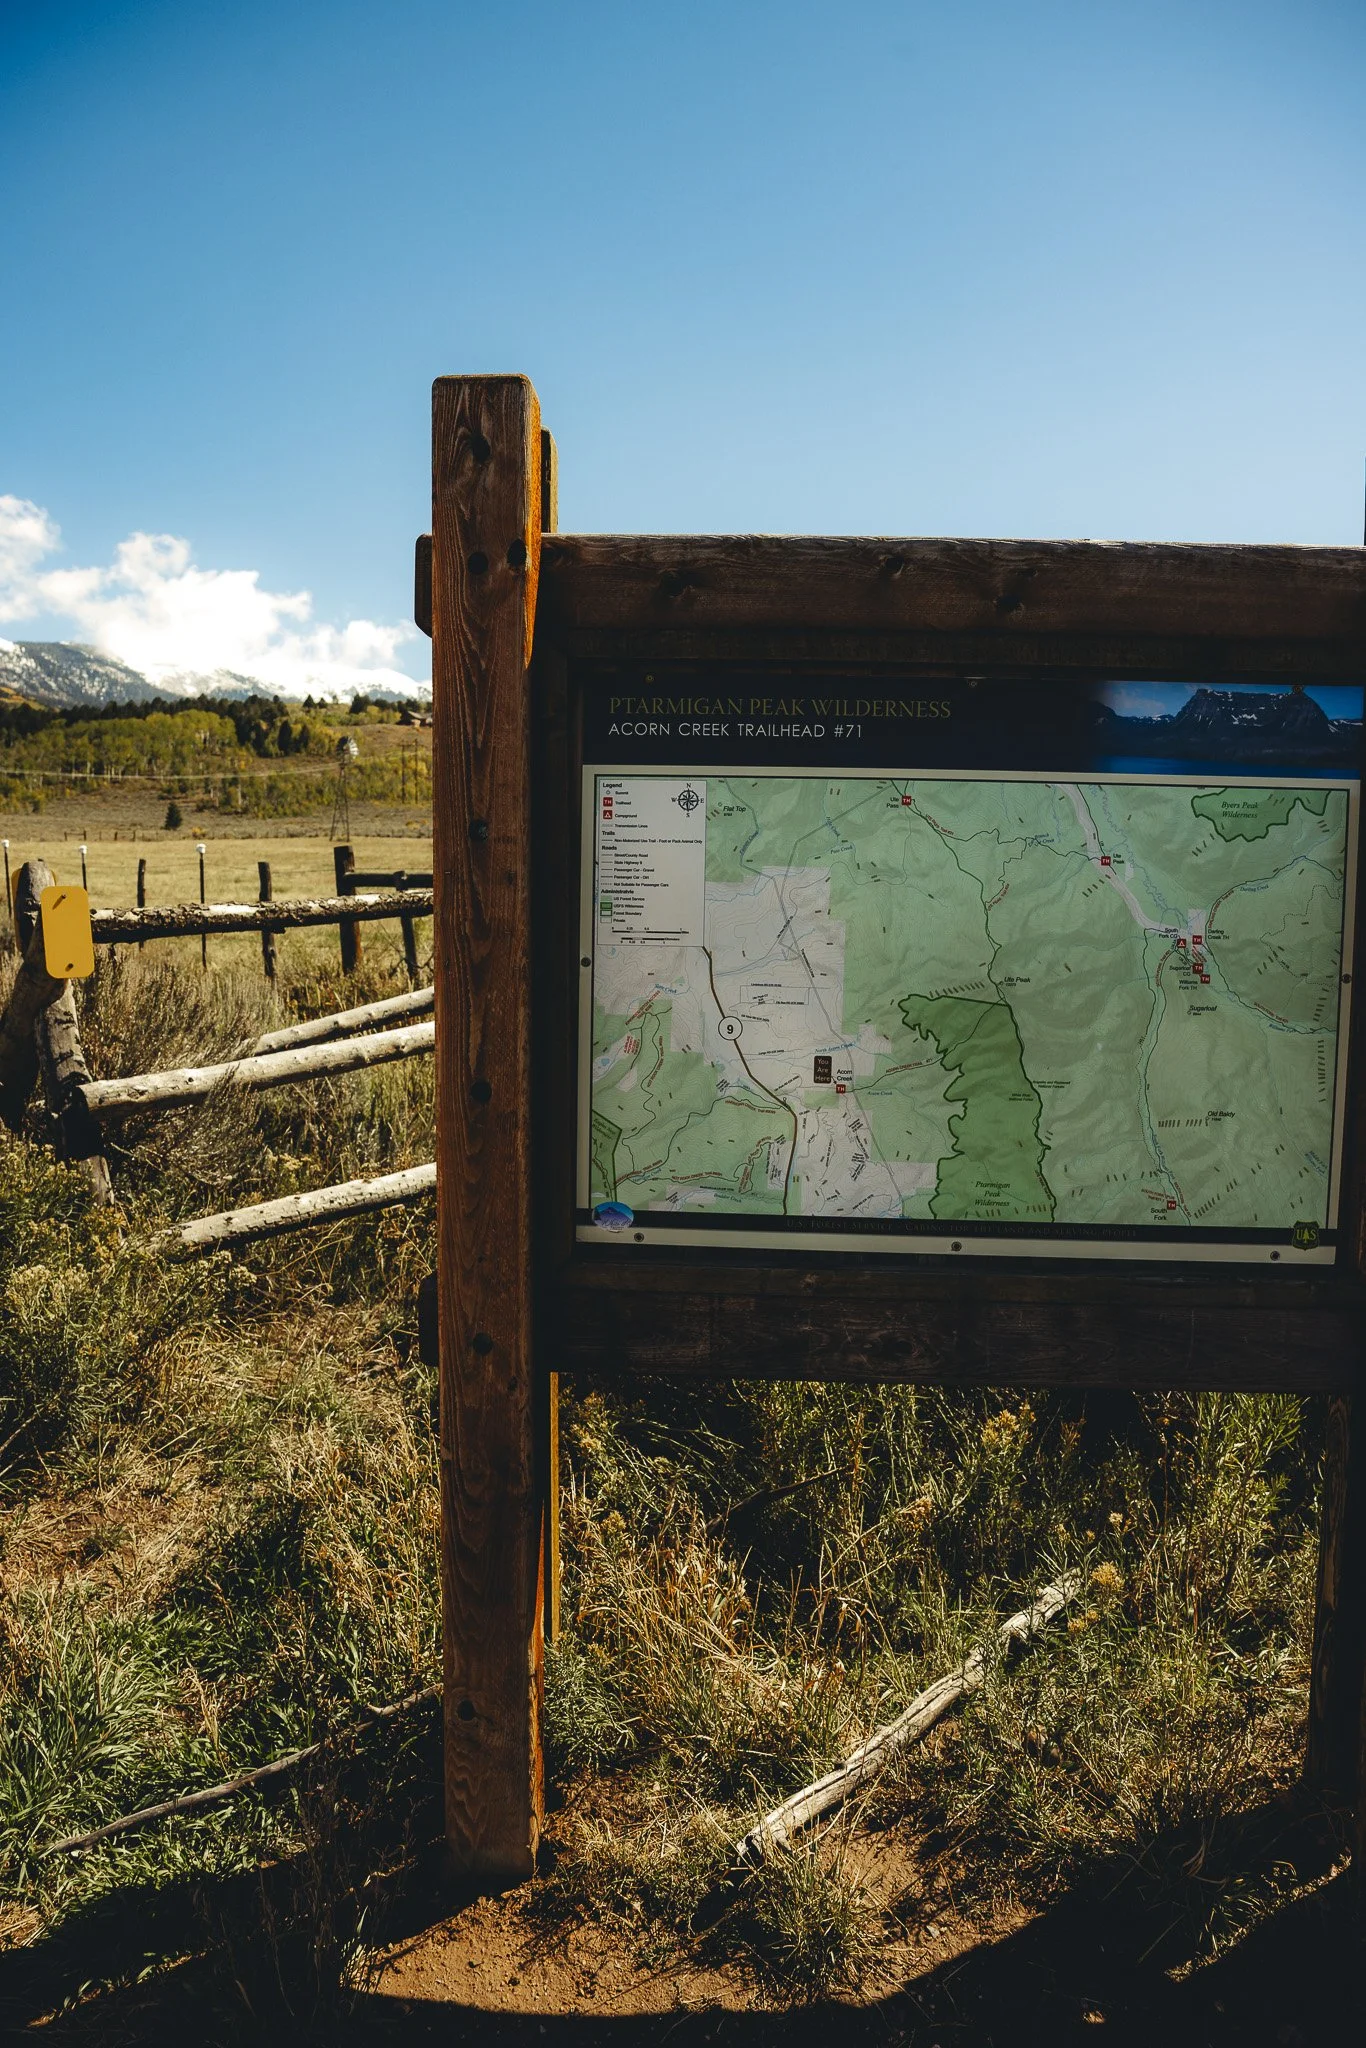
Where is Acorn Creek
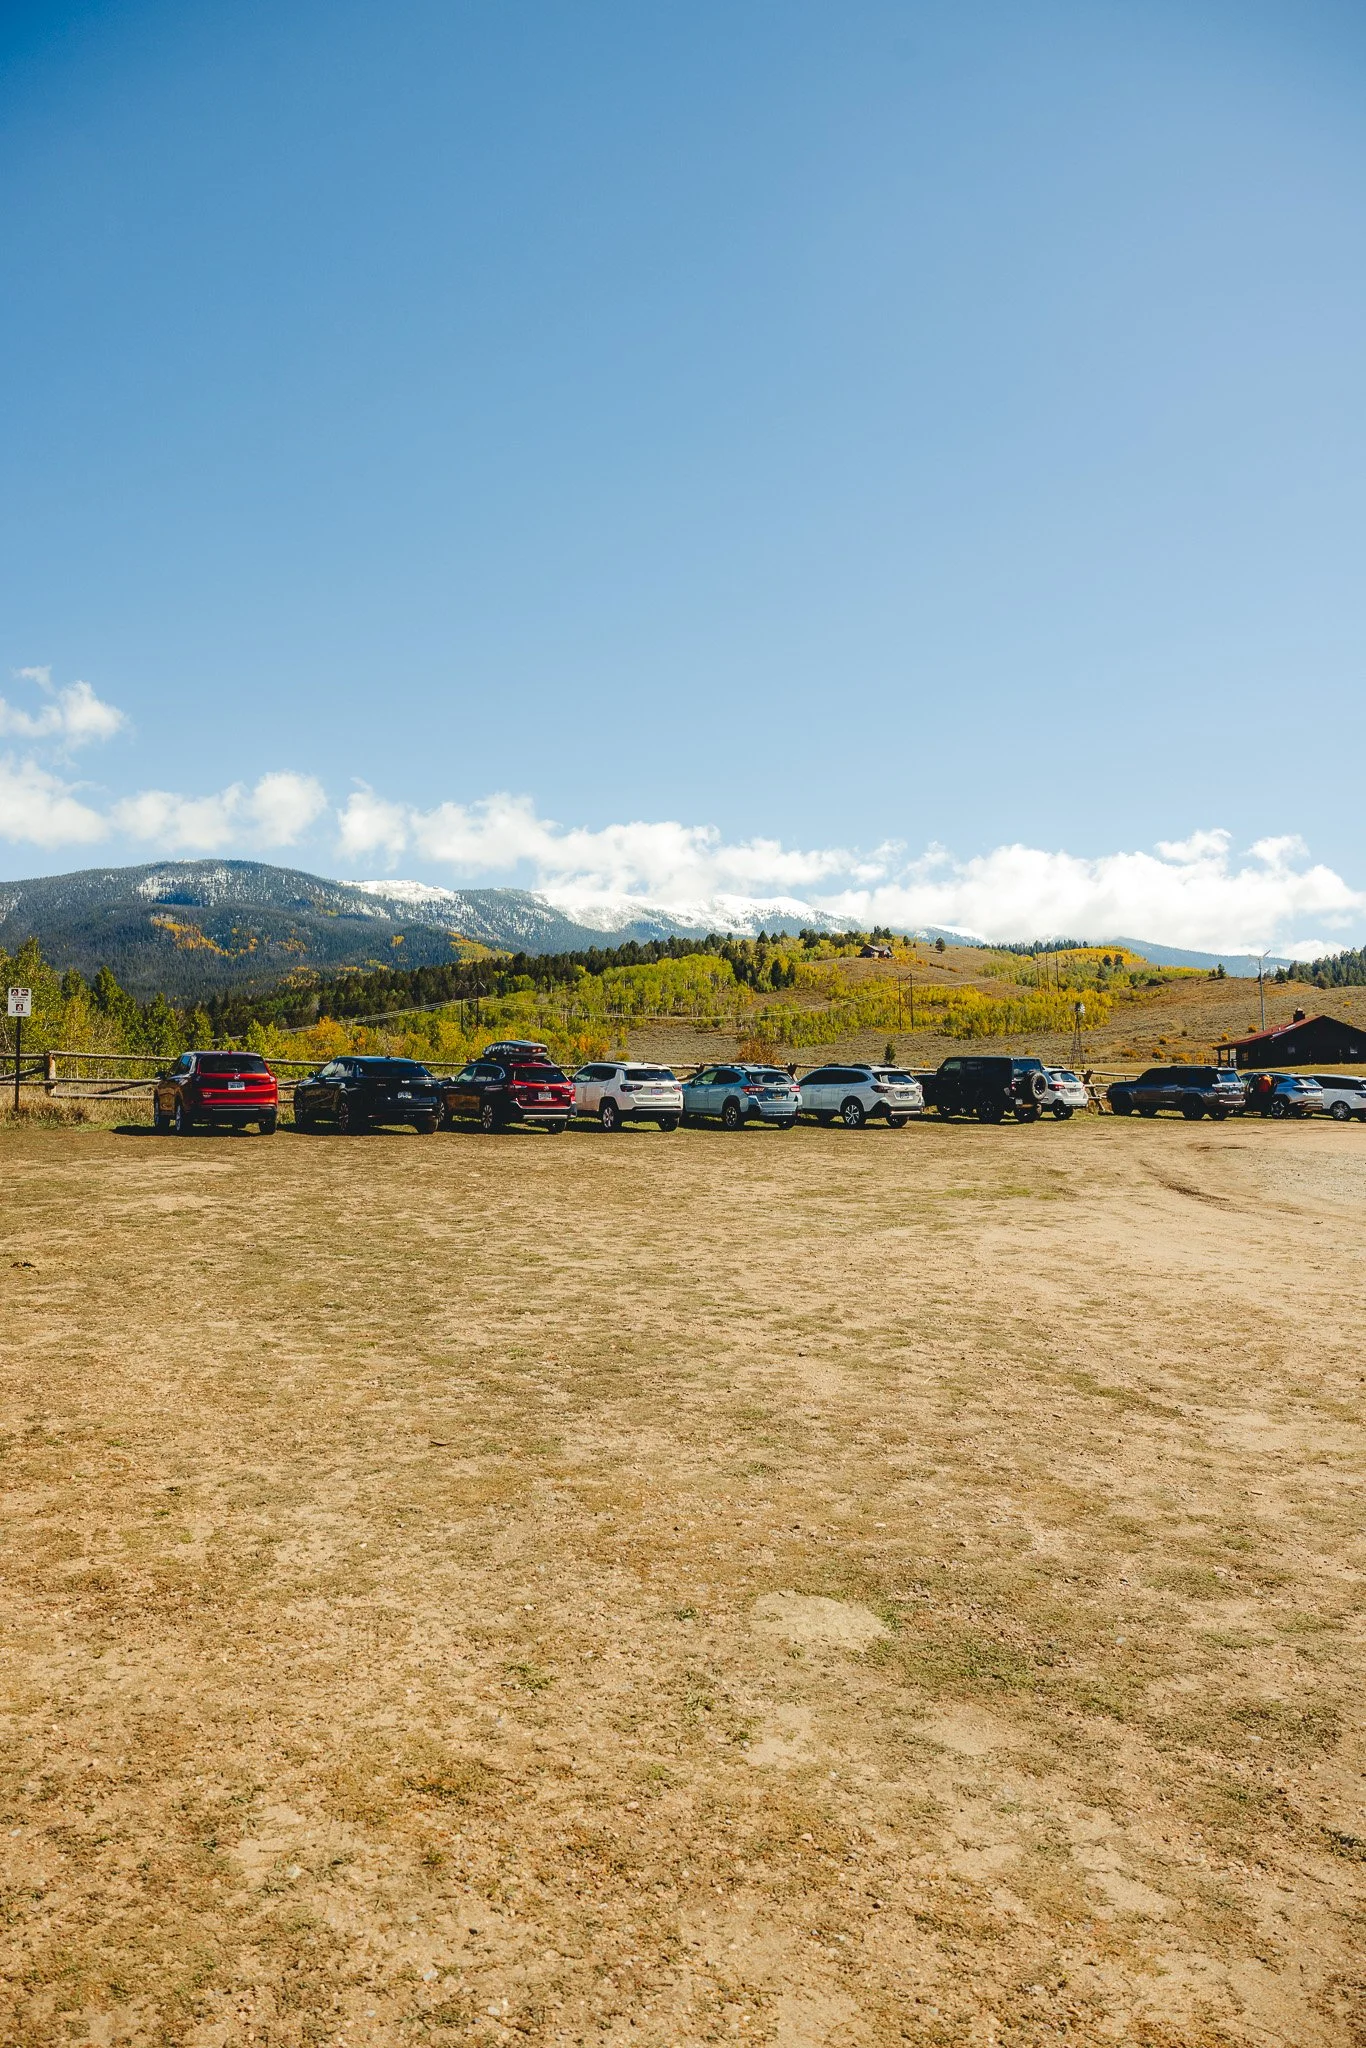
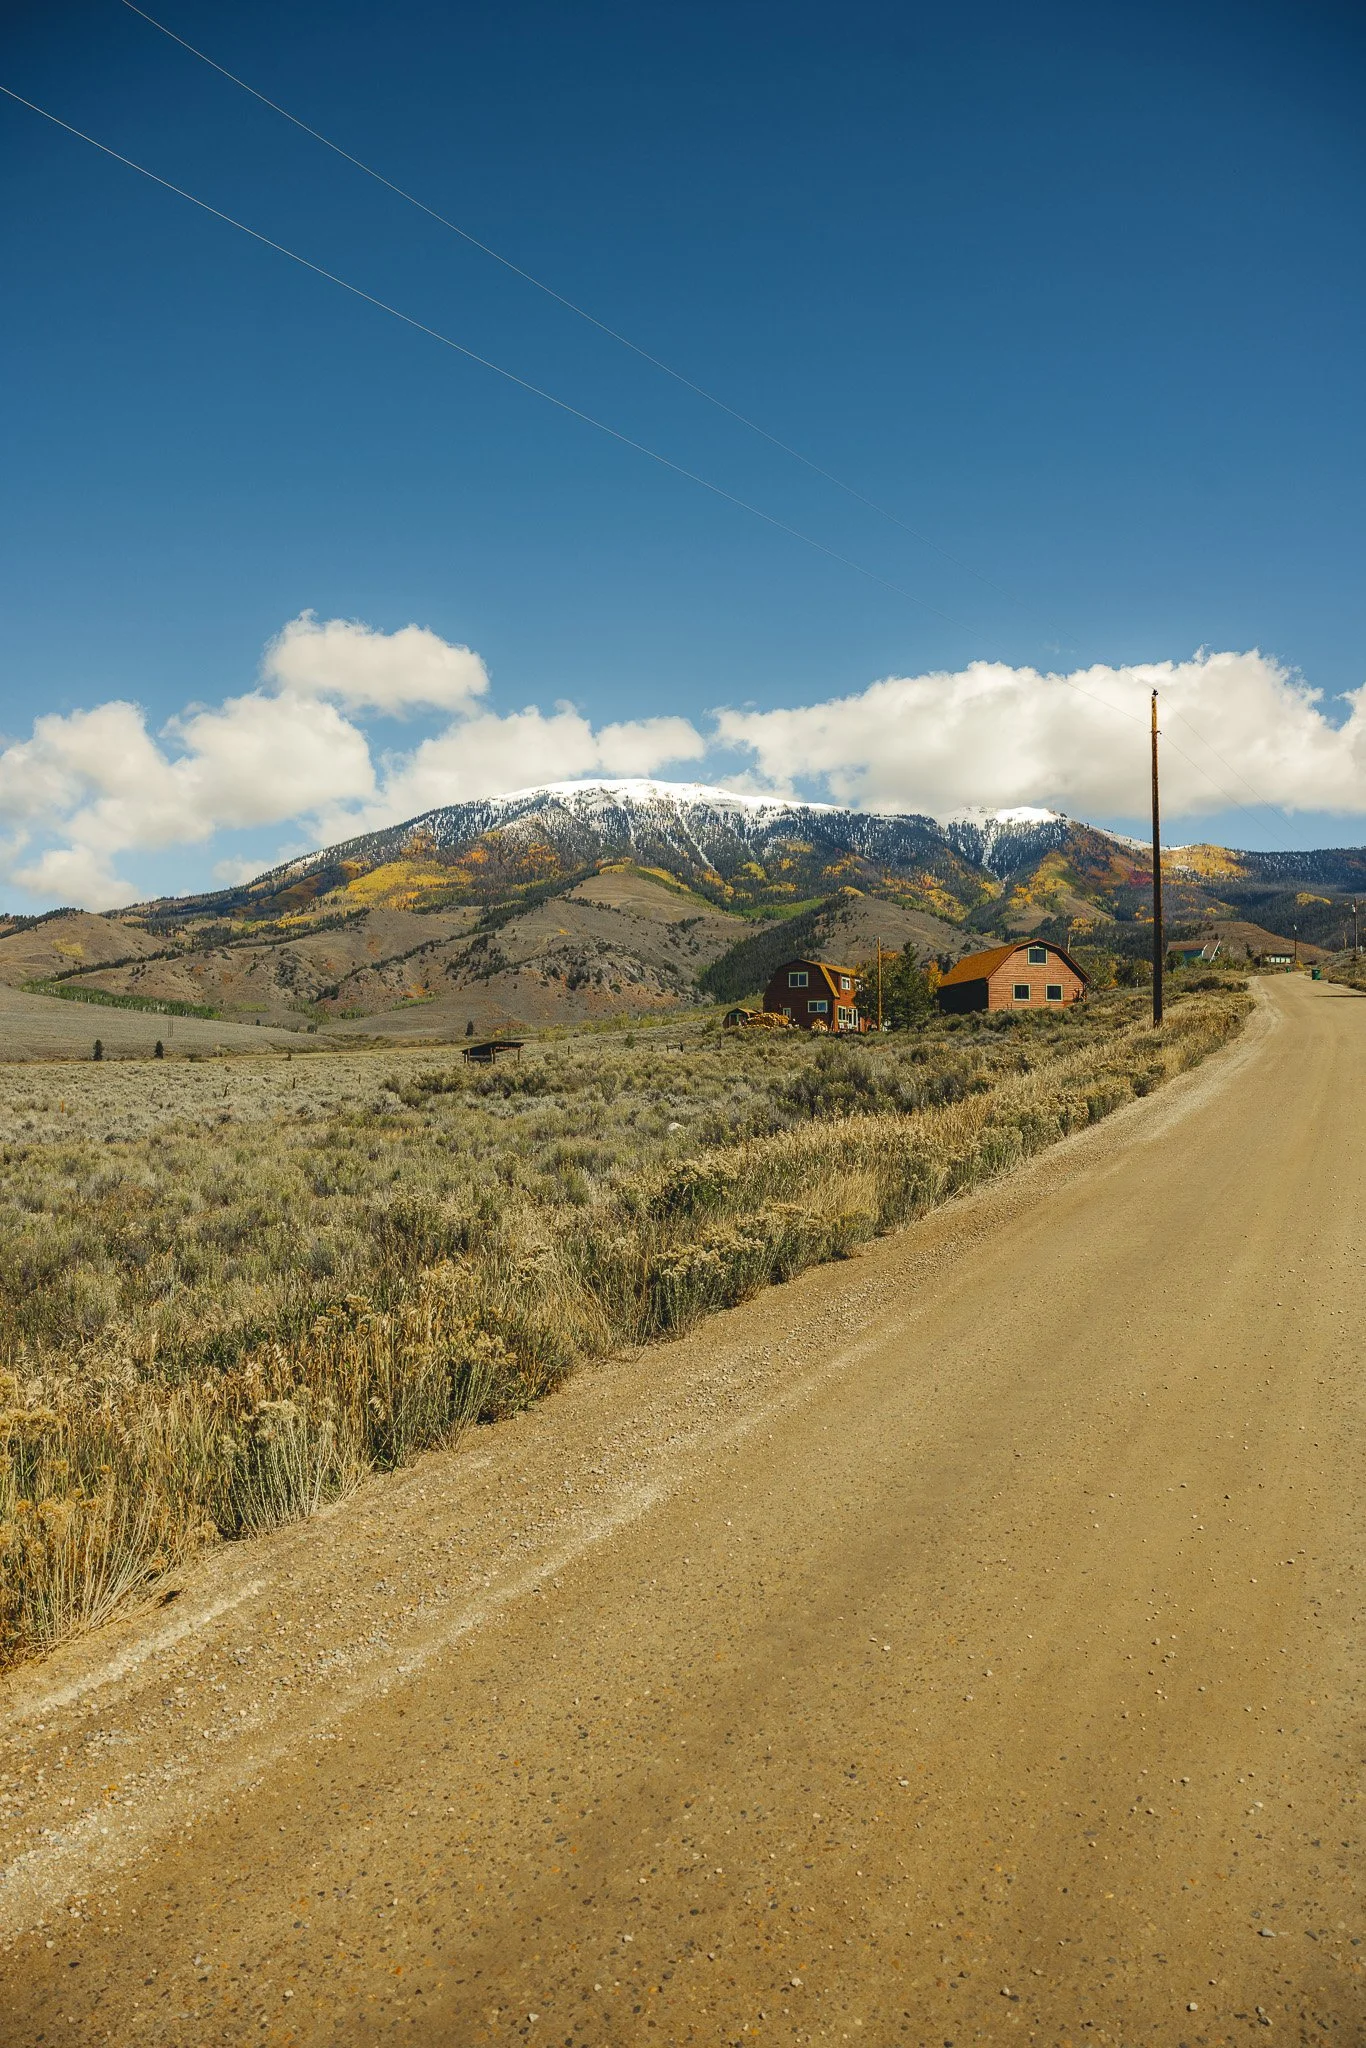
Acorn Creek will be right outside of Silverthorne on Colorado Highway 9. This road is a one lane road that people seem to drive over the speed limit on so make sure to be cautious. From Highway 9 you’ll want to take a right on Ute Park Road, which will be a dirt road with some housing as you drive up. It is important to not park on this road if the lot is full as you will get ticketed! You’ll eventually see a dirt parking lot with a good amount of spots.
Below are distances and approximate drive times from major Colorado towns and cities
Breckenridge: 39 miles/40 minutes
Vail: 50 miles/50 minutes
Denver: 80 miles/1 hour 30 minutes
Boulder: 90 miles/1 hour 50 minutes
When is the best time to hike the trail
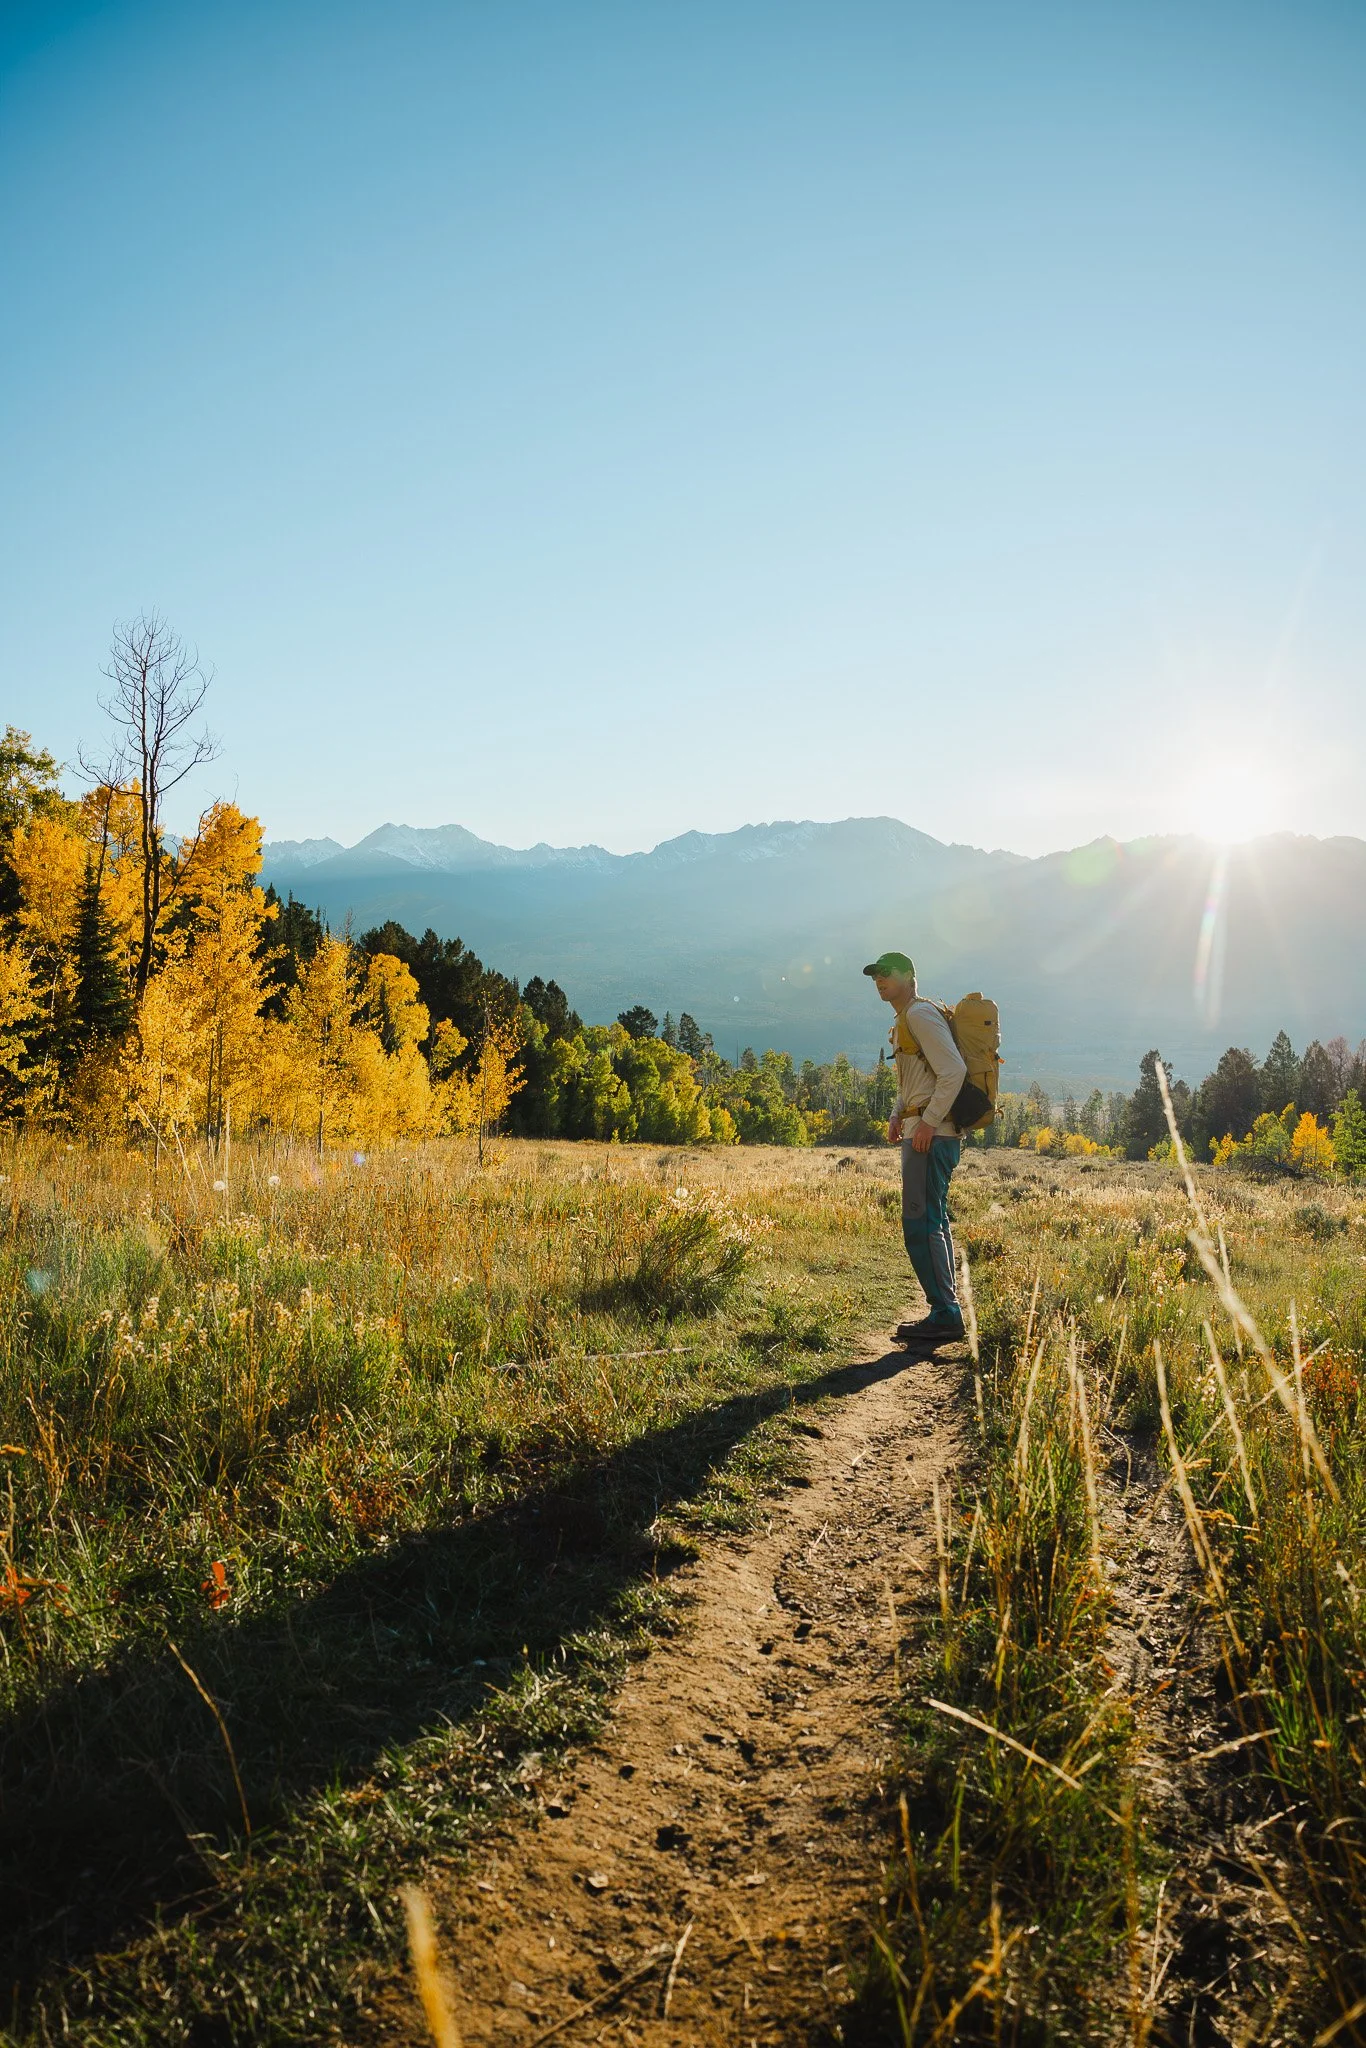
The best time to hike Acorn is in the summer or fall months so typically Mid June through about late September with Mid June being the best time to see wildflowers and the 3rd to 4th week of September being the best time to see the fall colors. Since the hike is a little bit longer if you plan on catching golden hour or sunset I would start early to mid afternoon as the entire hike can take 3-4 hours depending on speed. I hiked it with camera gear so it took me a little bit longer.
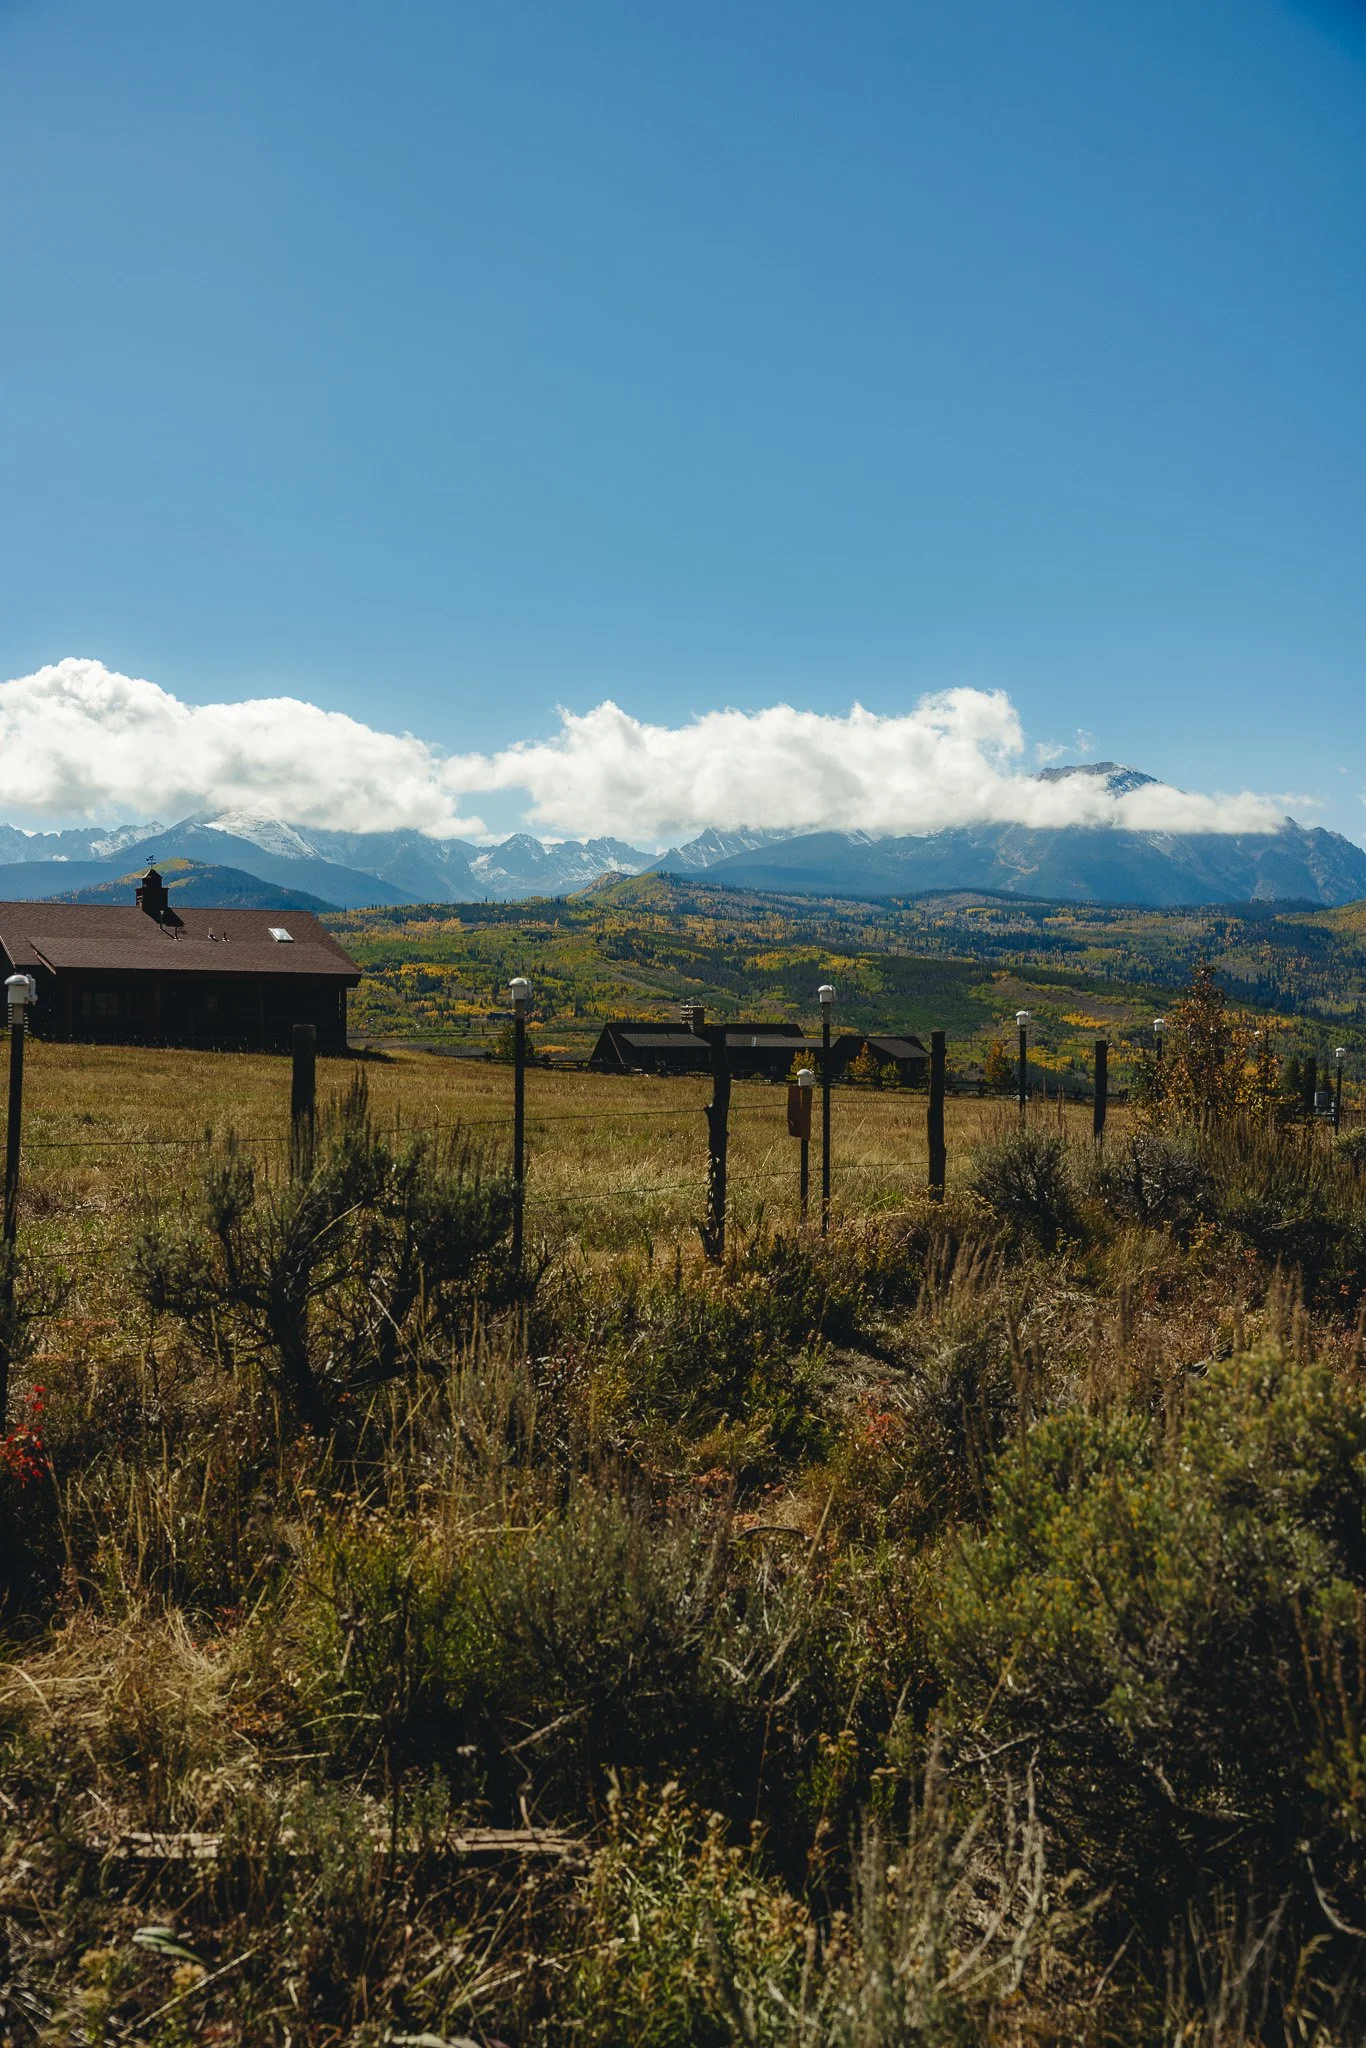
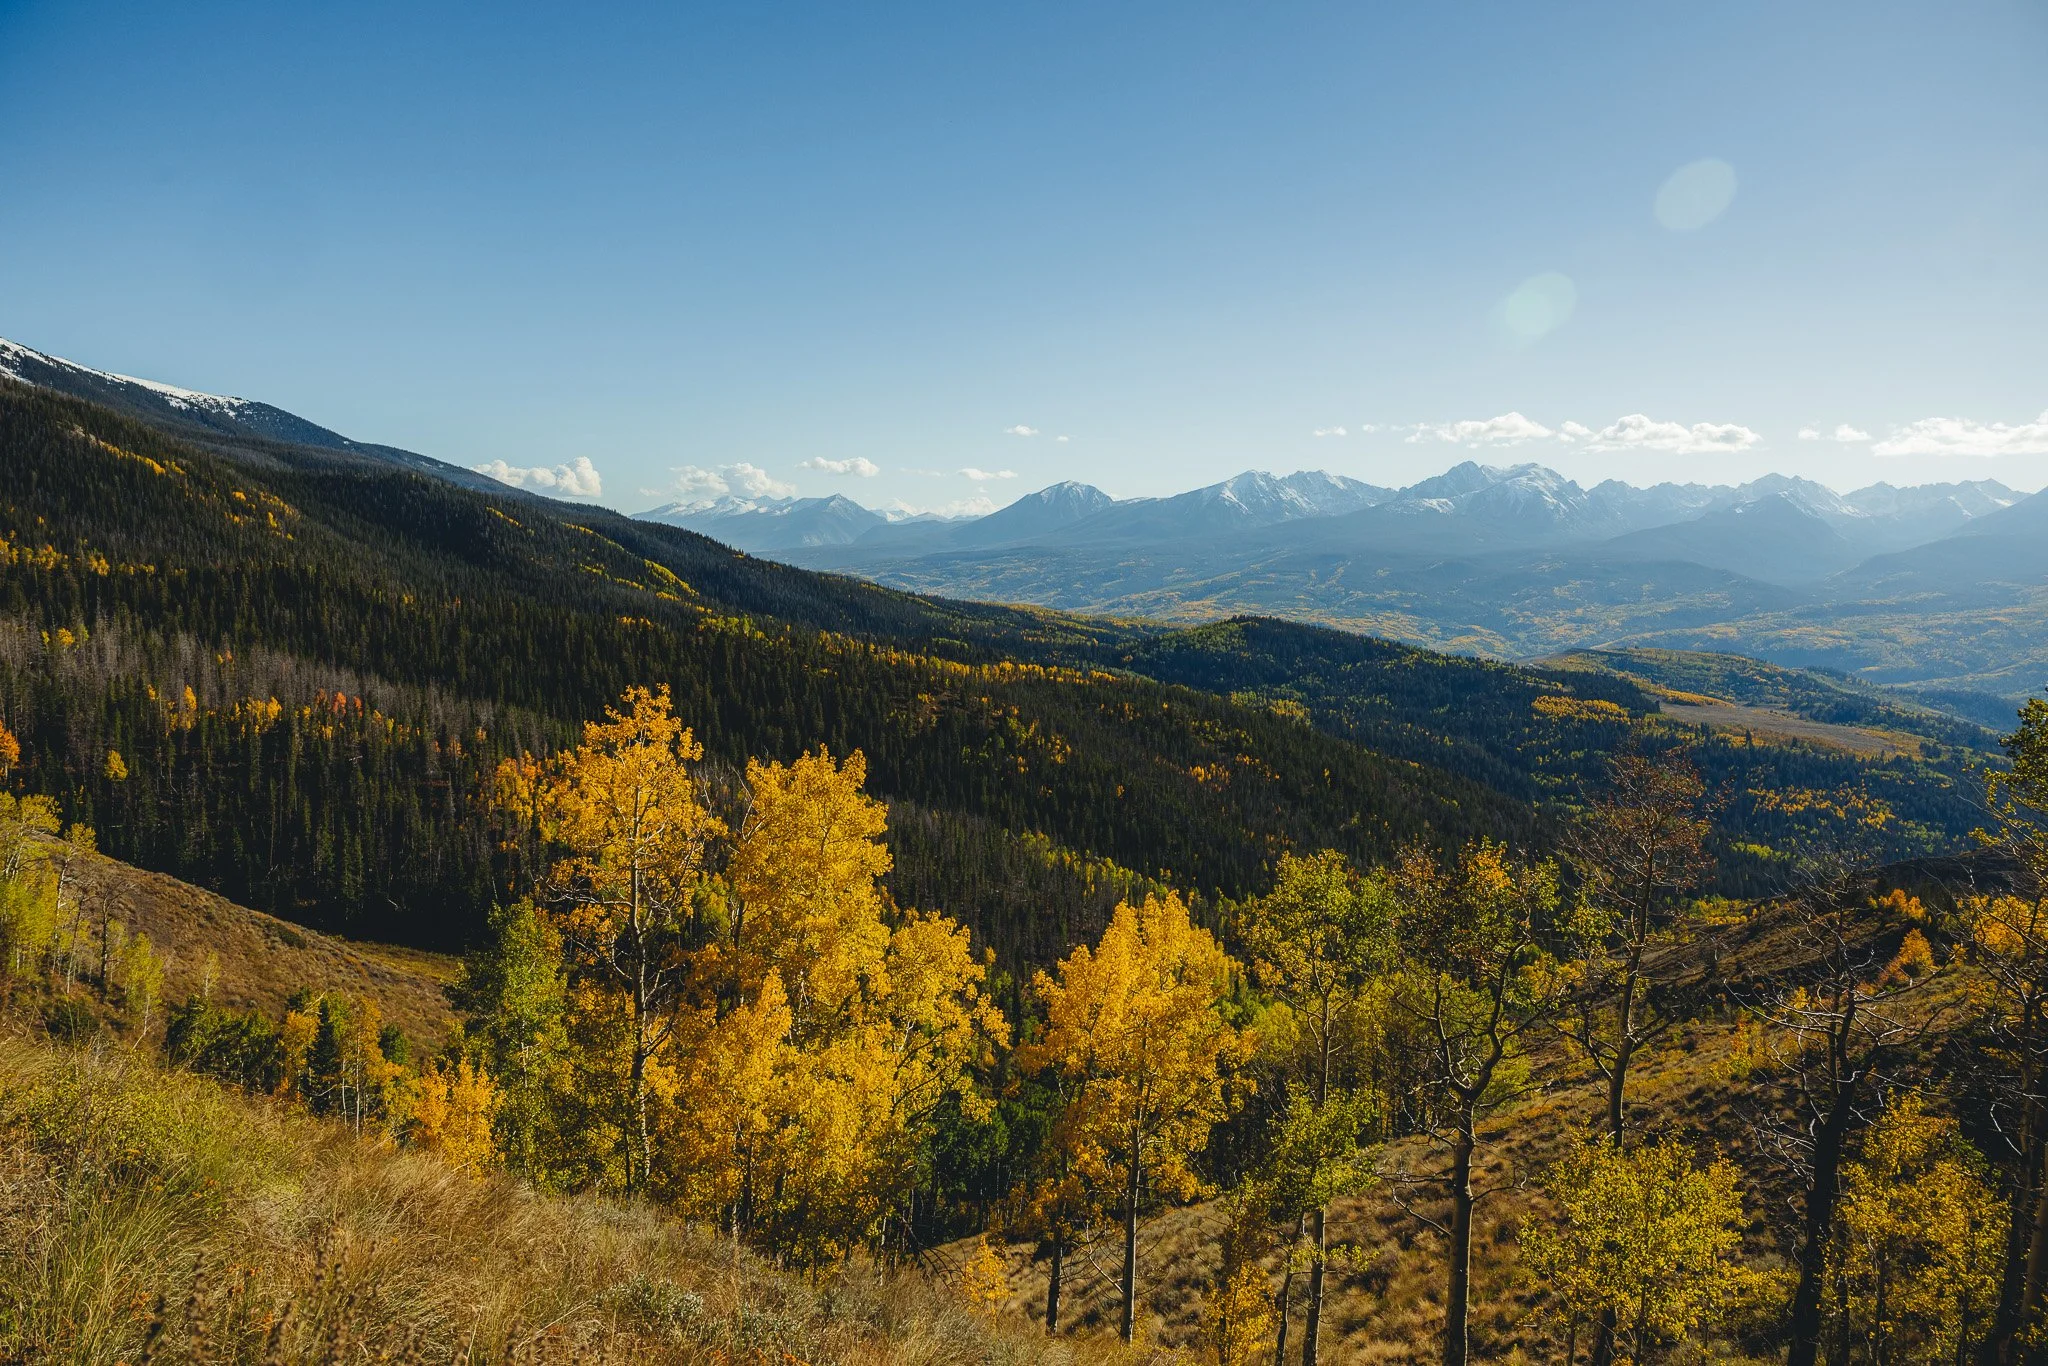
What makes this trail so special
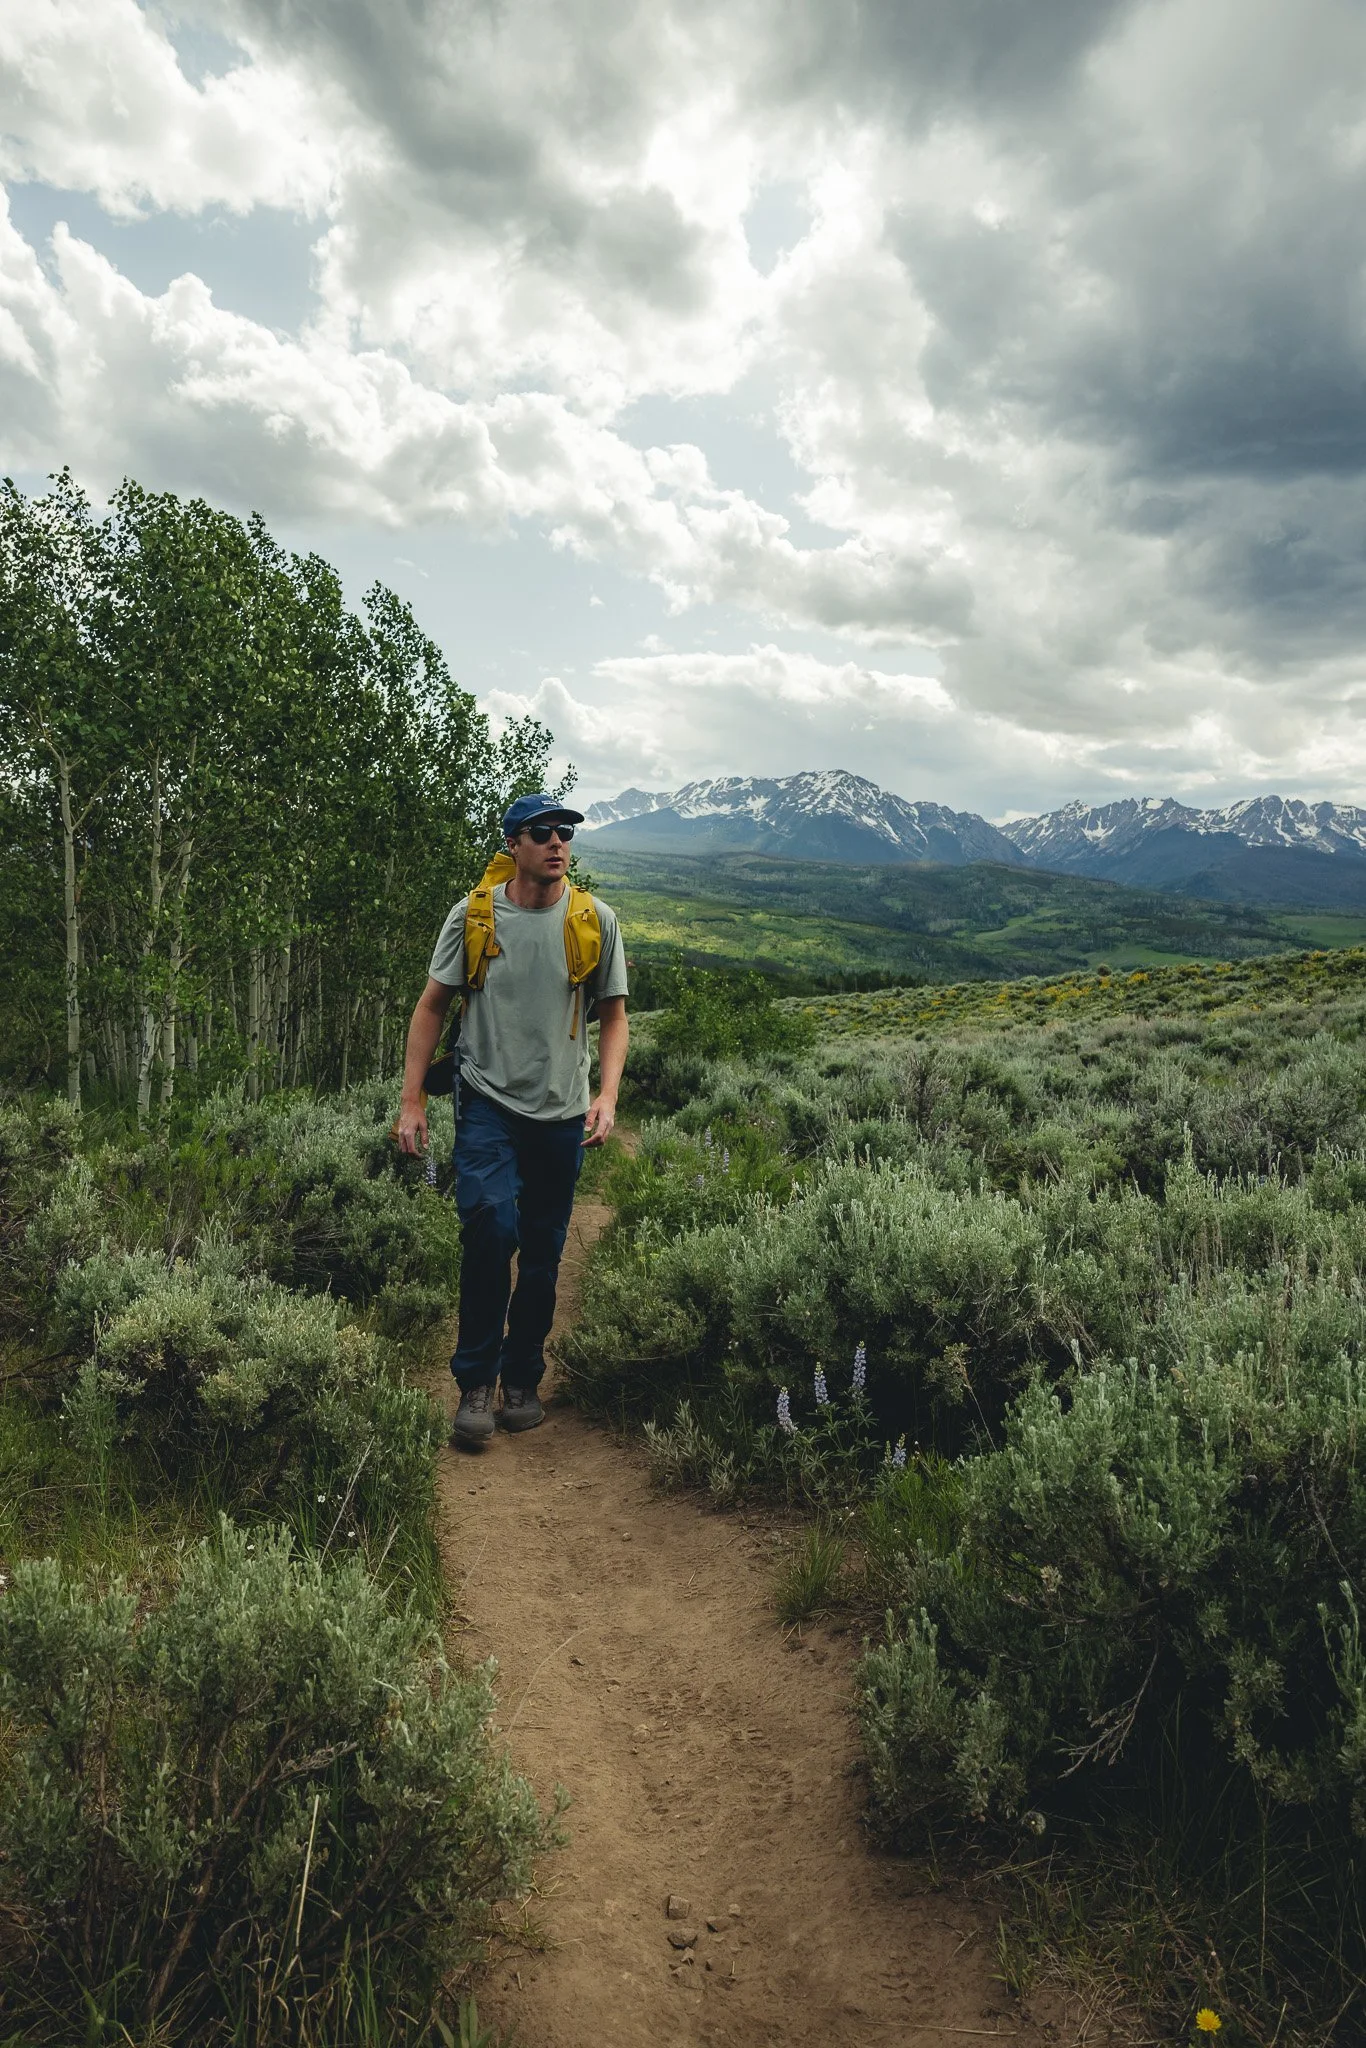
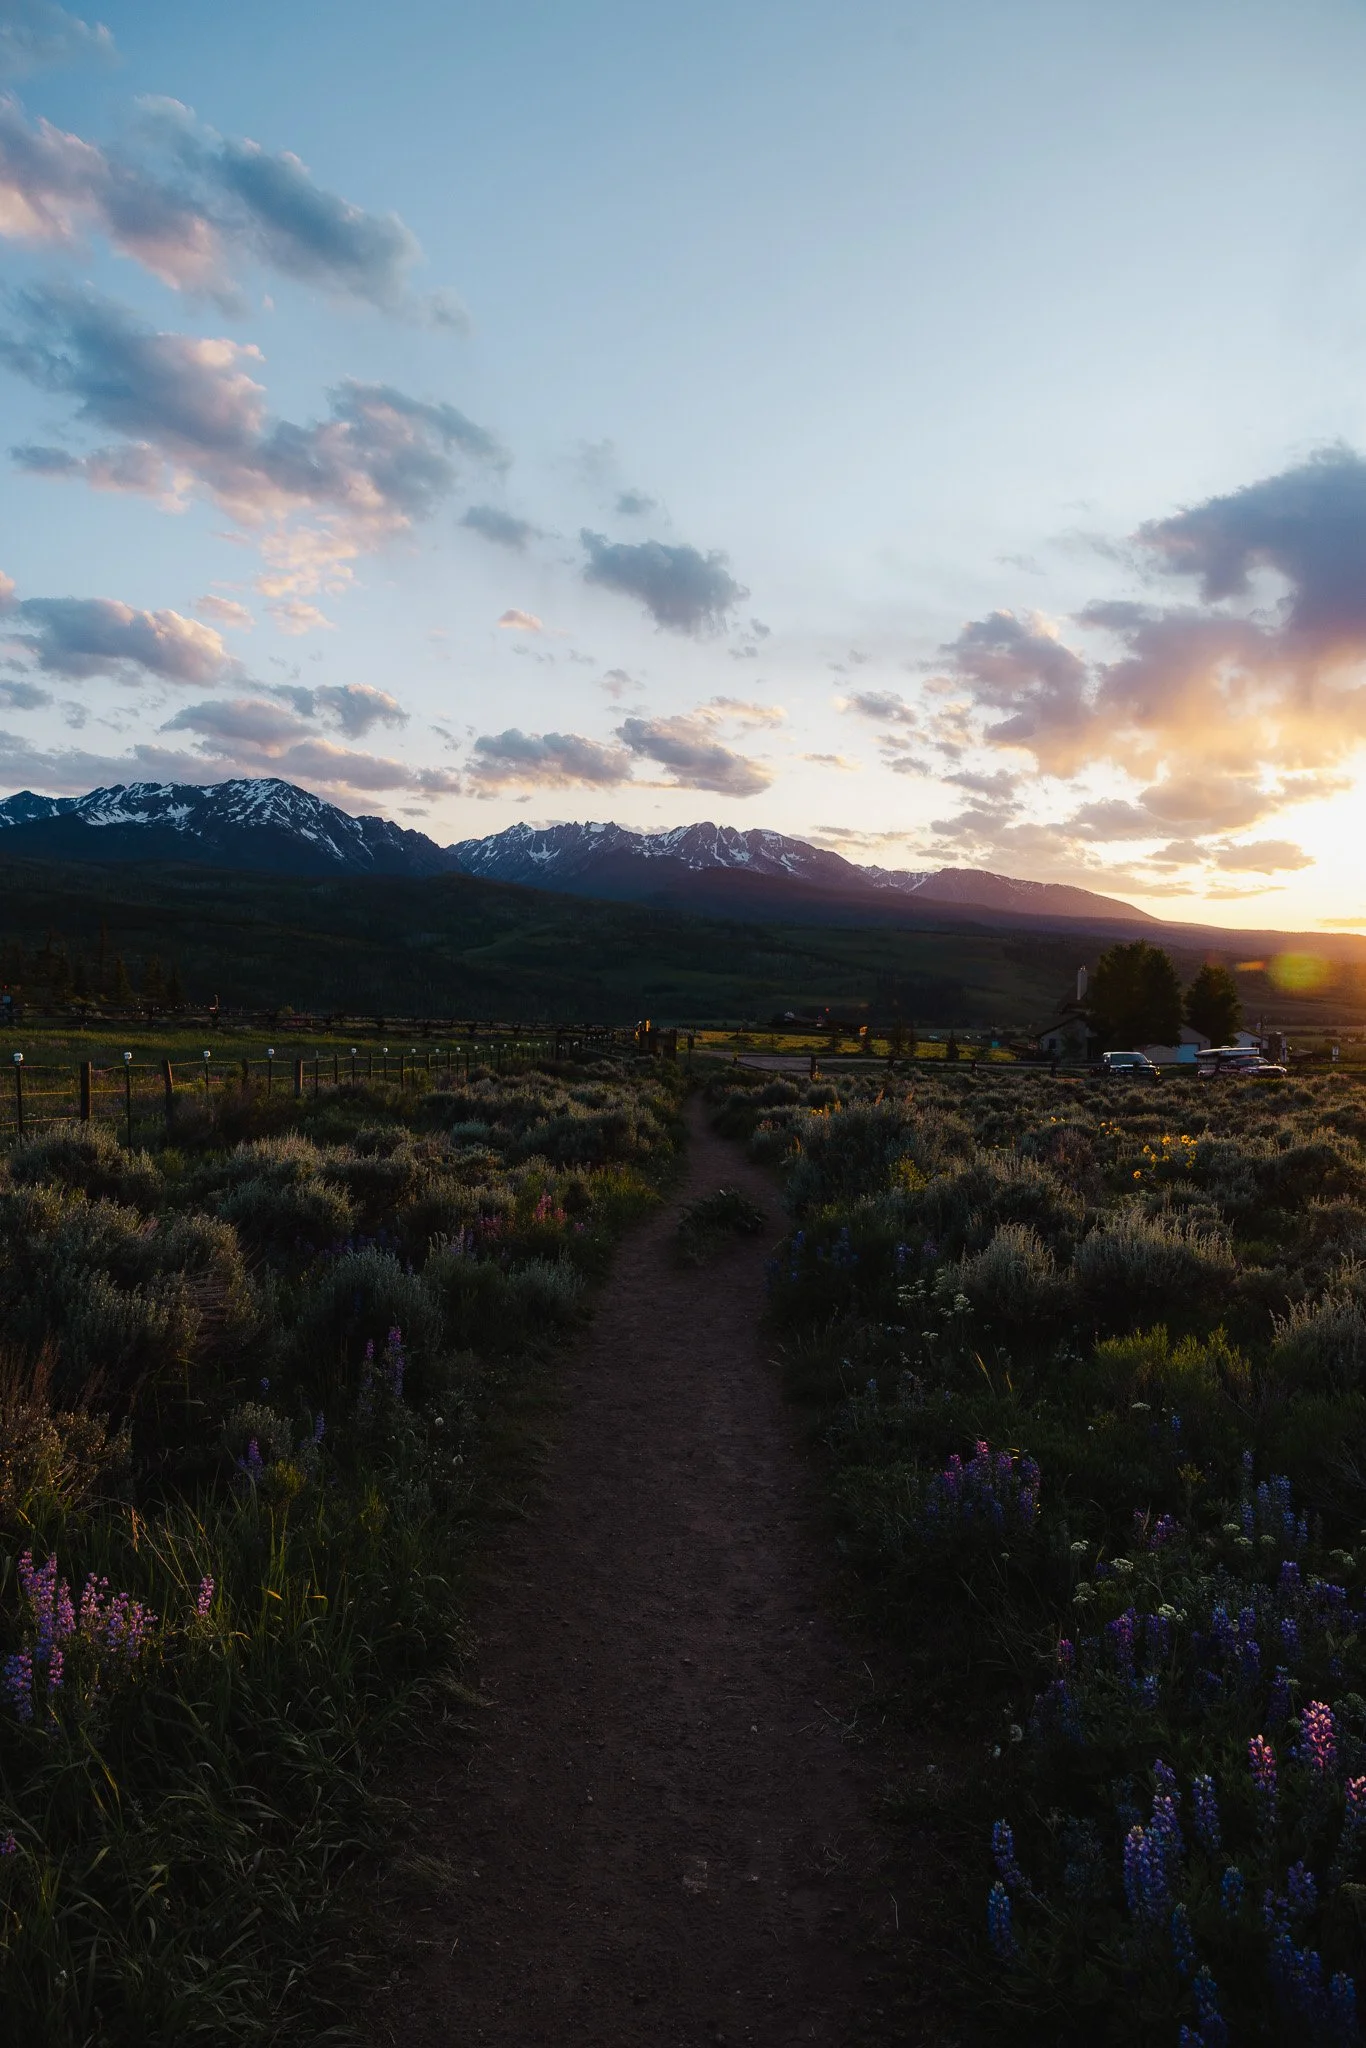
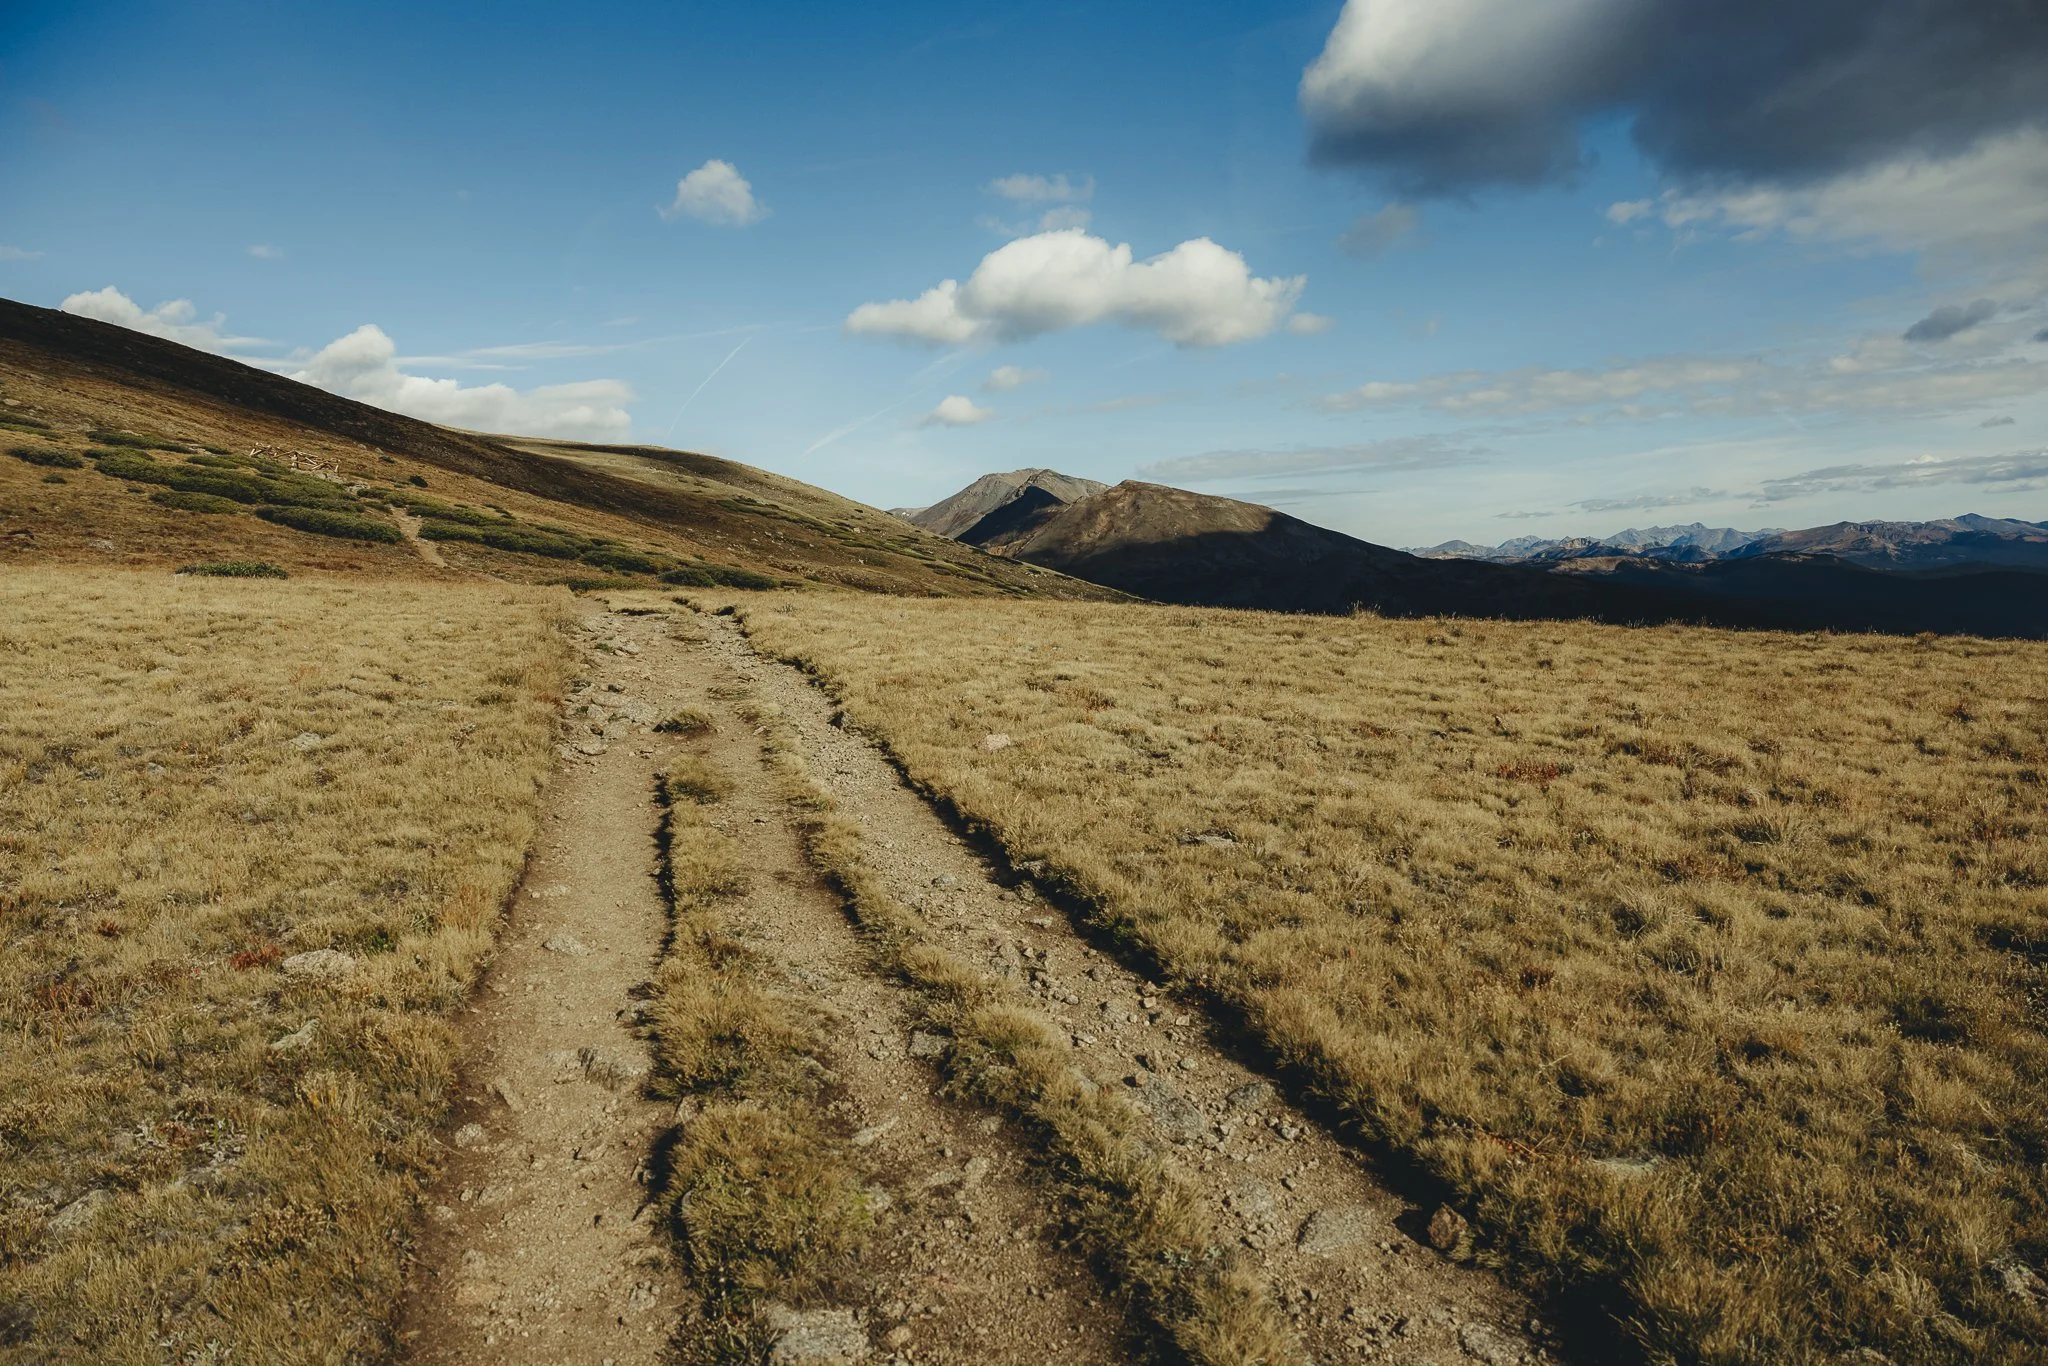
What makes the trail special is views of the gore range in the backdrop. I personally don’t think you’ll find a more scenic hike in Summit County. Late spring, if it has been a good snow year, you’ll find fields of wildflowers at the beginning of the hike and in the fall, lots of foliage throughout.


What are the trail details
For help with navigation I like to use AllTrails and what I’ll do is download the trail ahead of time that way when I’m out of service, as most hikes are, I can still look at the map on my phone and it is helpful for knowing exactly where I am.
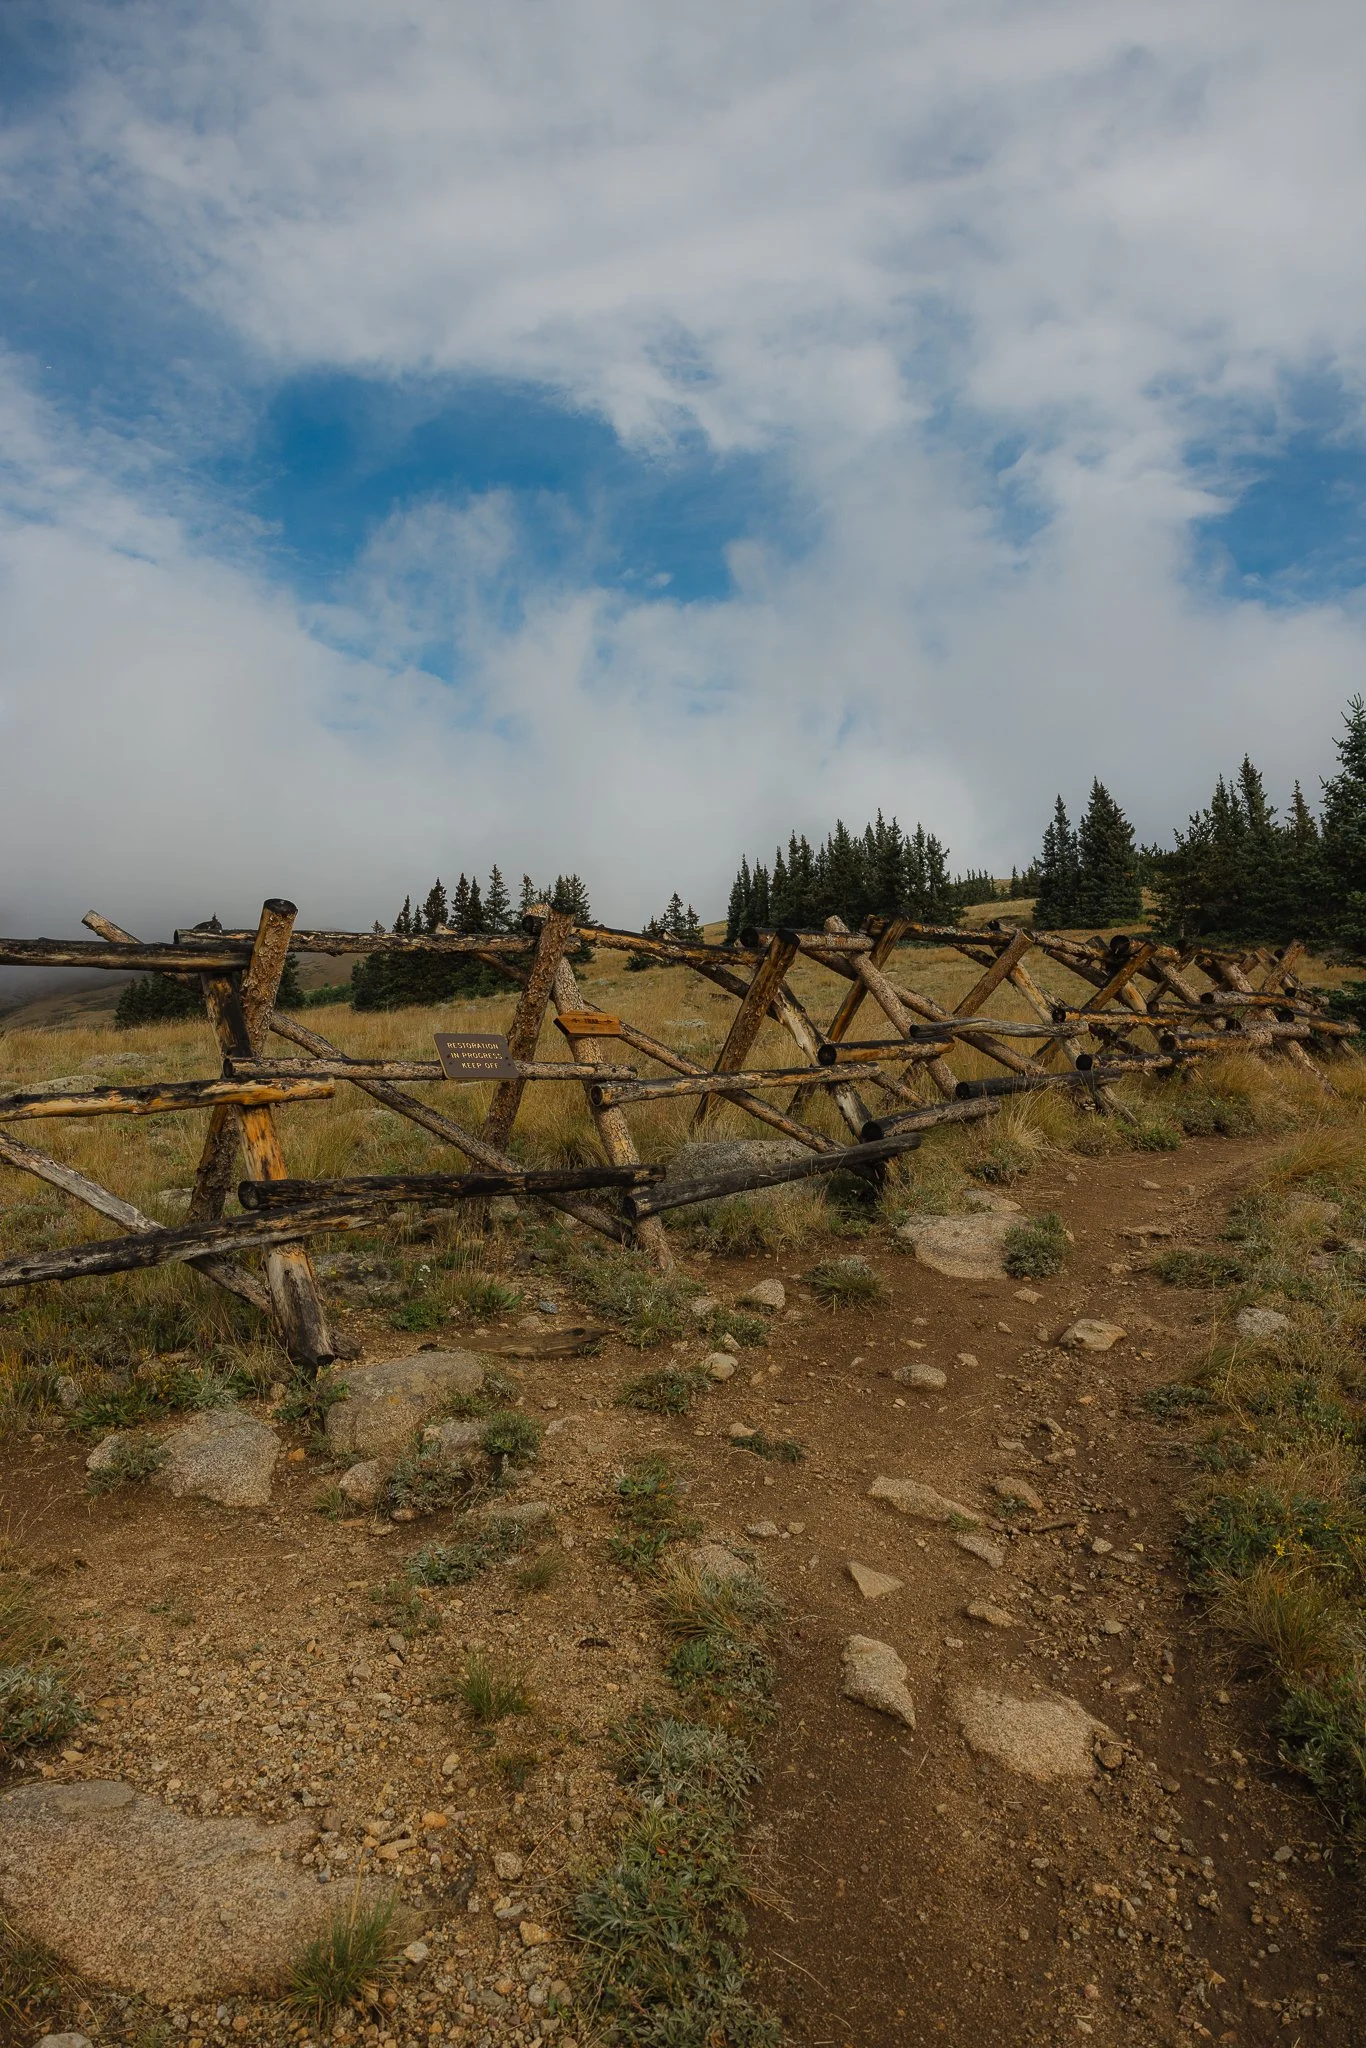
Acorn will be a a 6.8 mile hike with 2,547 feet of elevation gain. No loop on this one so you will hike up and down the same trail. If you feel like doing the entire hike that’s fine, but it isn’t necessary! Some of the best views can be found about halfway up the trail. The first part of the hike will be pretty flat and you’ll be pretty close to someone else’s property along a fence. Please make sure to stay on trail especially during wildflower season!
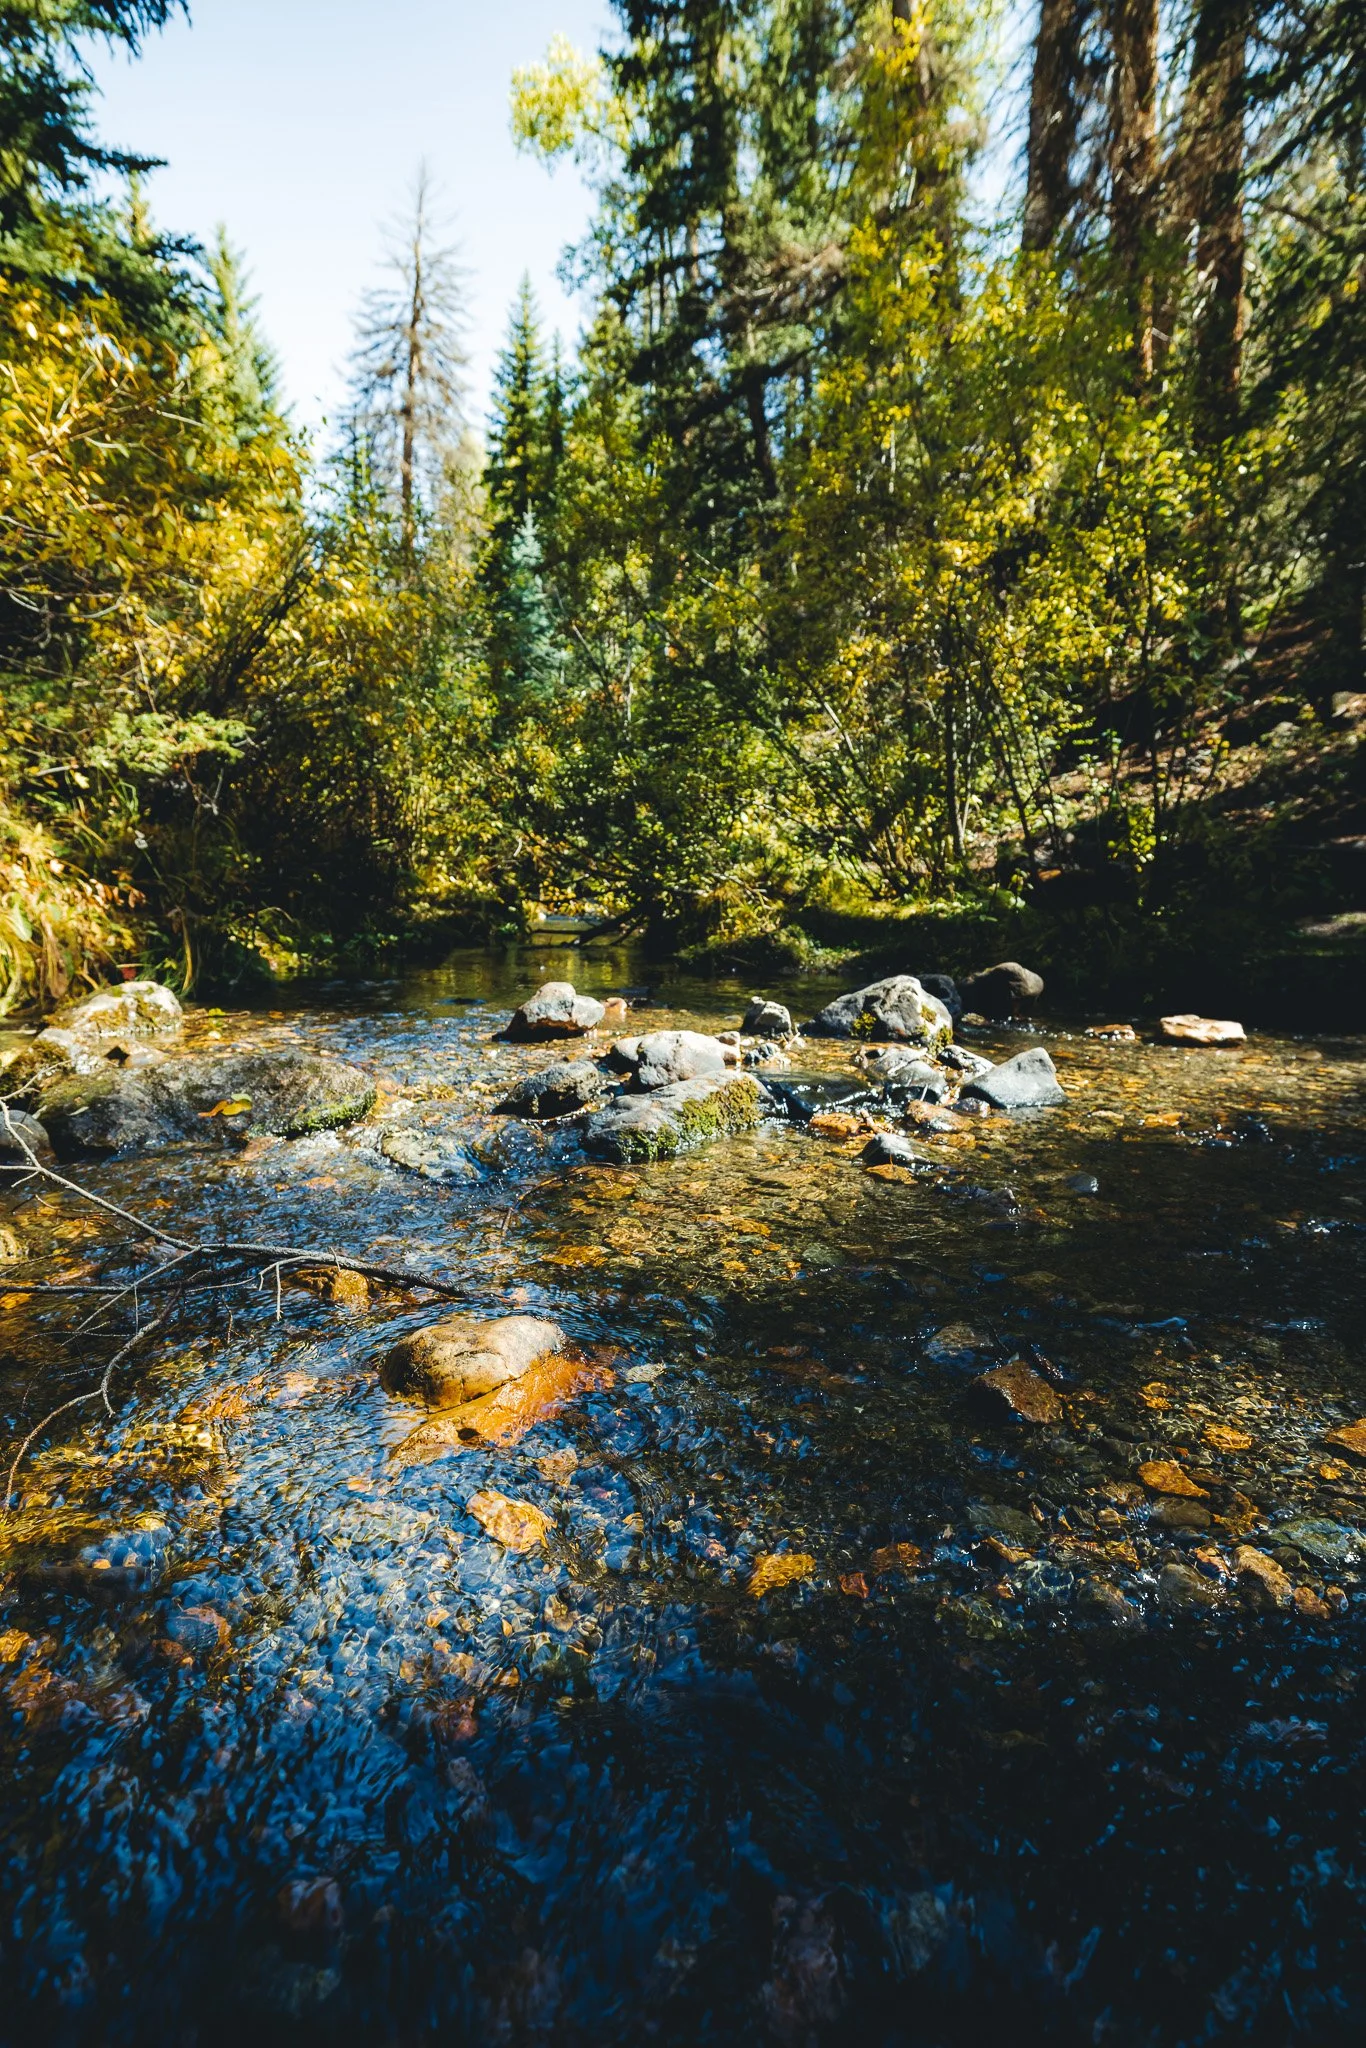
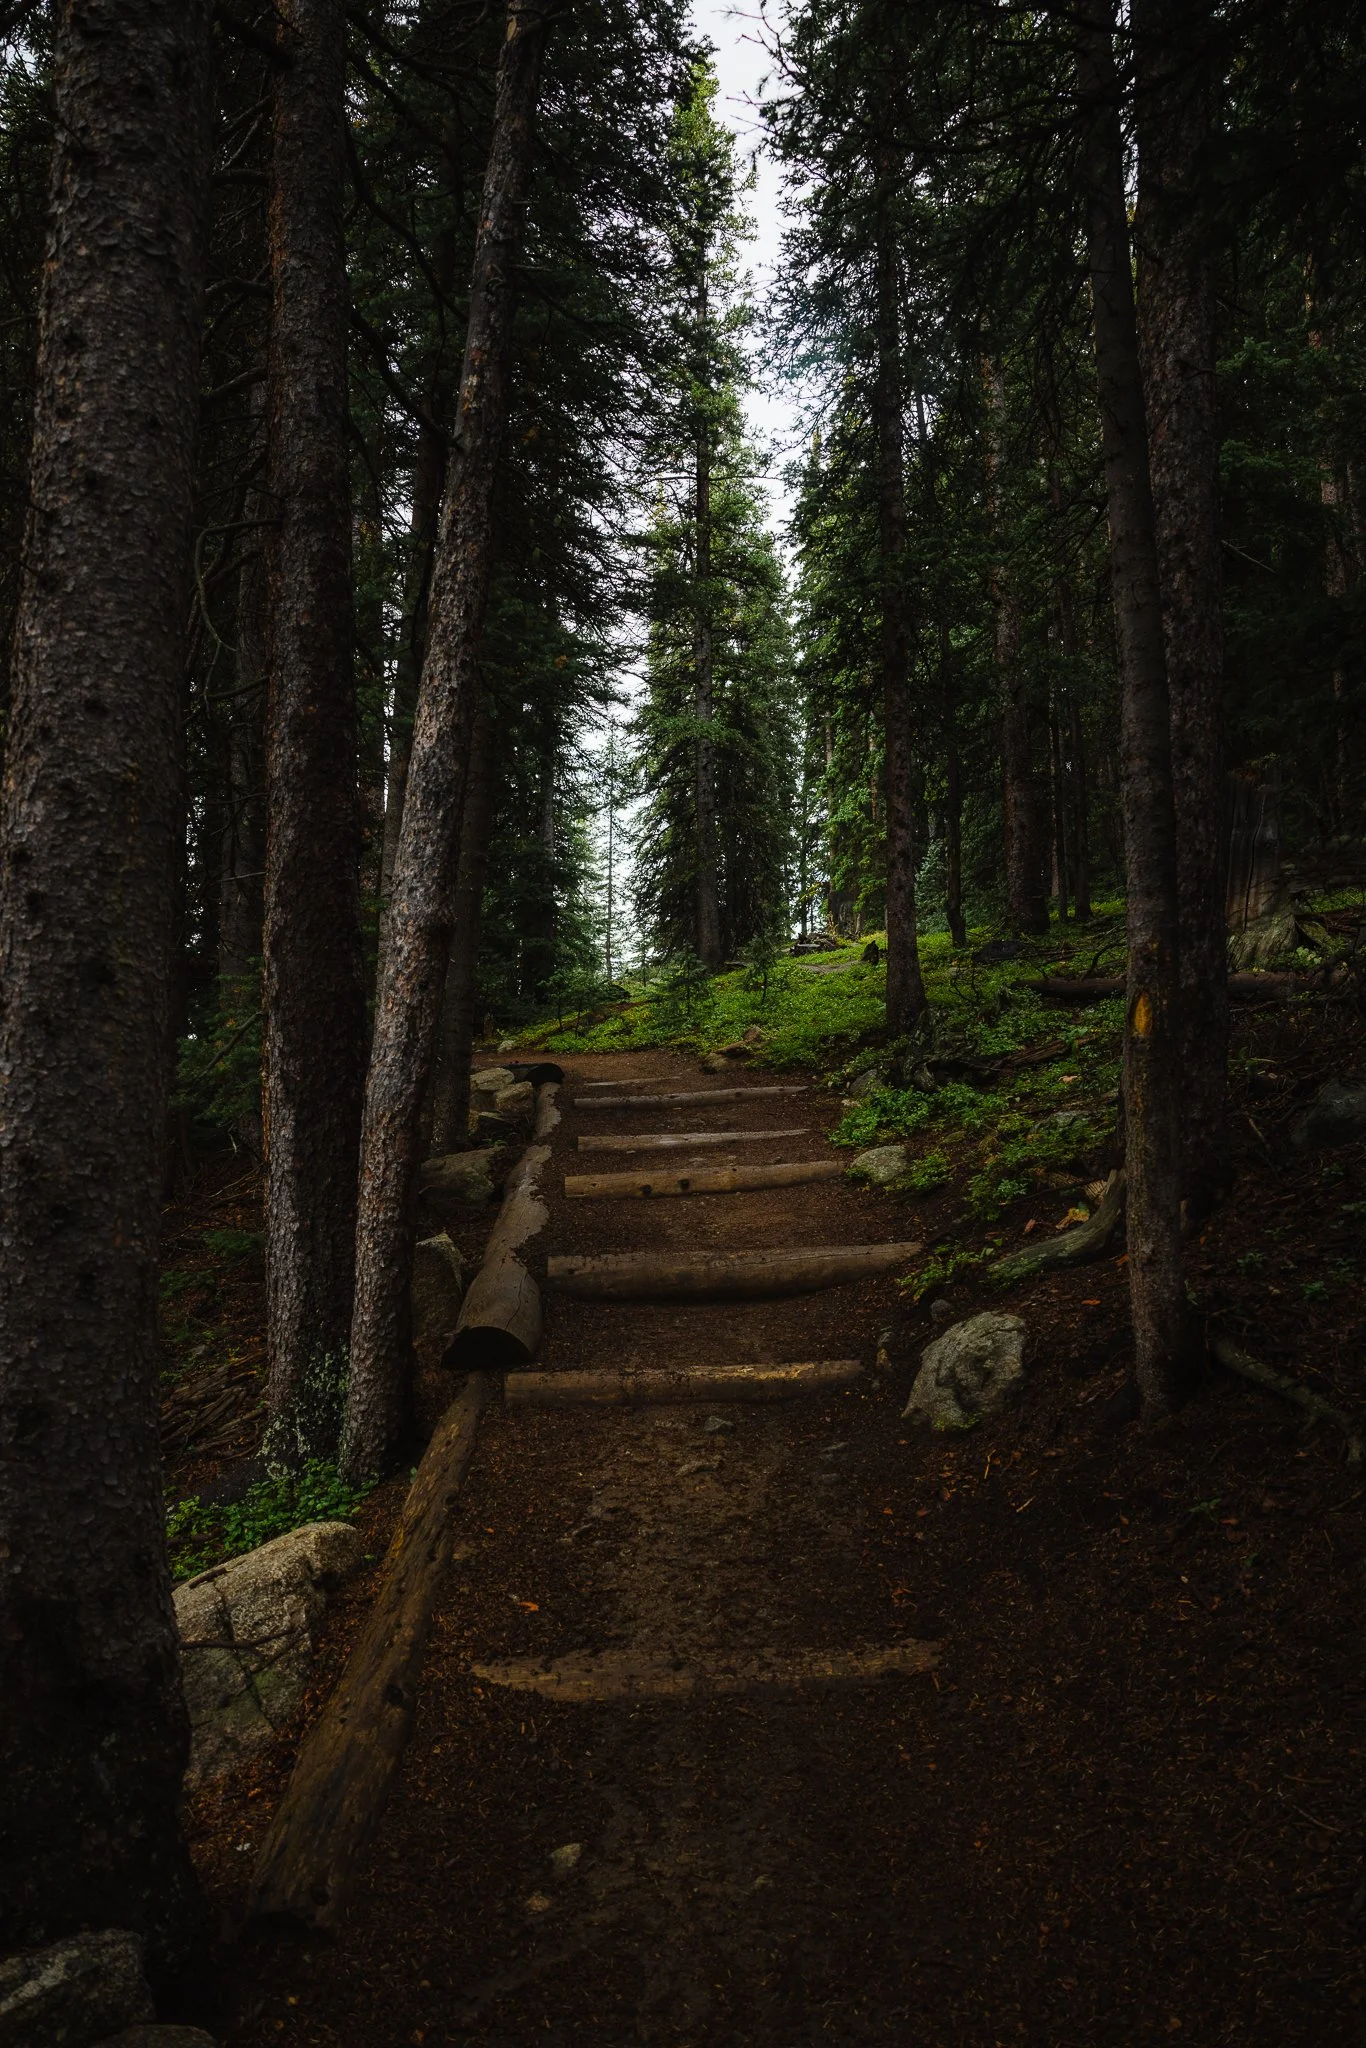
You’ll start to hike through the woods from the fence. At this point you might see another trail on the right hand side, this is actually not a real trail but has been cause from human foot traffic erosion overtime (Social trail). You’ll want to stay straight and just continue through the woods until you see a creek.
This is where you’re going to start feeling the elevation gain and also where the hike starts to open up.
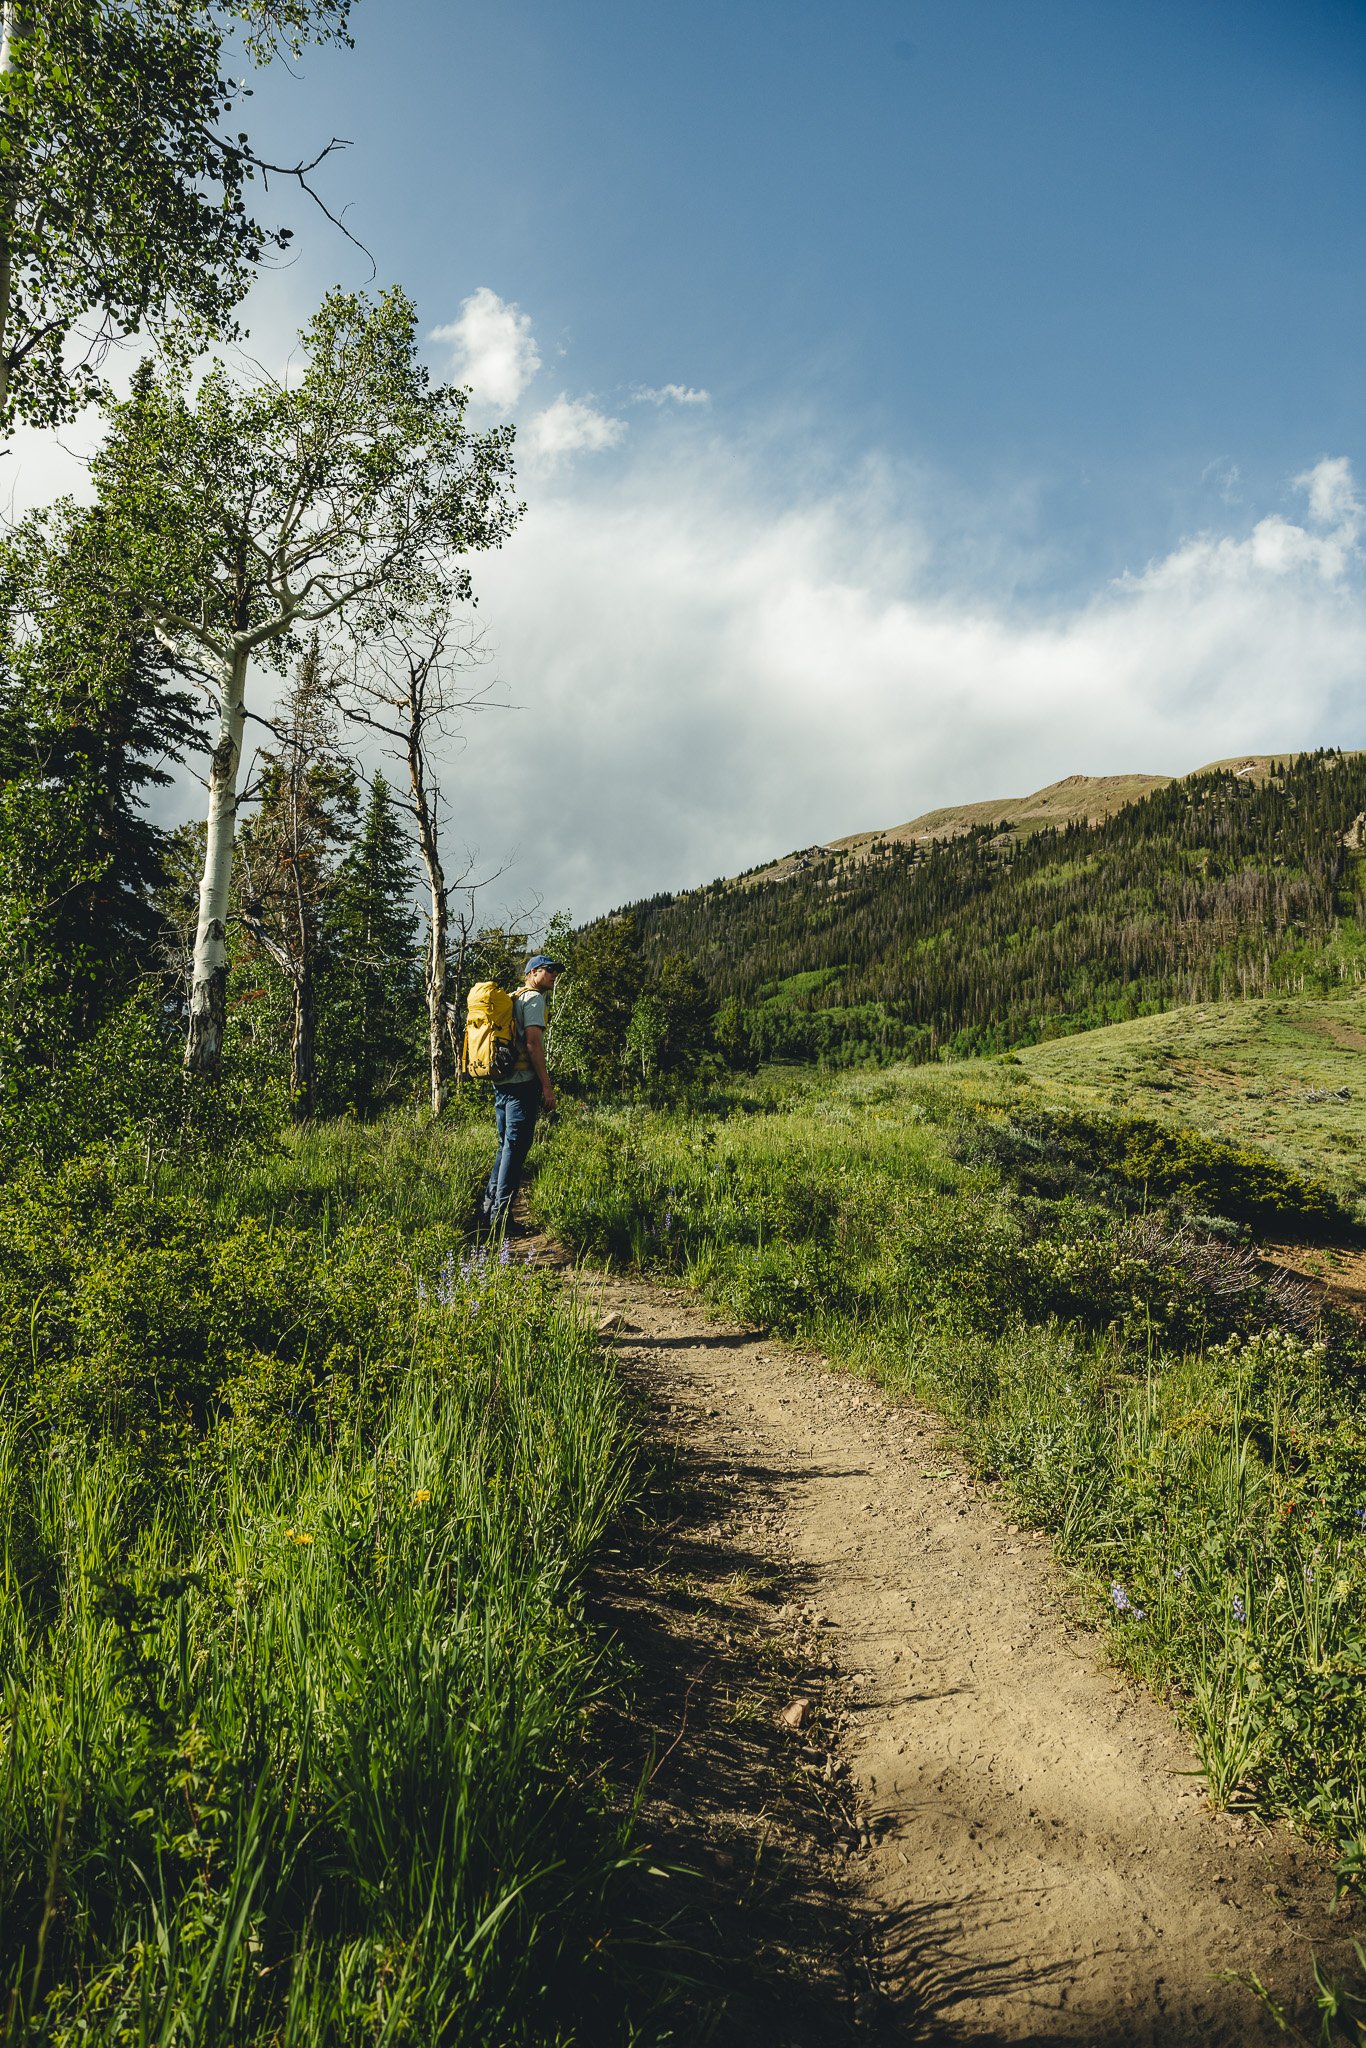
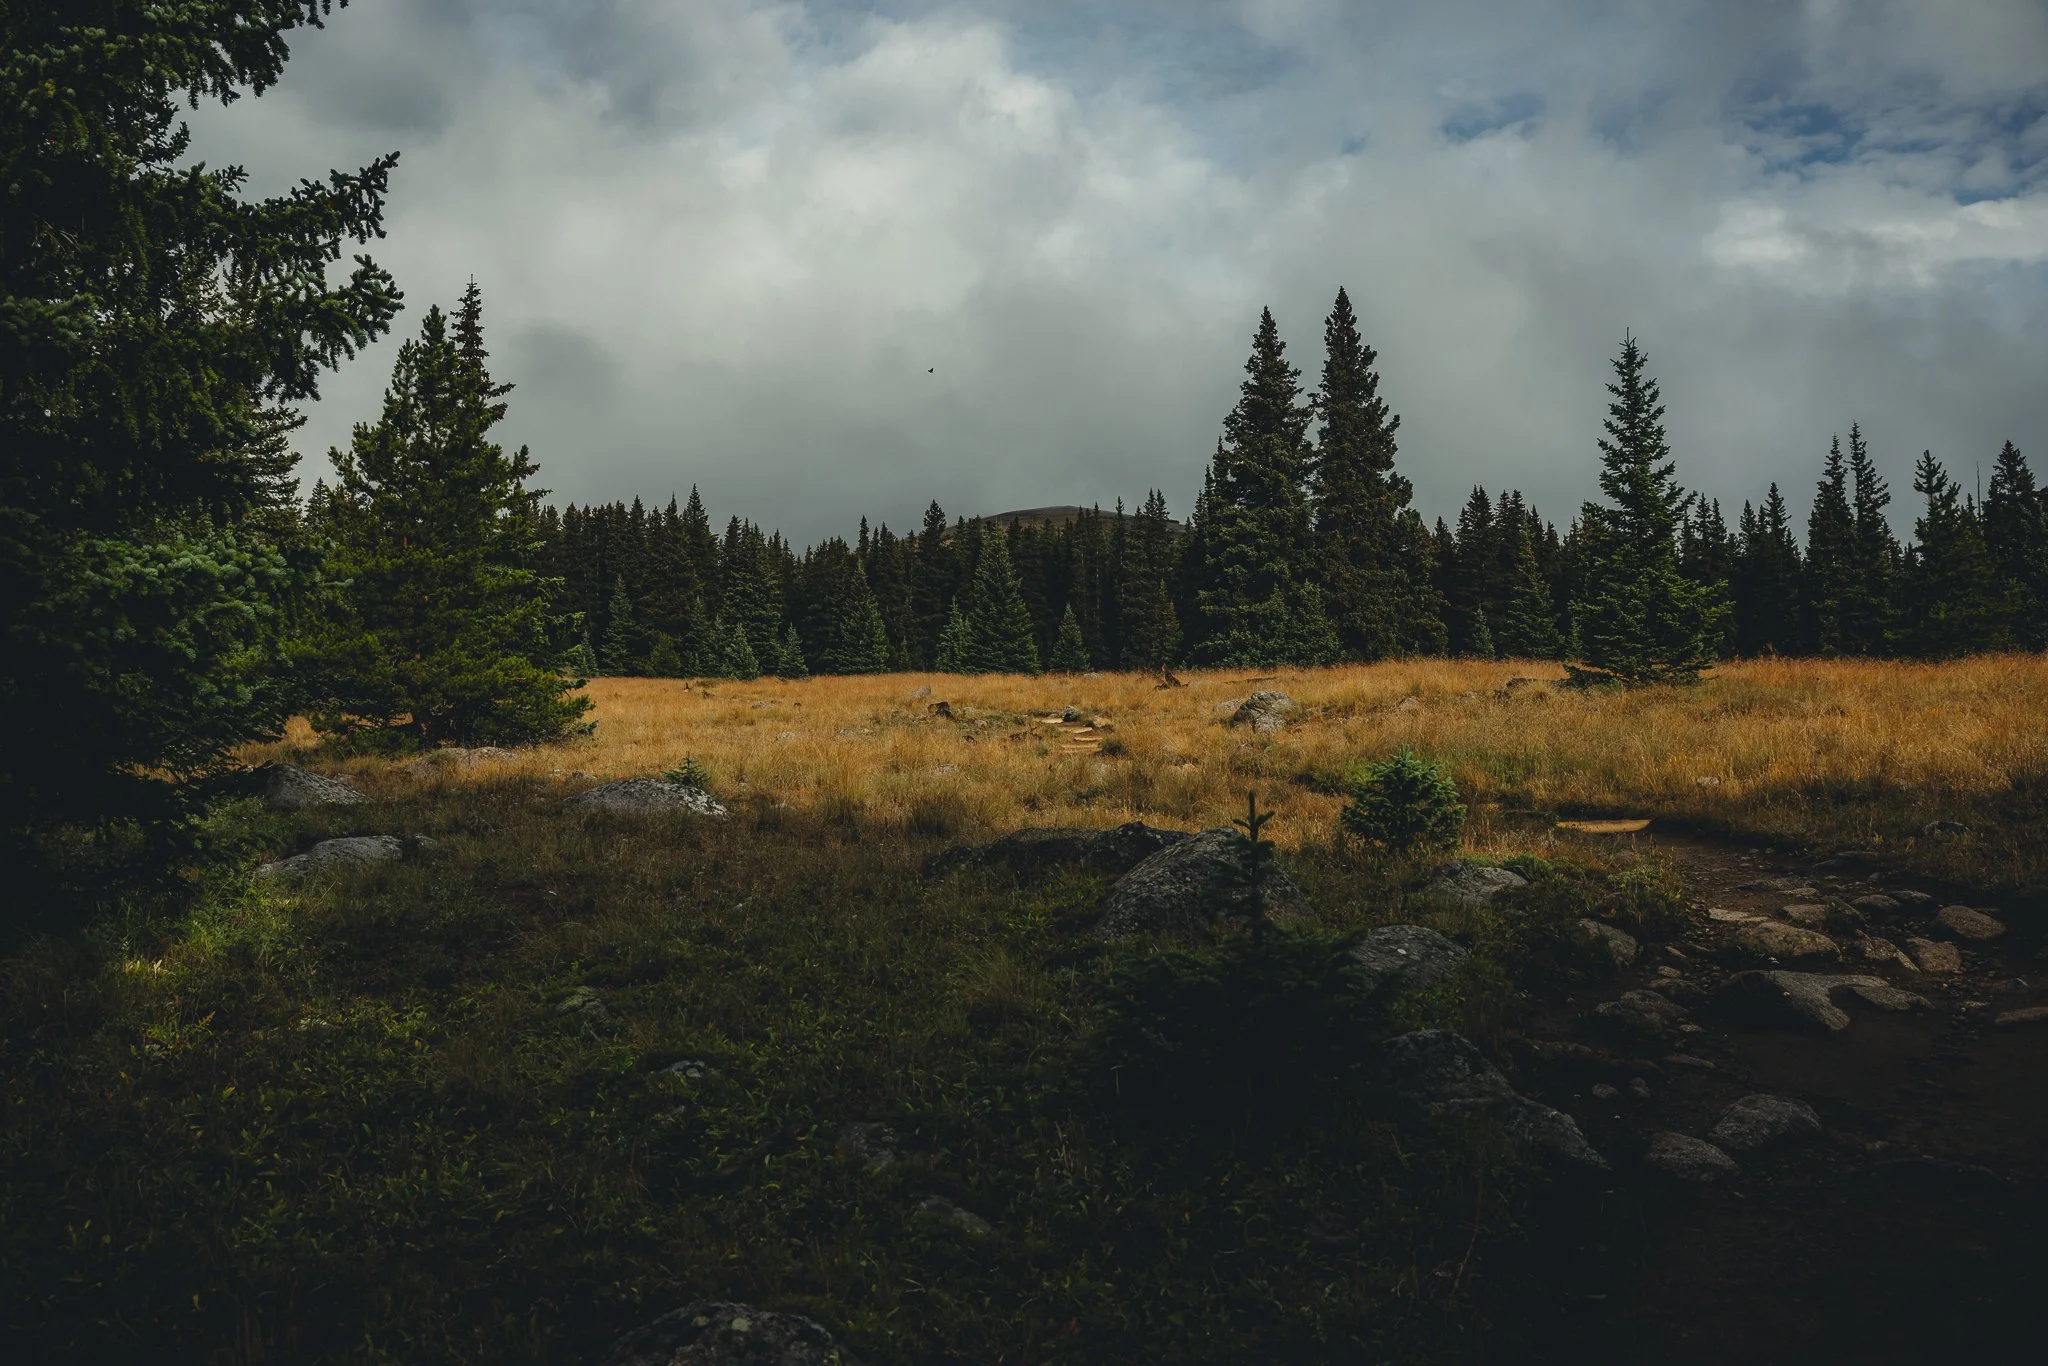
The next part you will hike through an open field. I like to be cautious when hiking through here due to potential wildlife. I saw a black bear my first time and it seems like a good place for animals to roam.
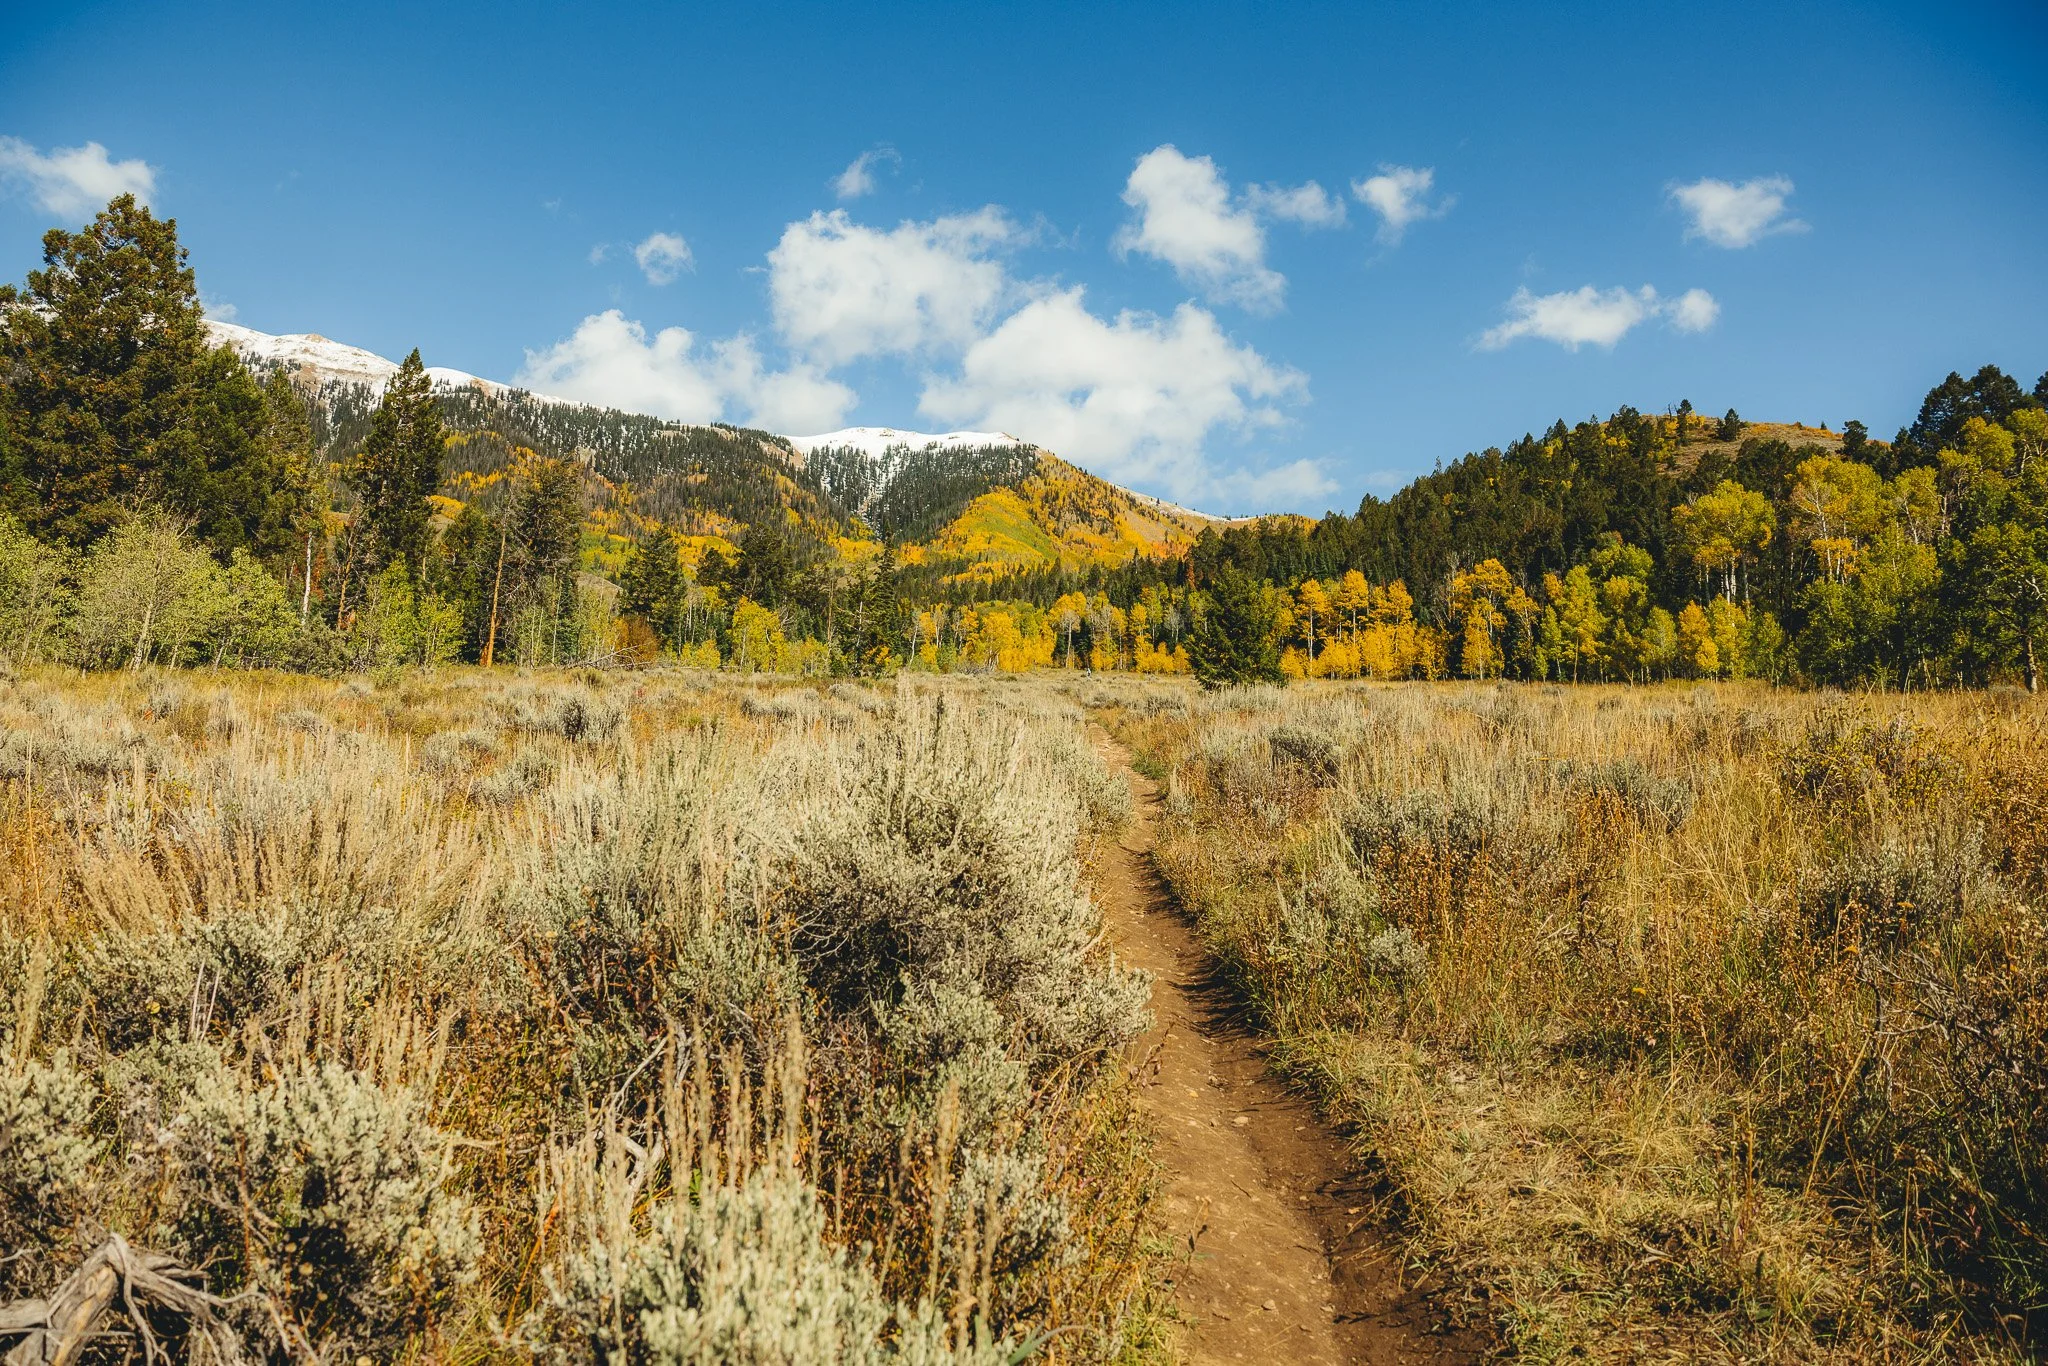
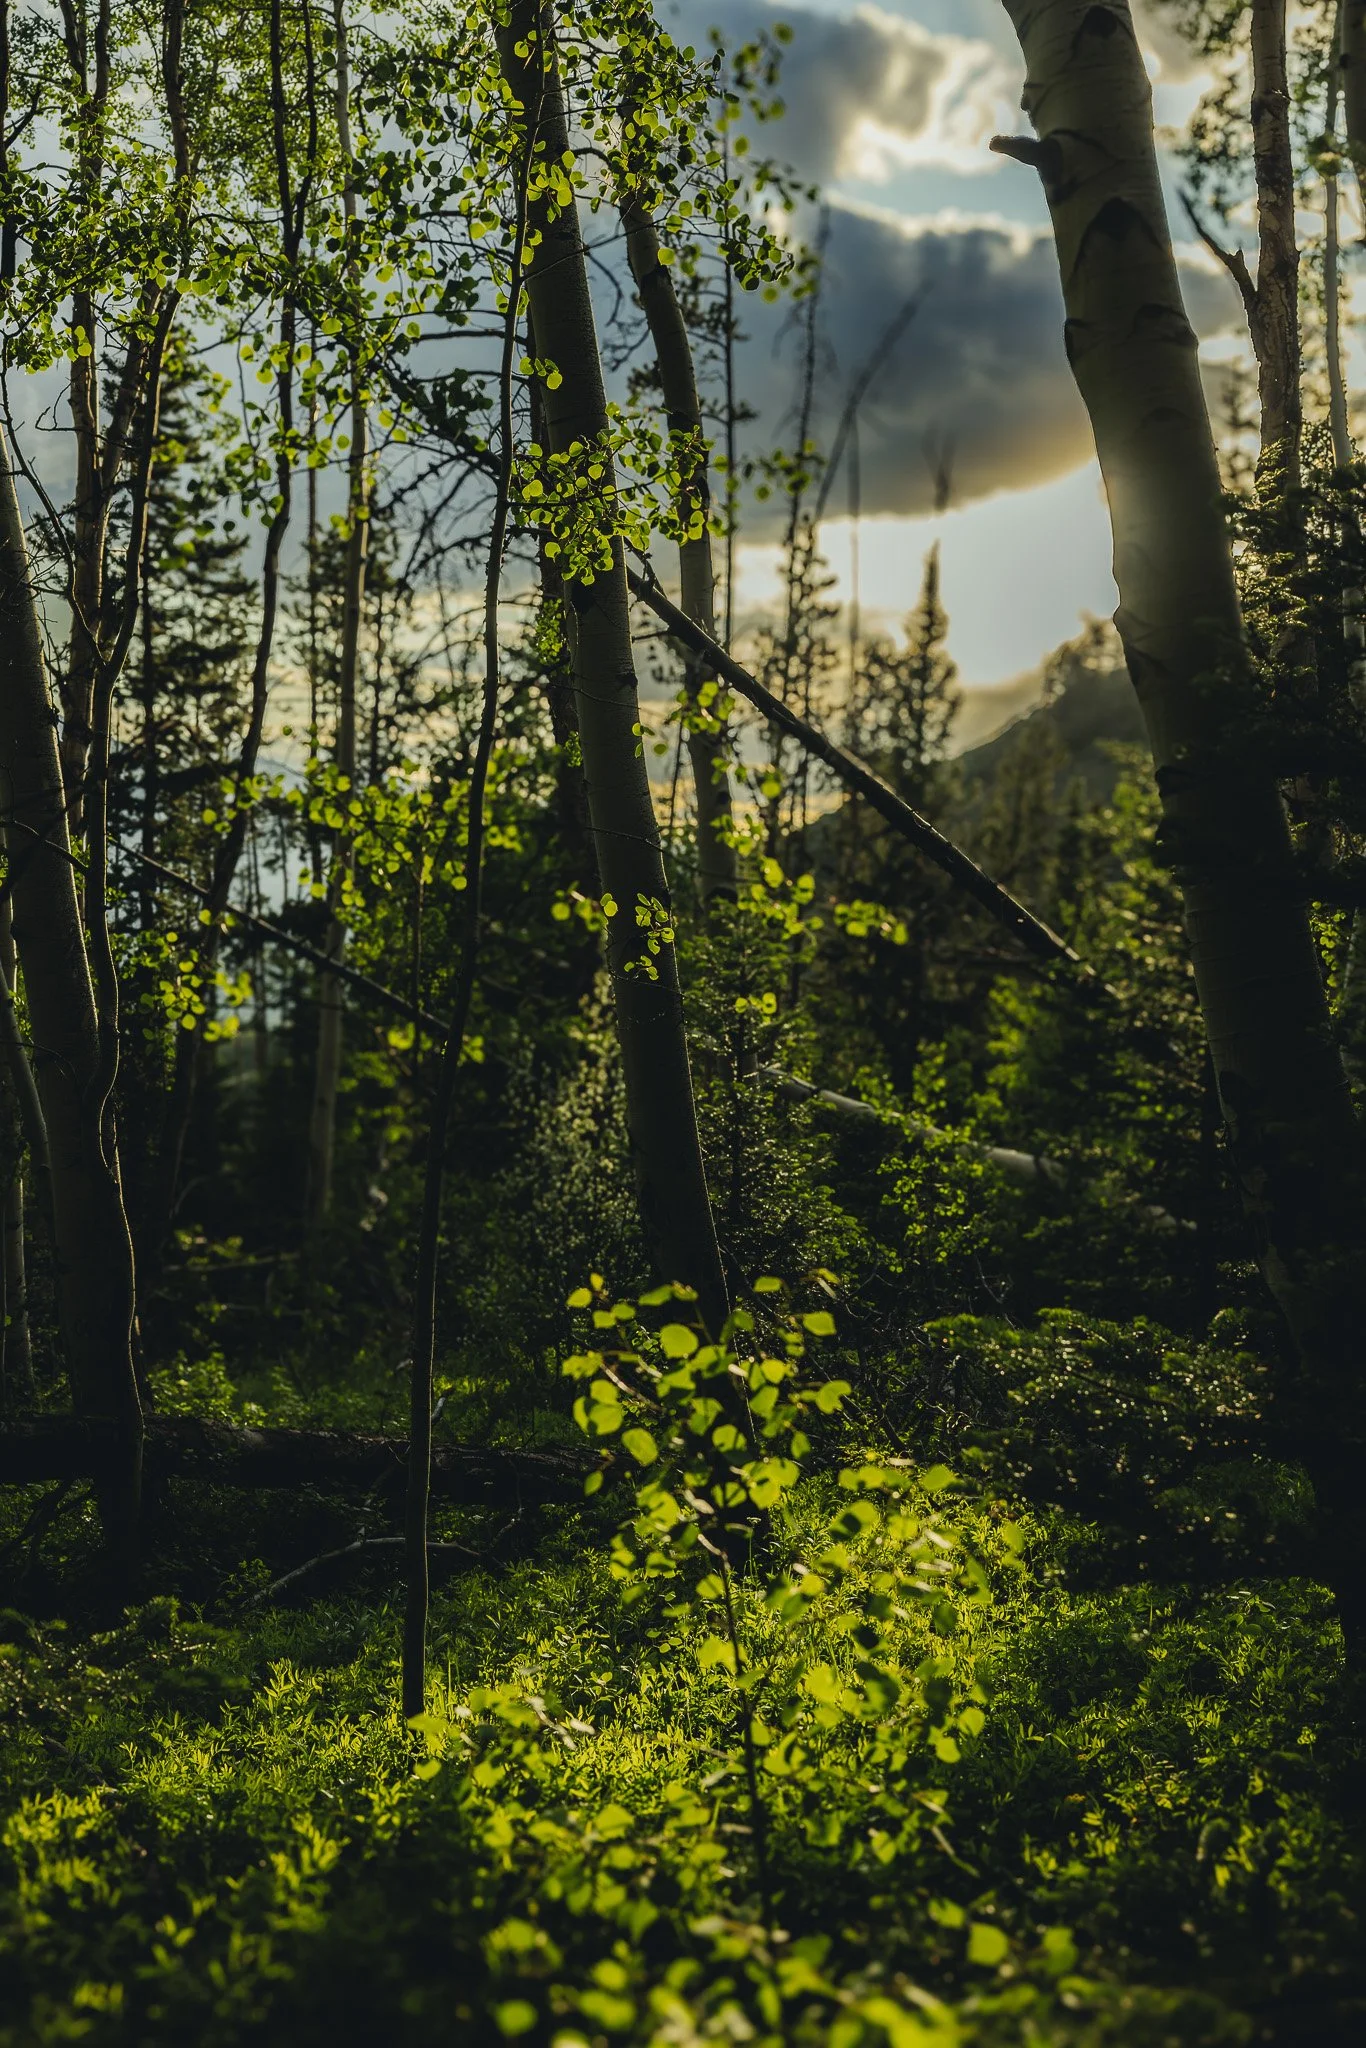
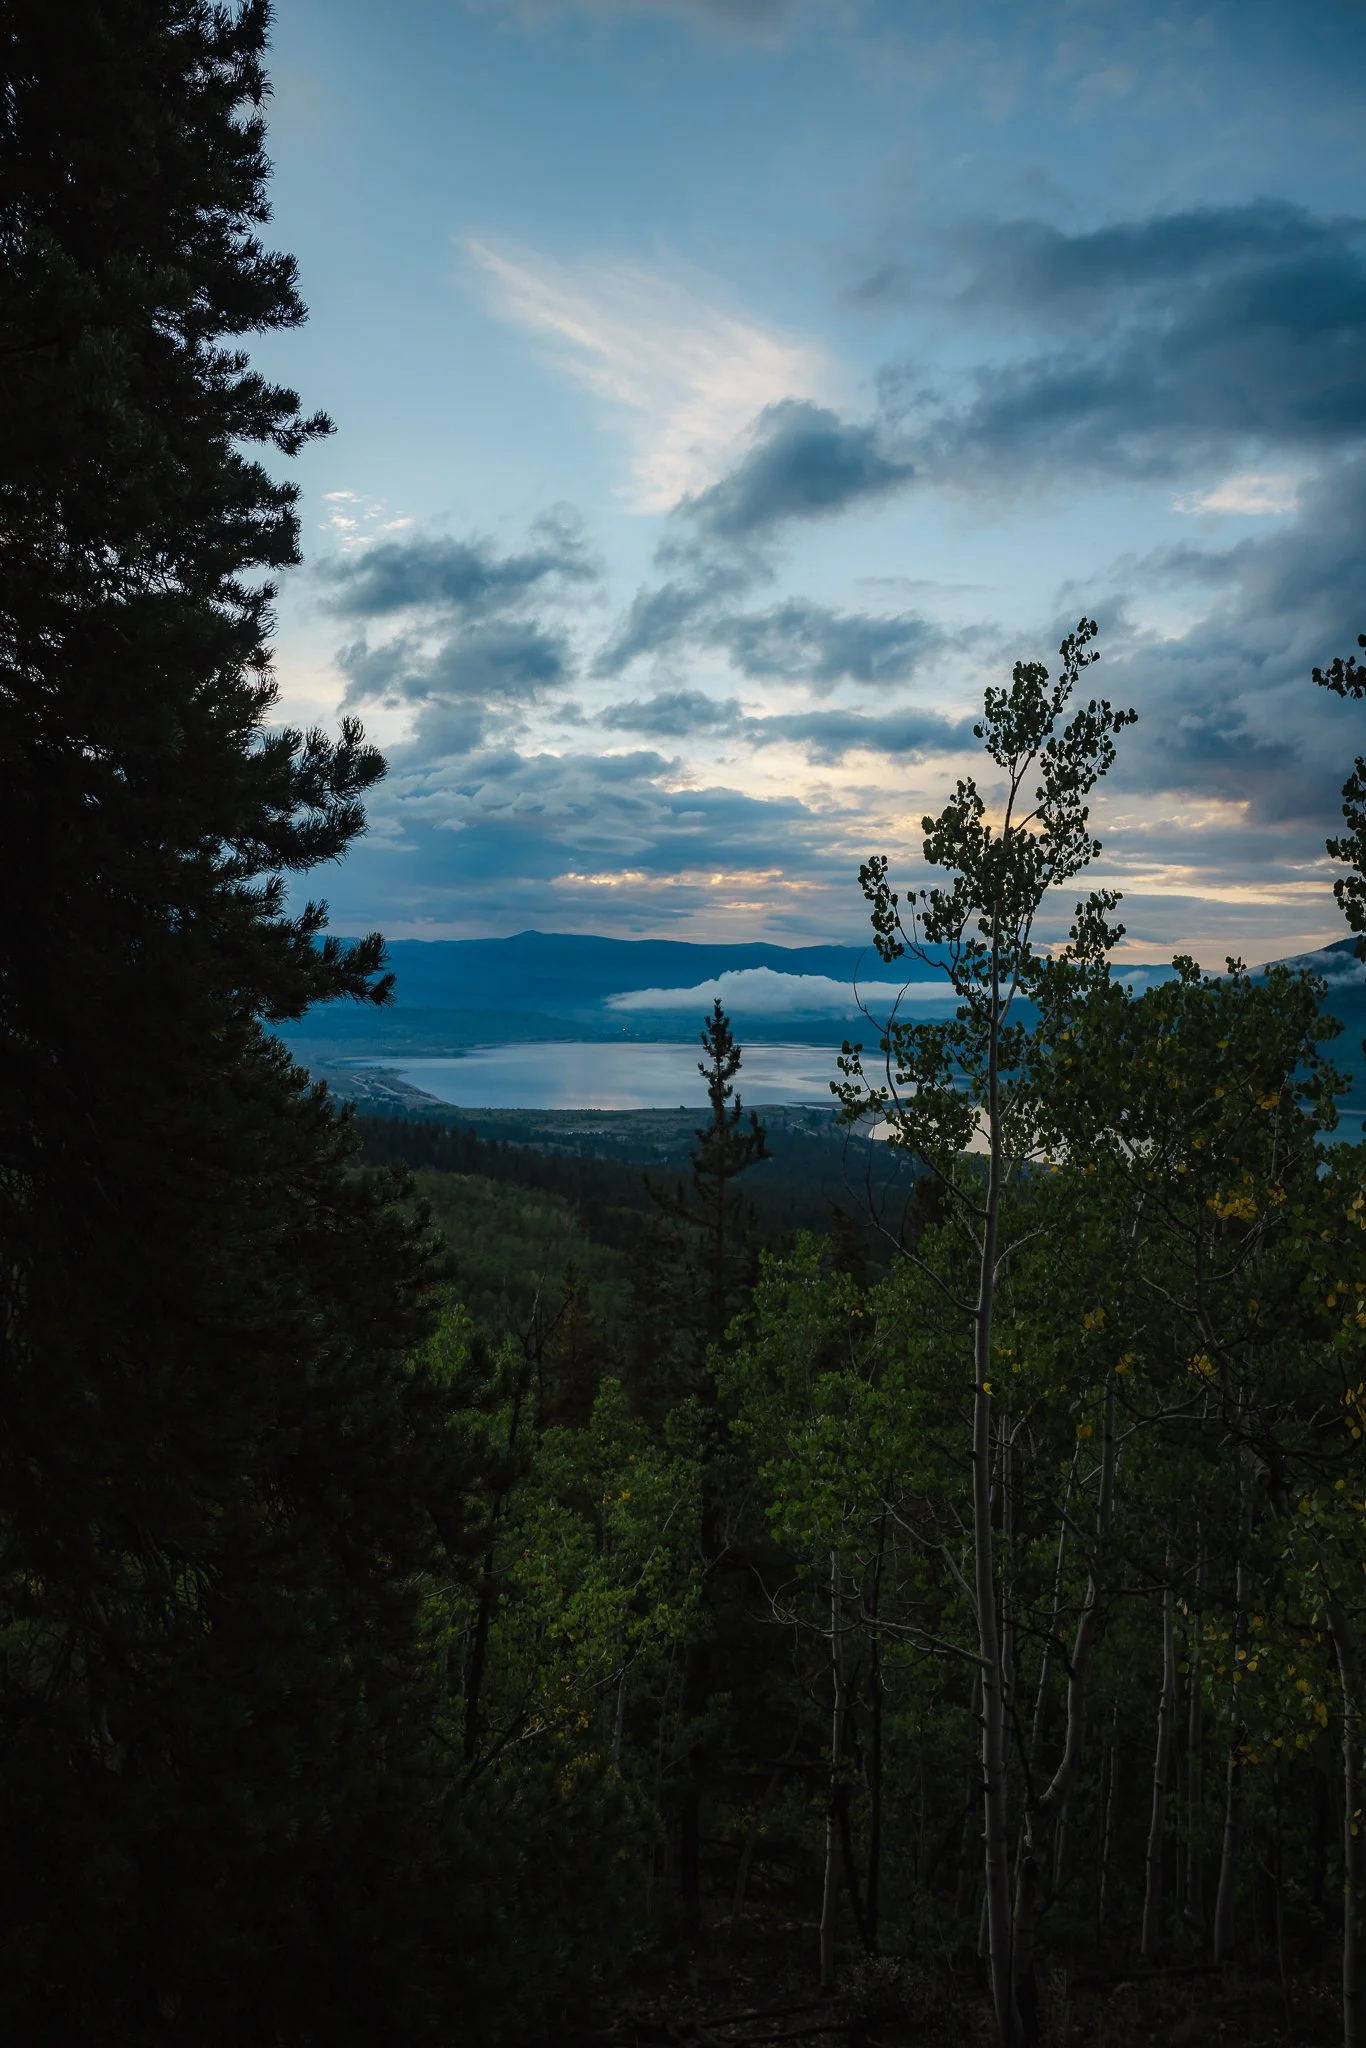
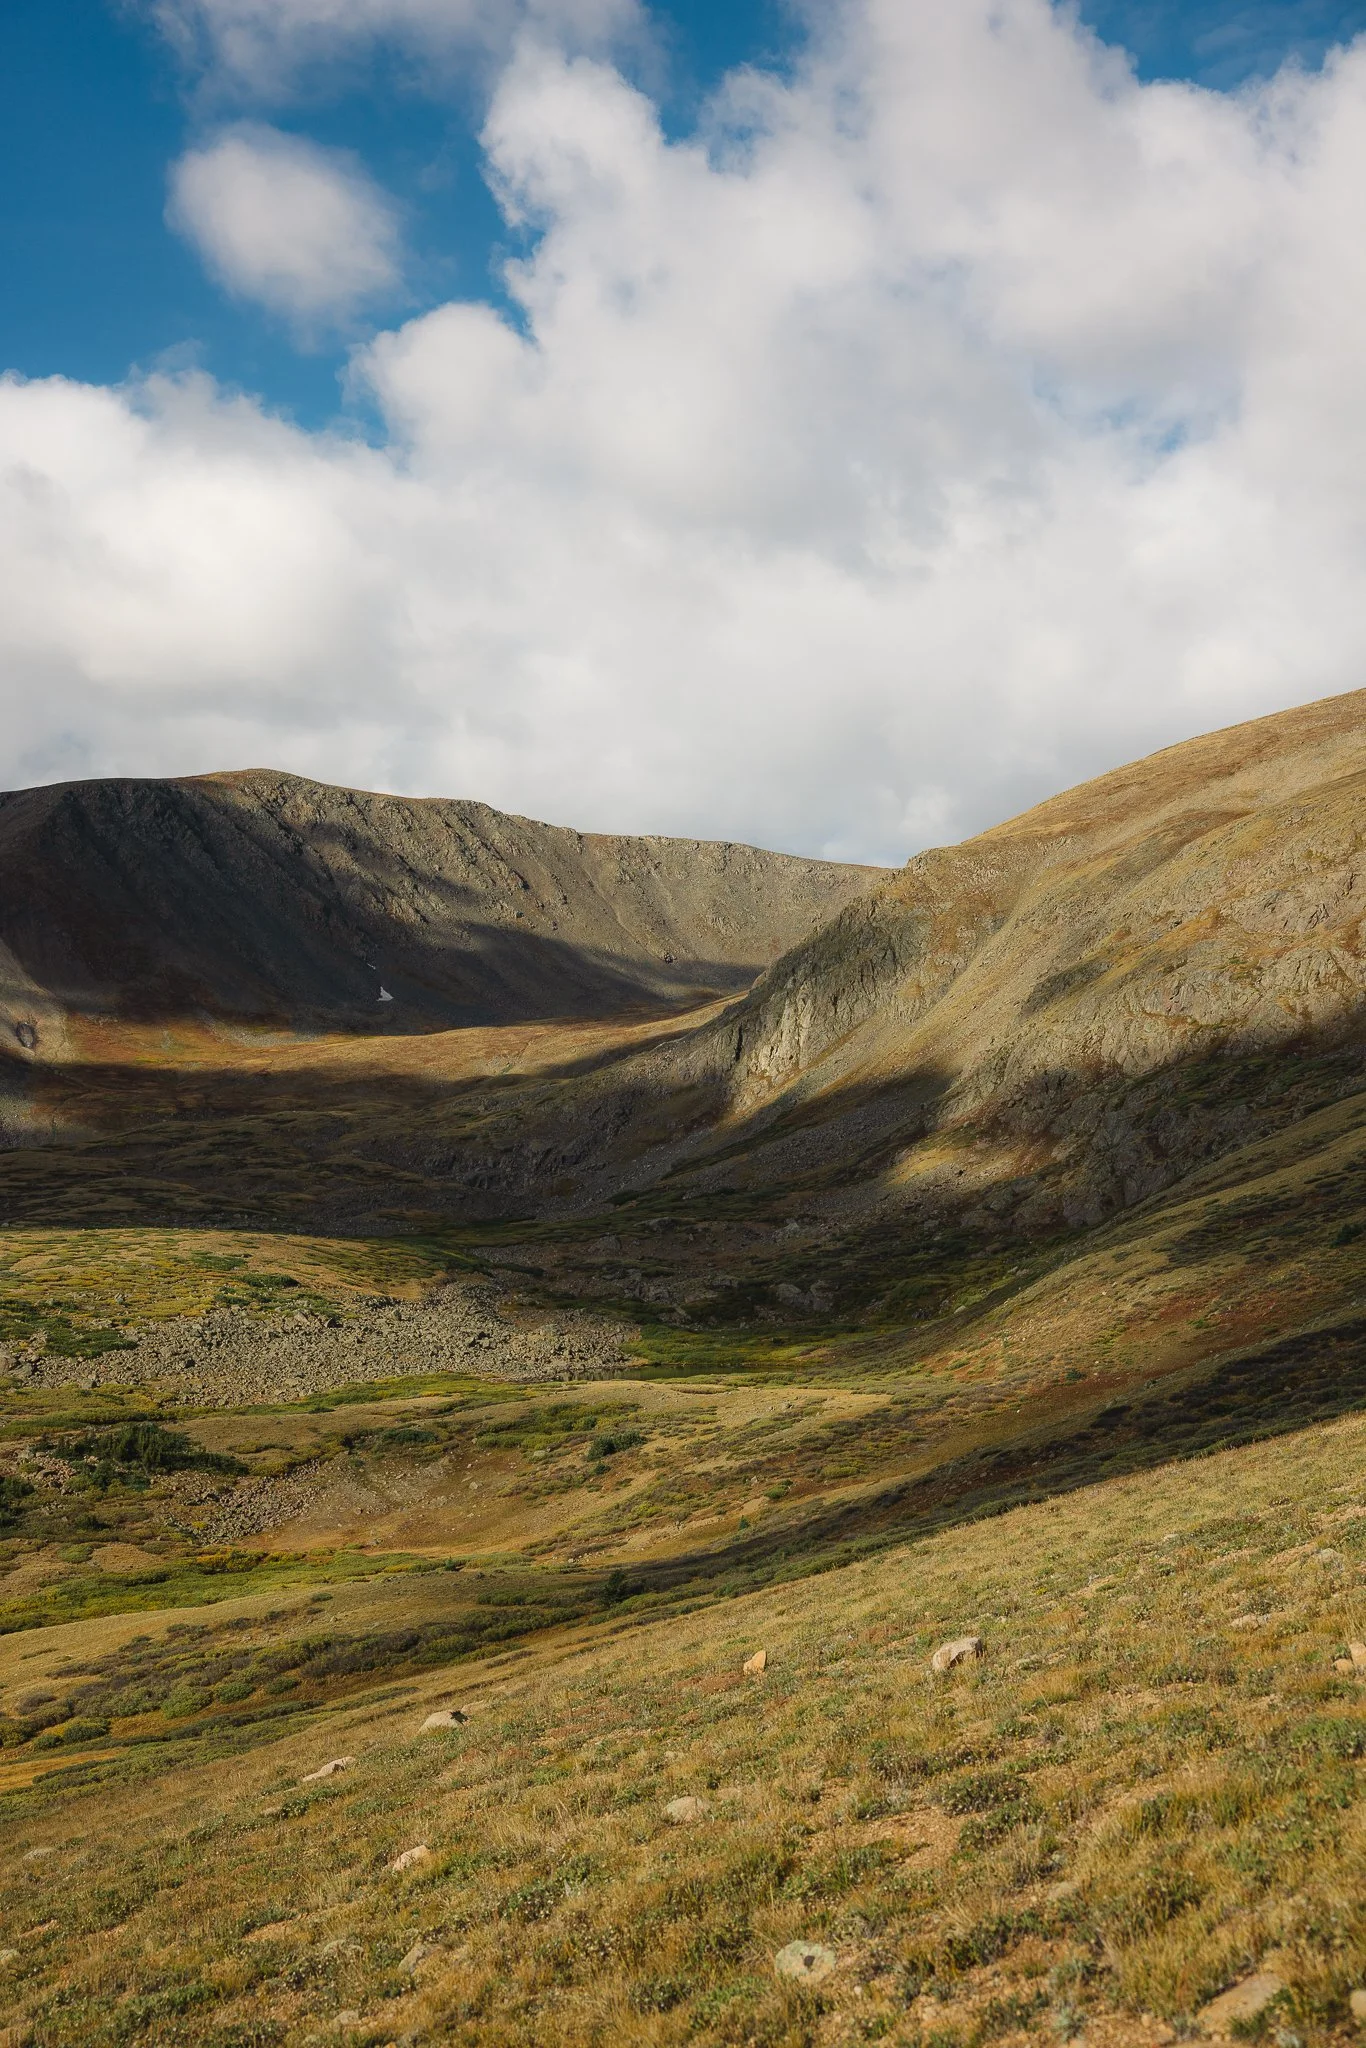
Once you trek through the field you will go back into woods for just a little bit longer. This is when the hike starts to get really good in my opinion if you are willing to go this far. Being this high up on the trail you really start to see the surrounding mountain ranges and it is an amazing experience, almost heavenly if the lighting is just right!
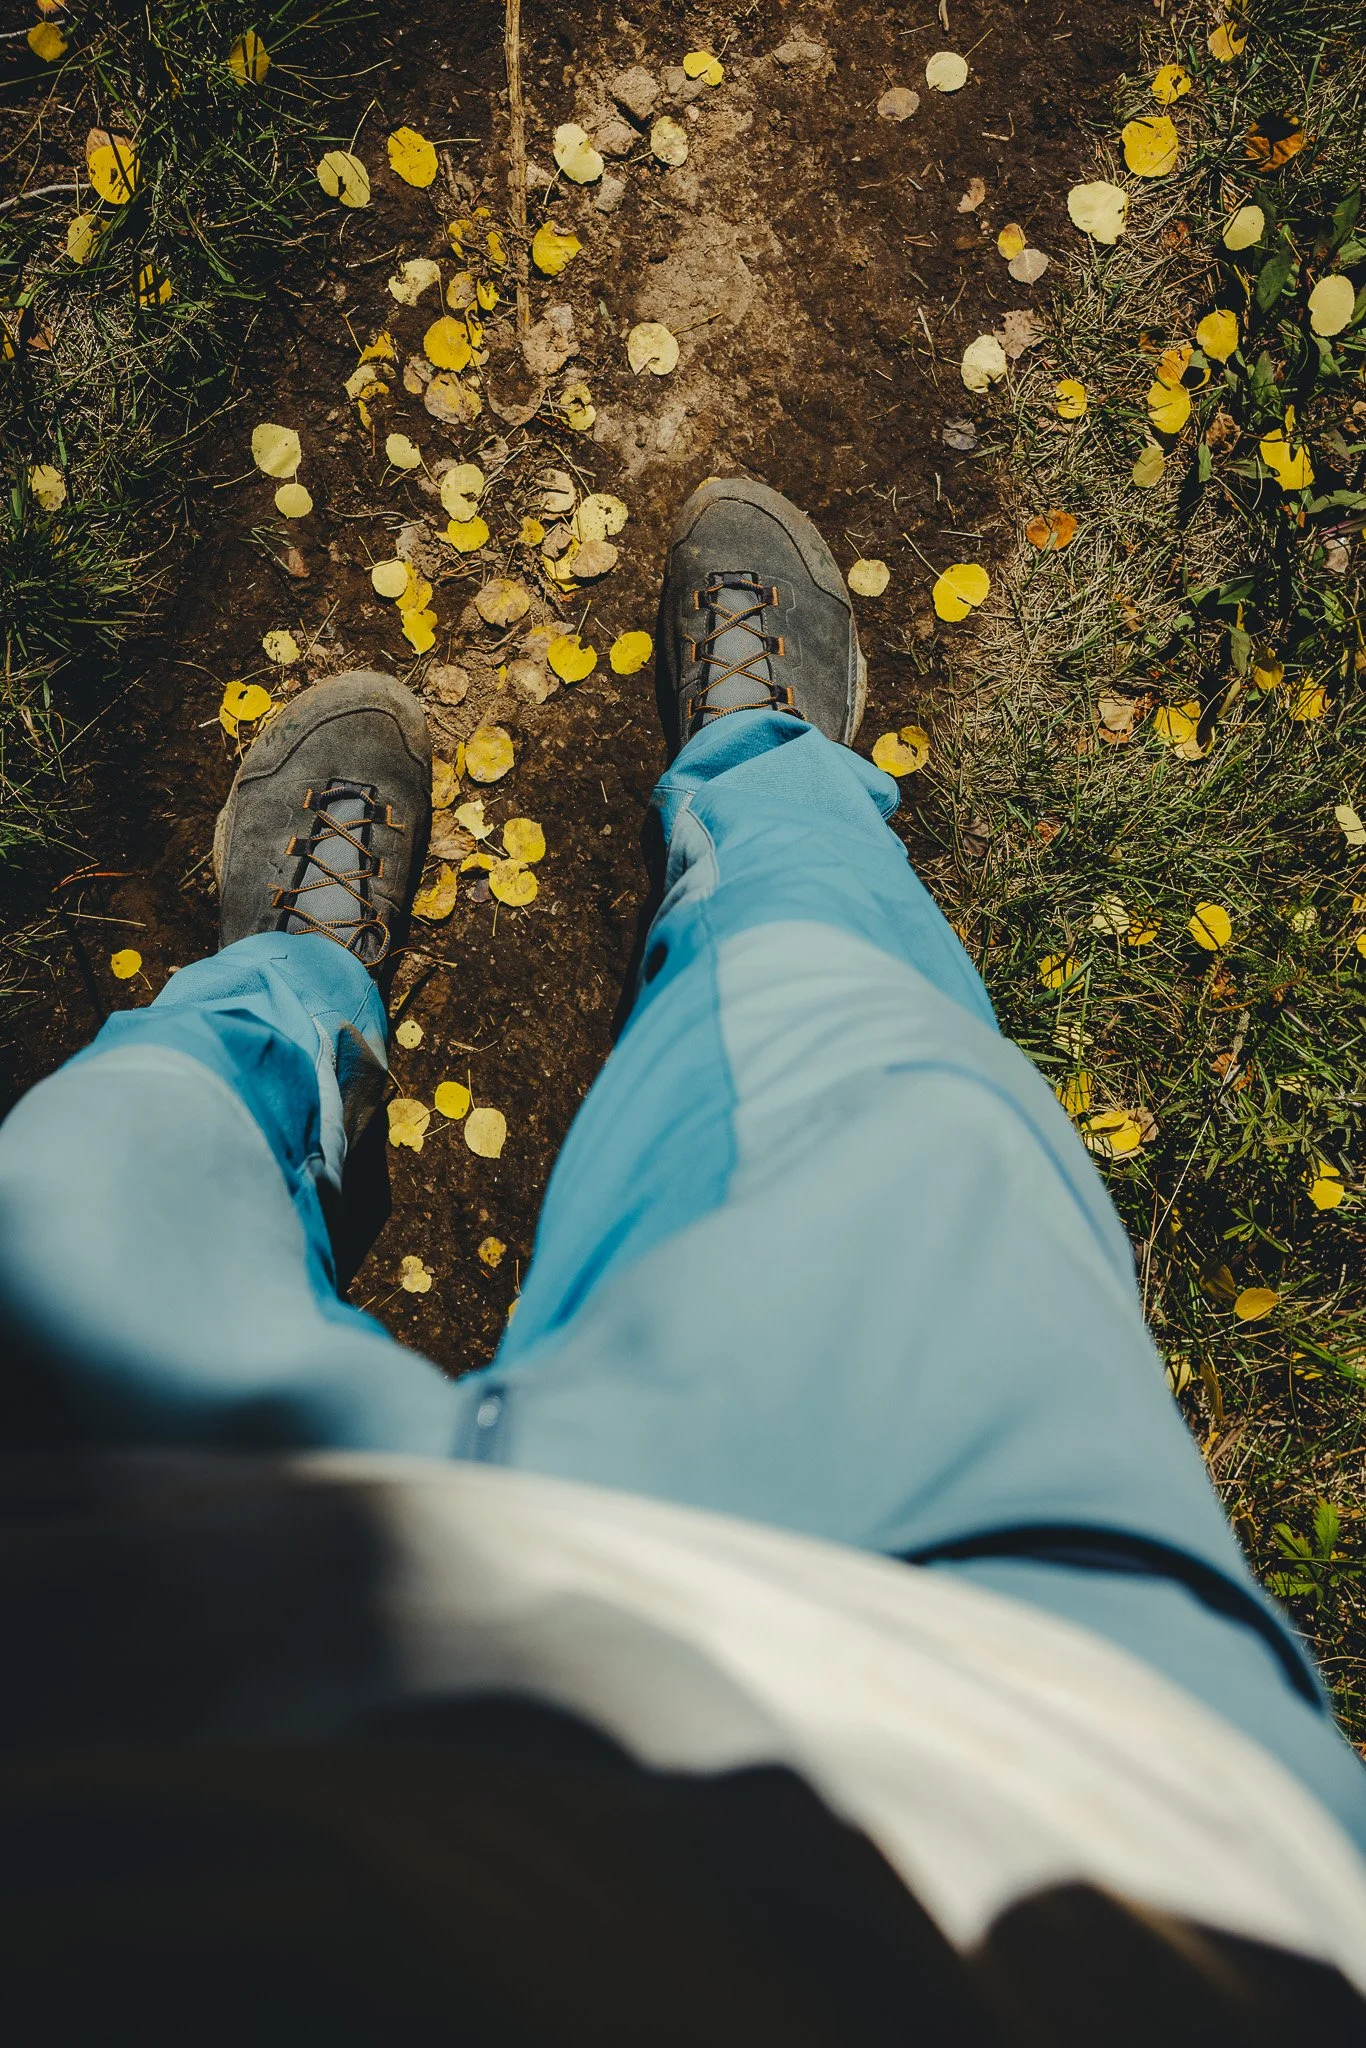
In the fall you’ll be able to see all of the yellows and oranges in the valleys and potentially some greens if you hike as the leaves are changing..
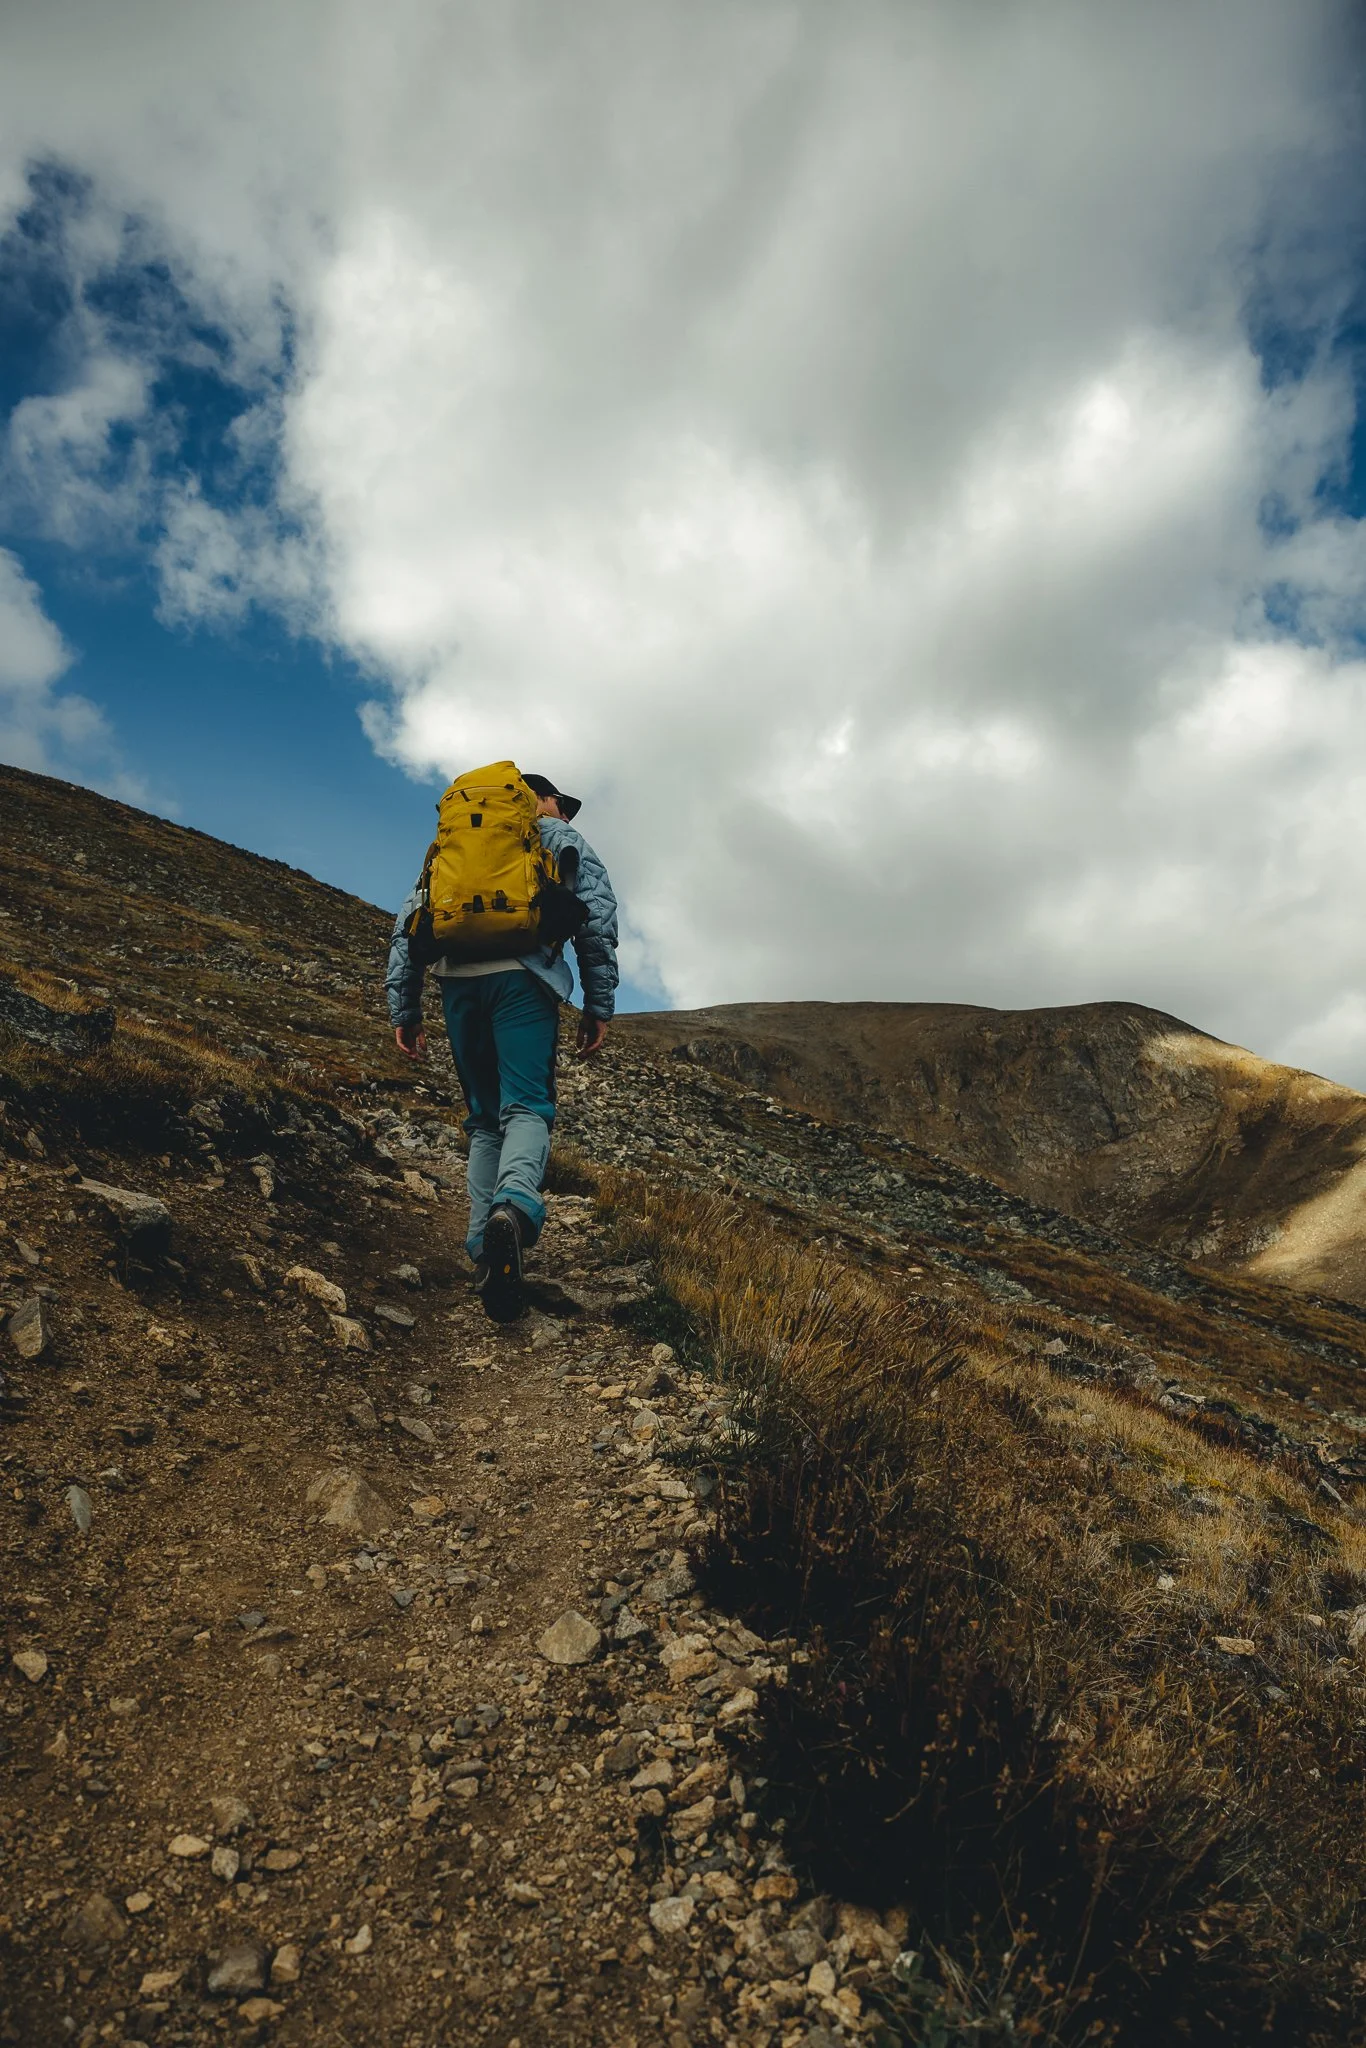
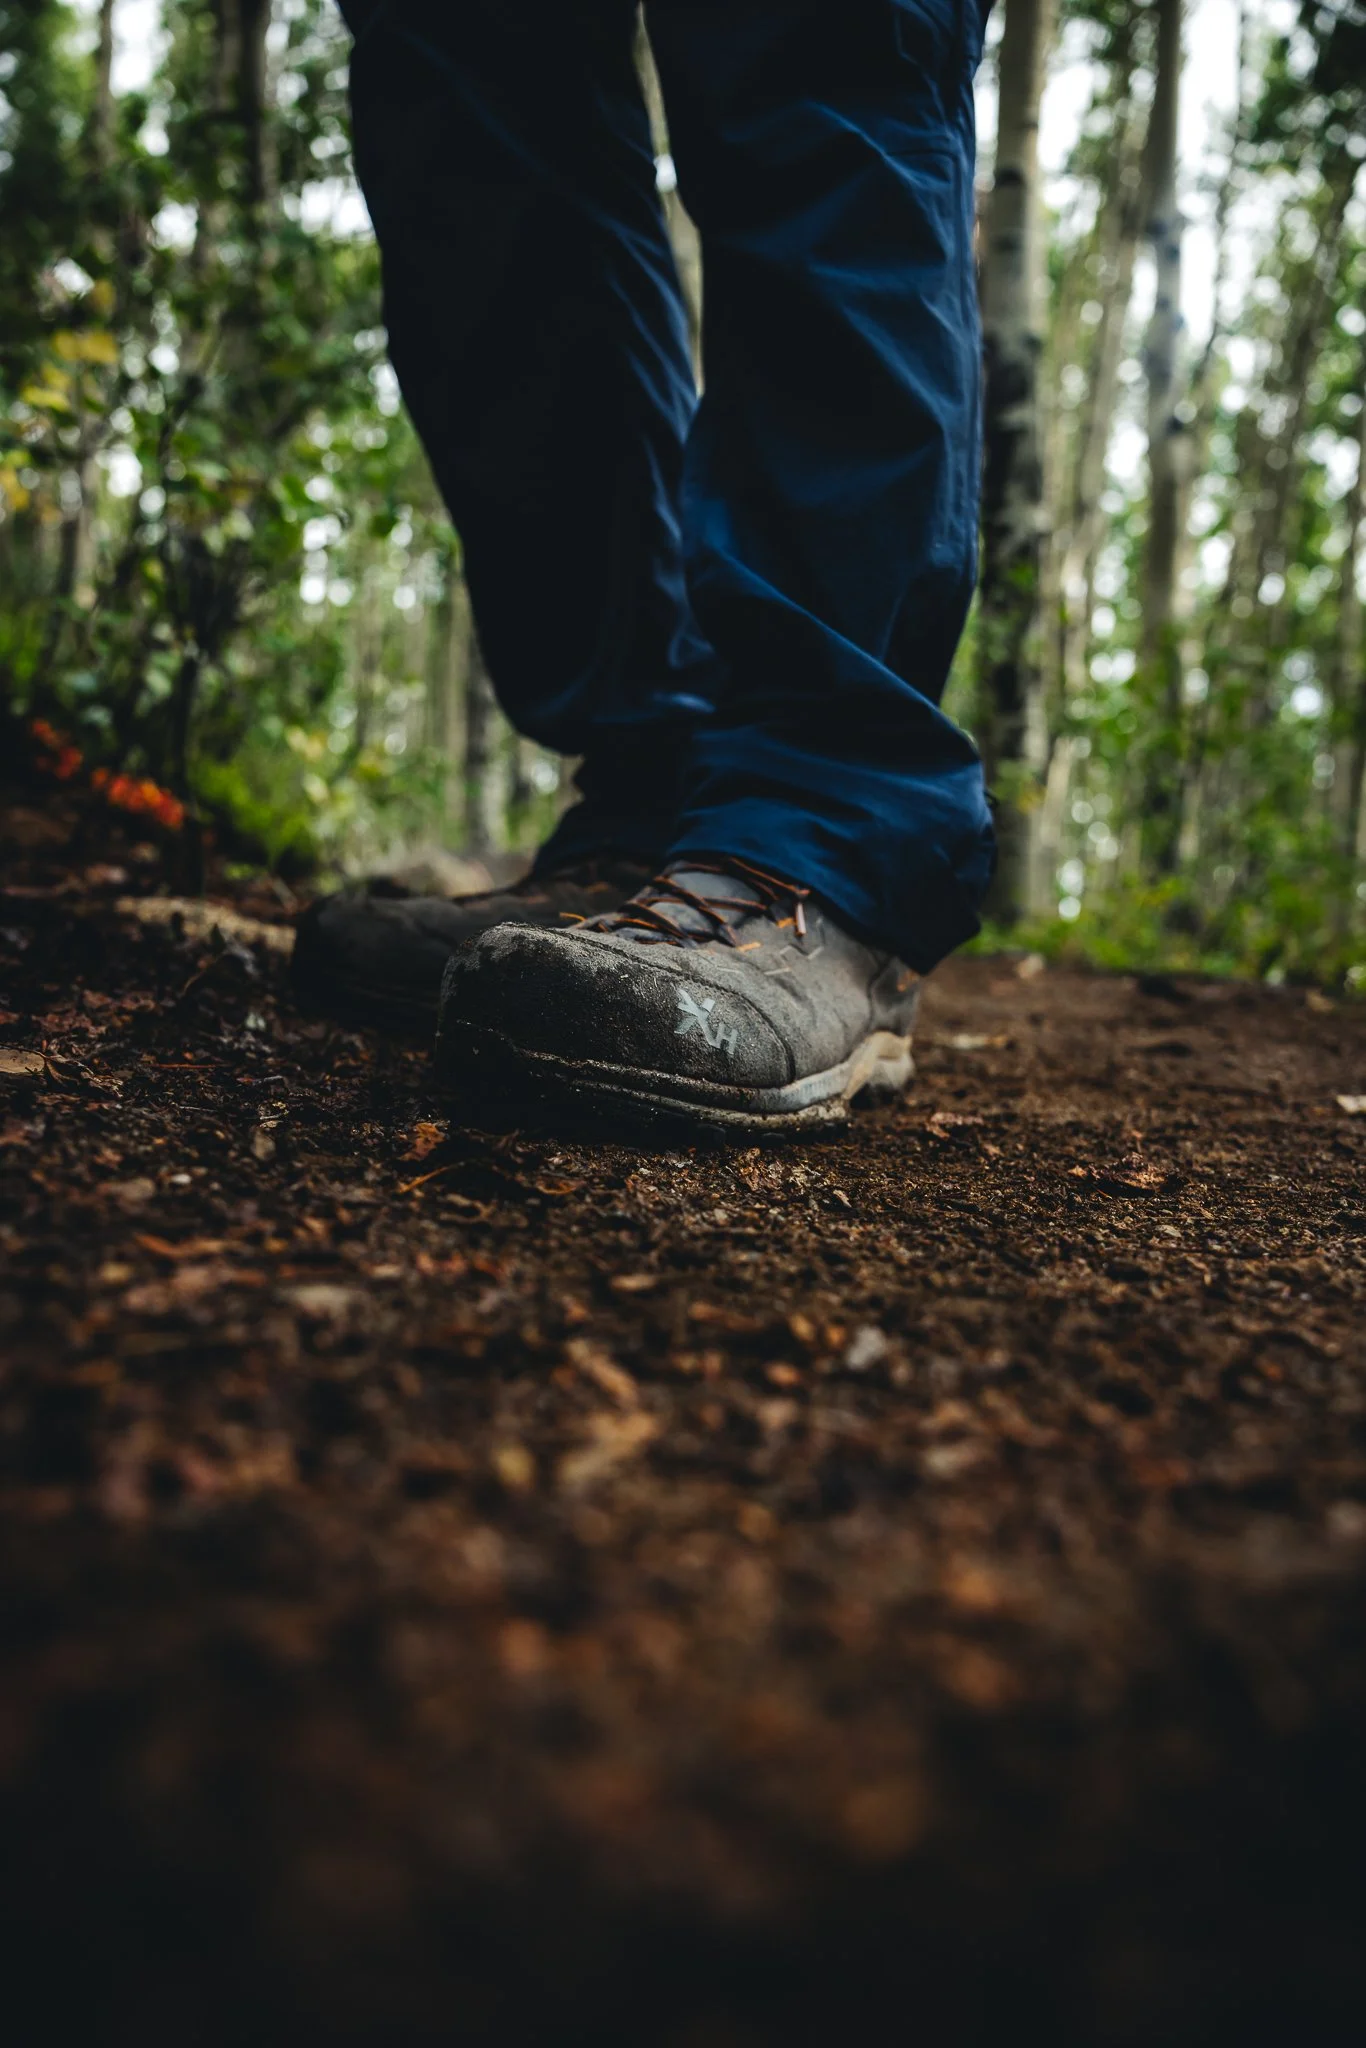
About 2.5 miles up the trail will be the best view on the entire trail in my opinion as seen in the photo below. The incline on this part I believe is the steepest part so take your time and drink plenty of water. It’s also not a bad place to take a break and just take in the scenery. Maybe grab a few packed snacks. Not many people will hike this far so if you do it later in the day, you might even have the trail to yourself.
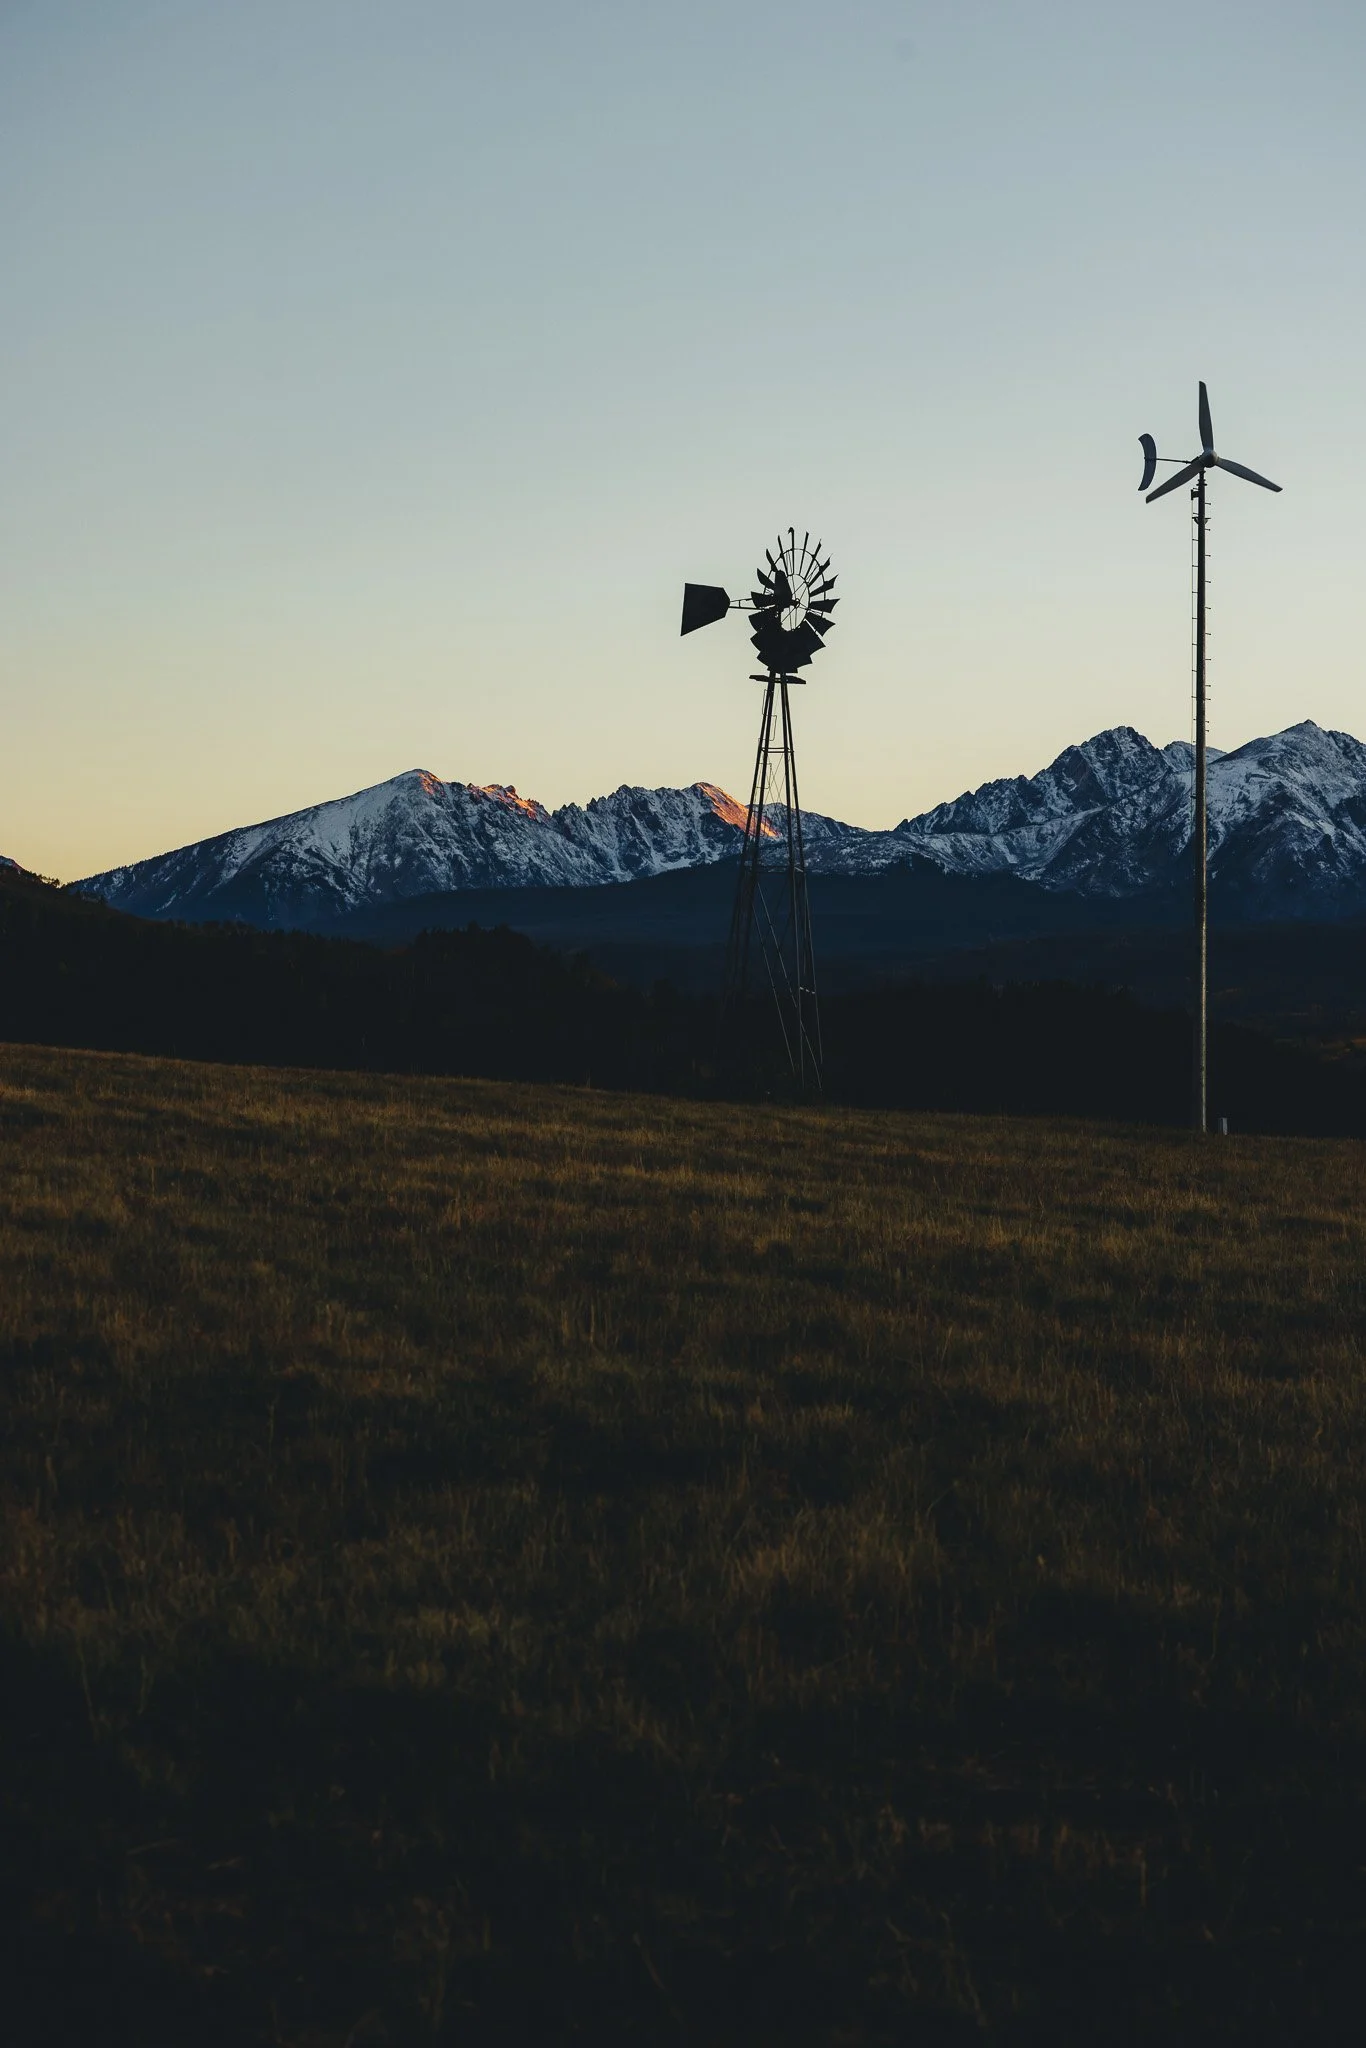
In June the peaks should still have snow on them and it makes for some awesome photography.

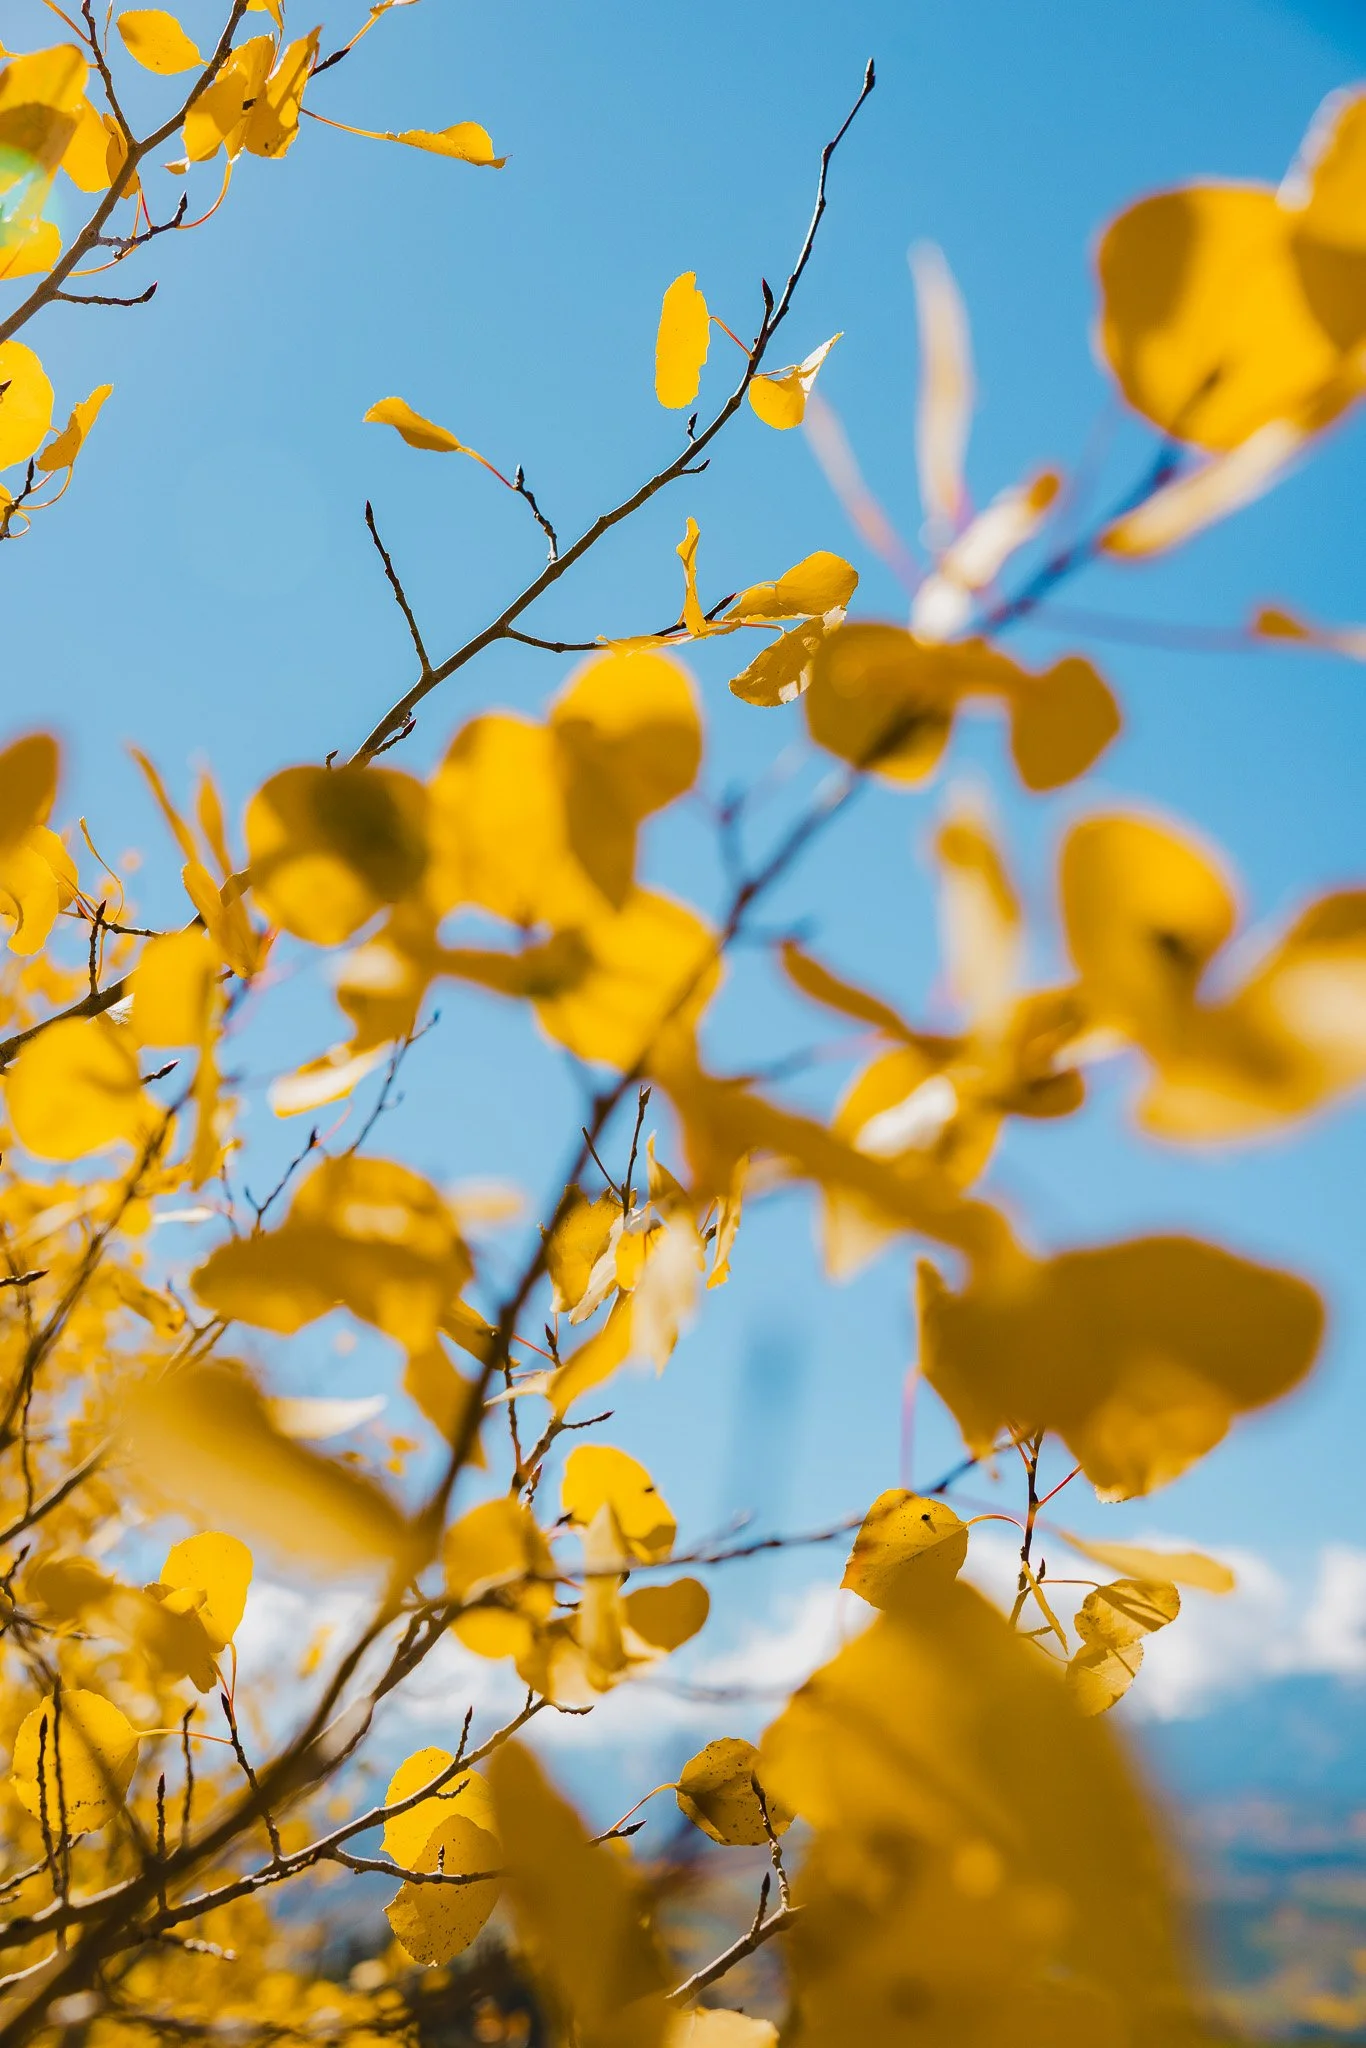
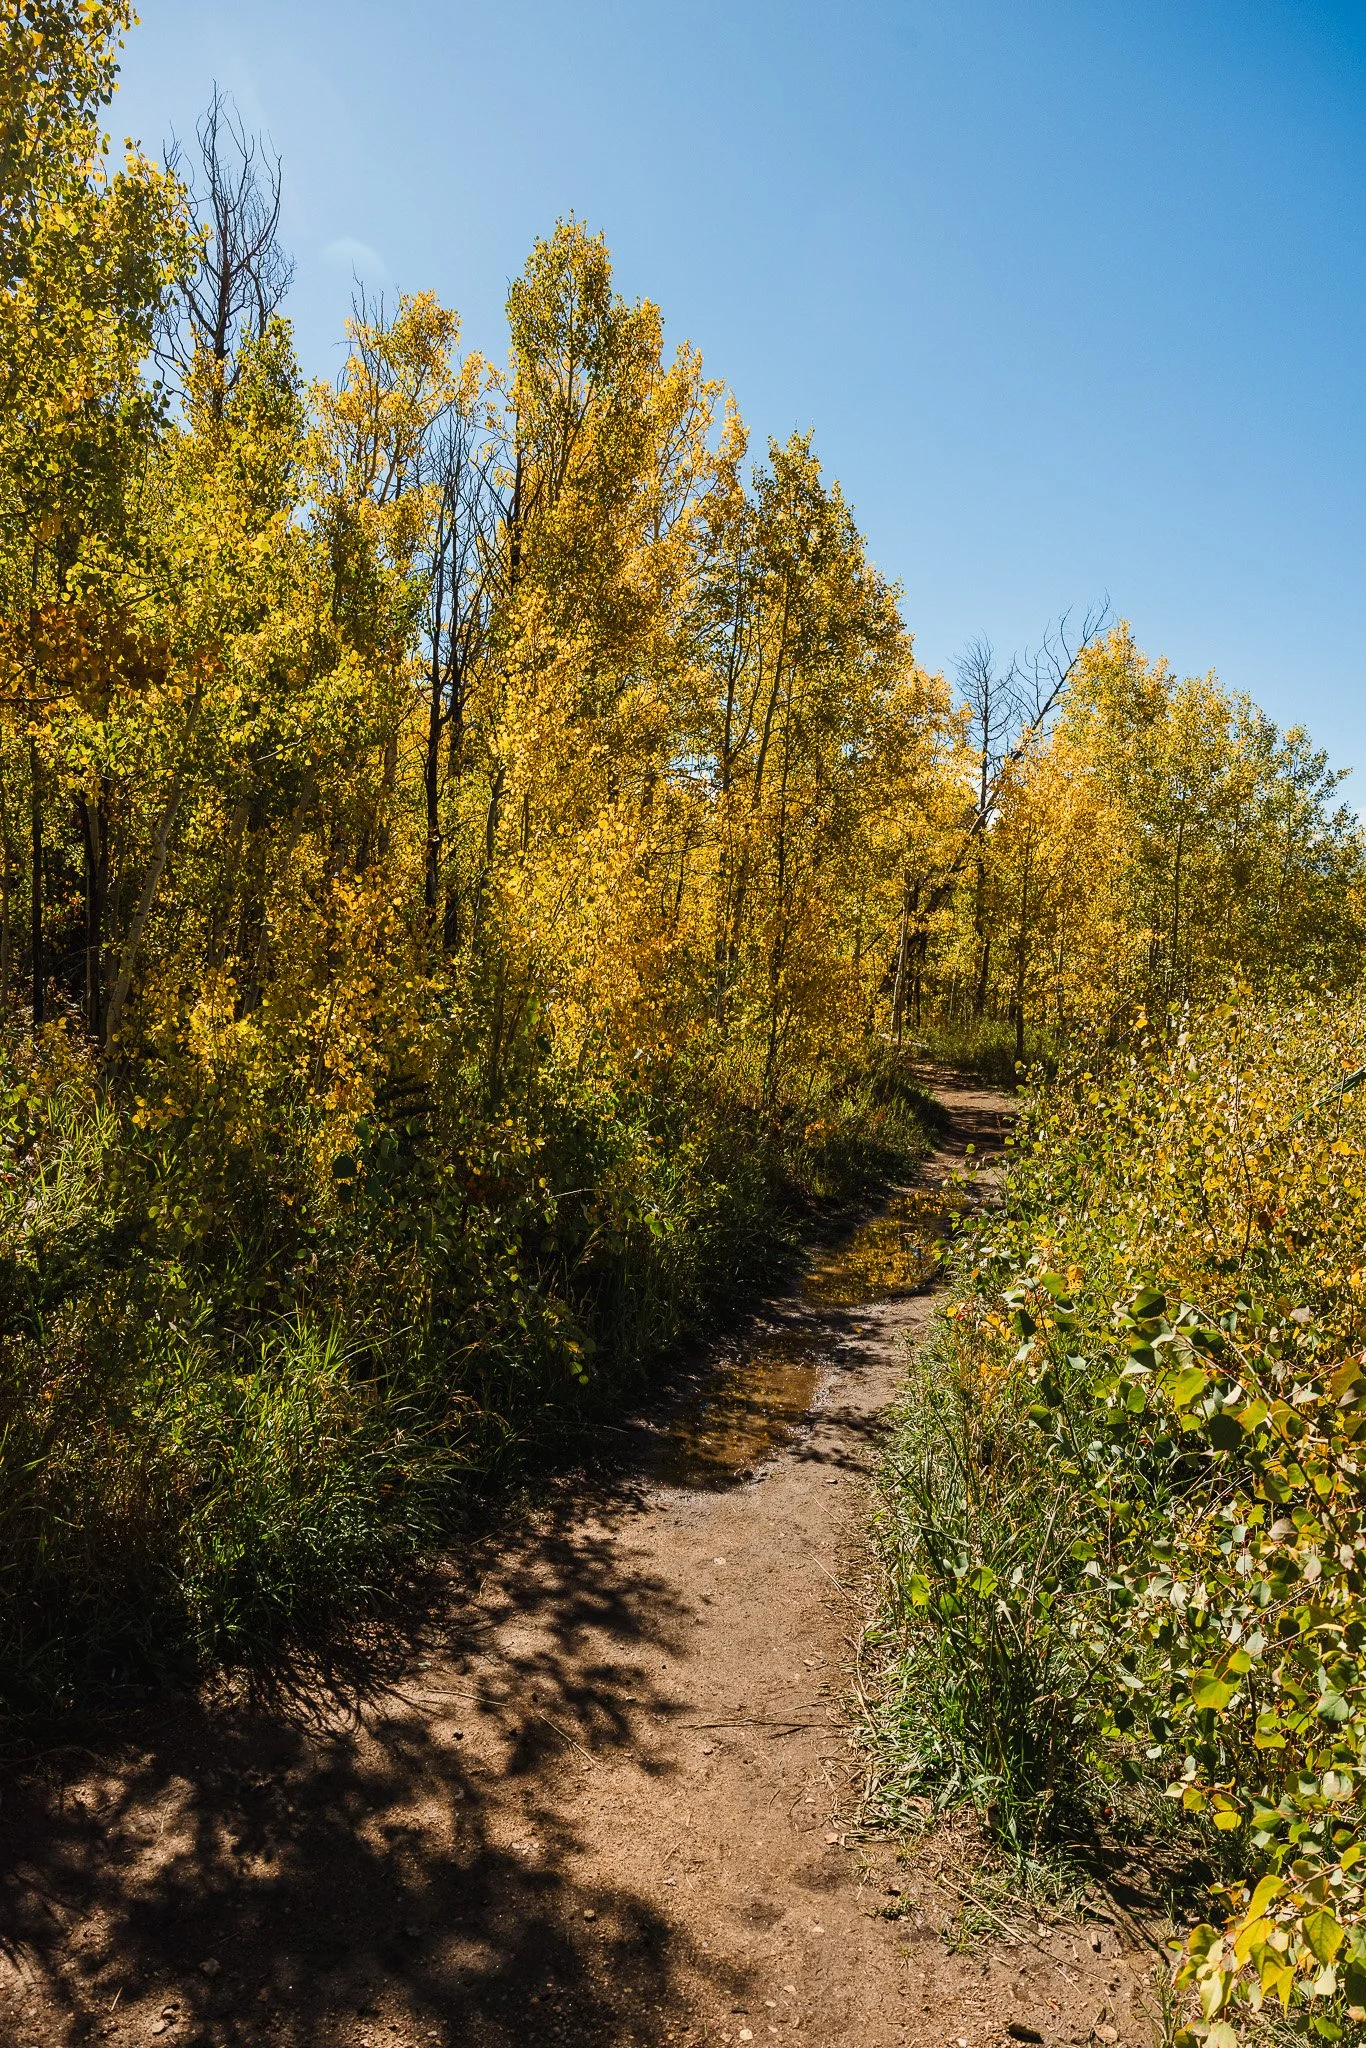
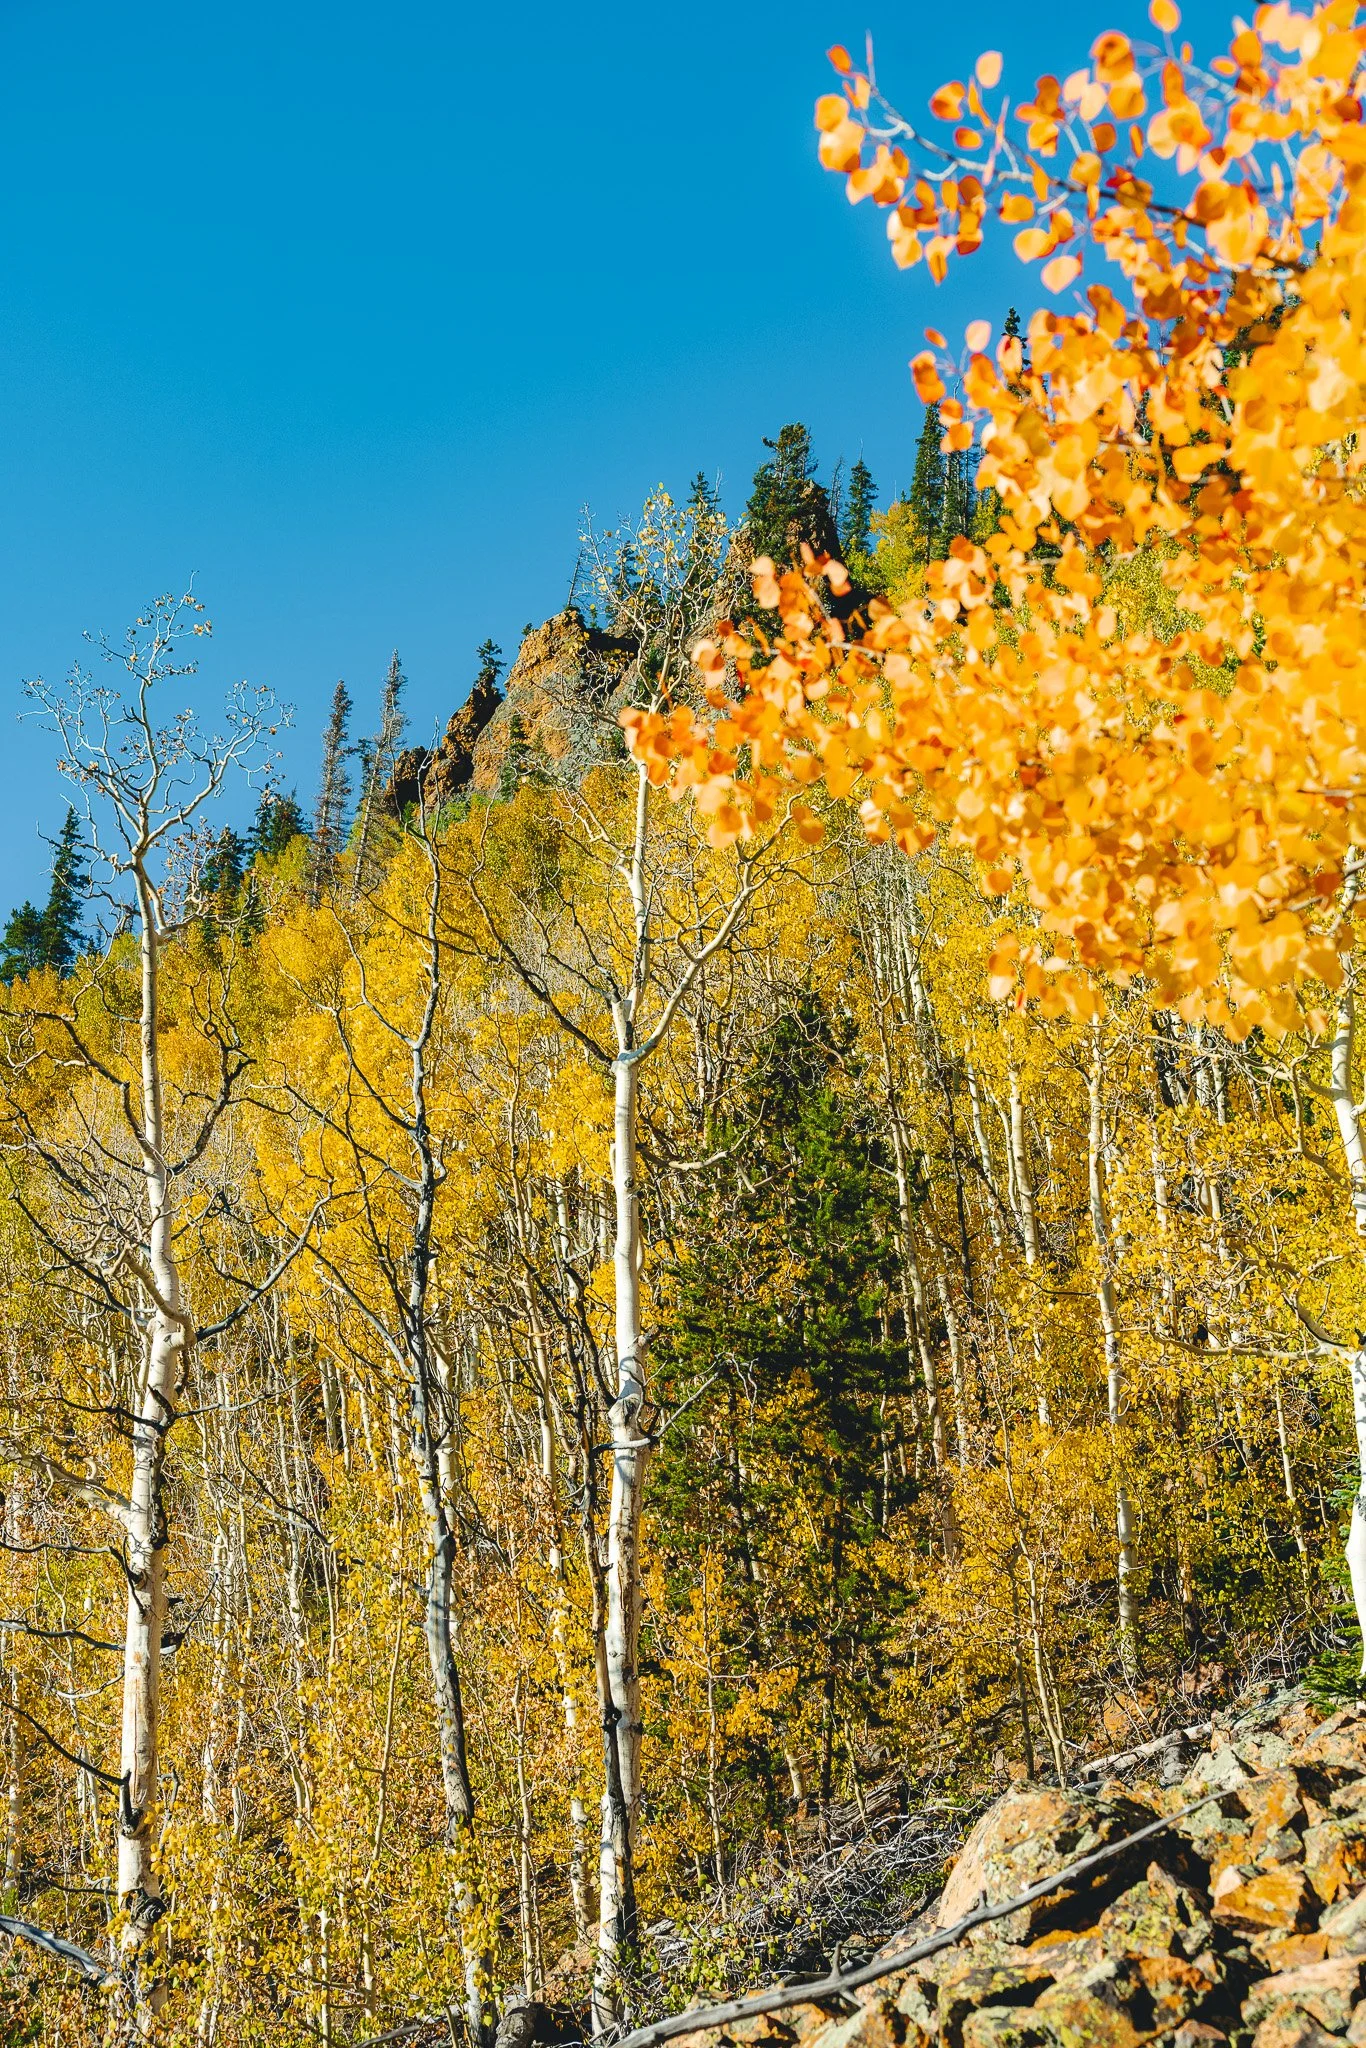
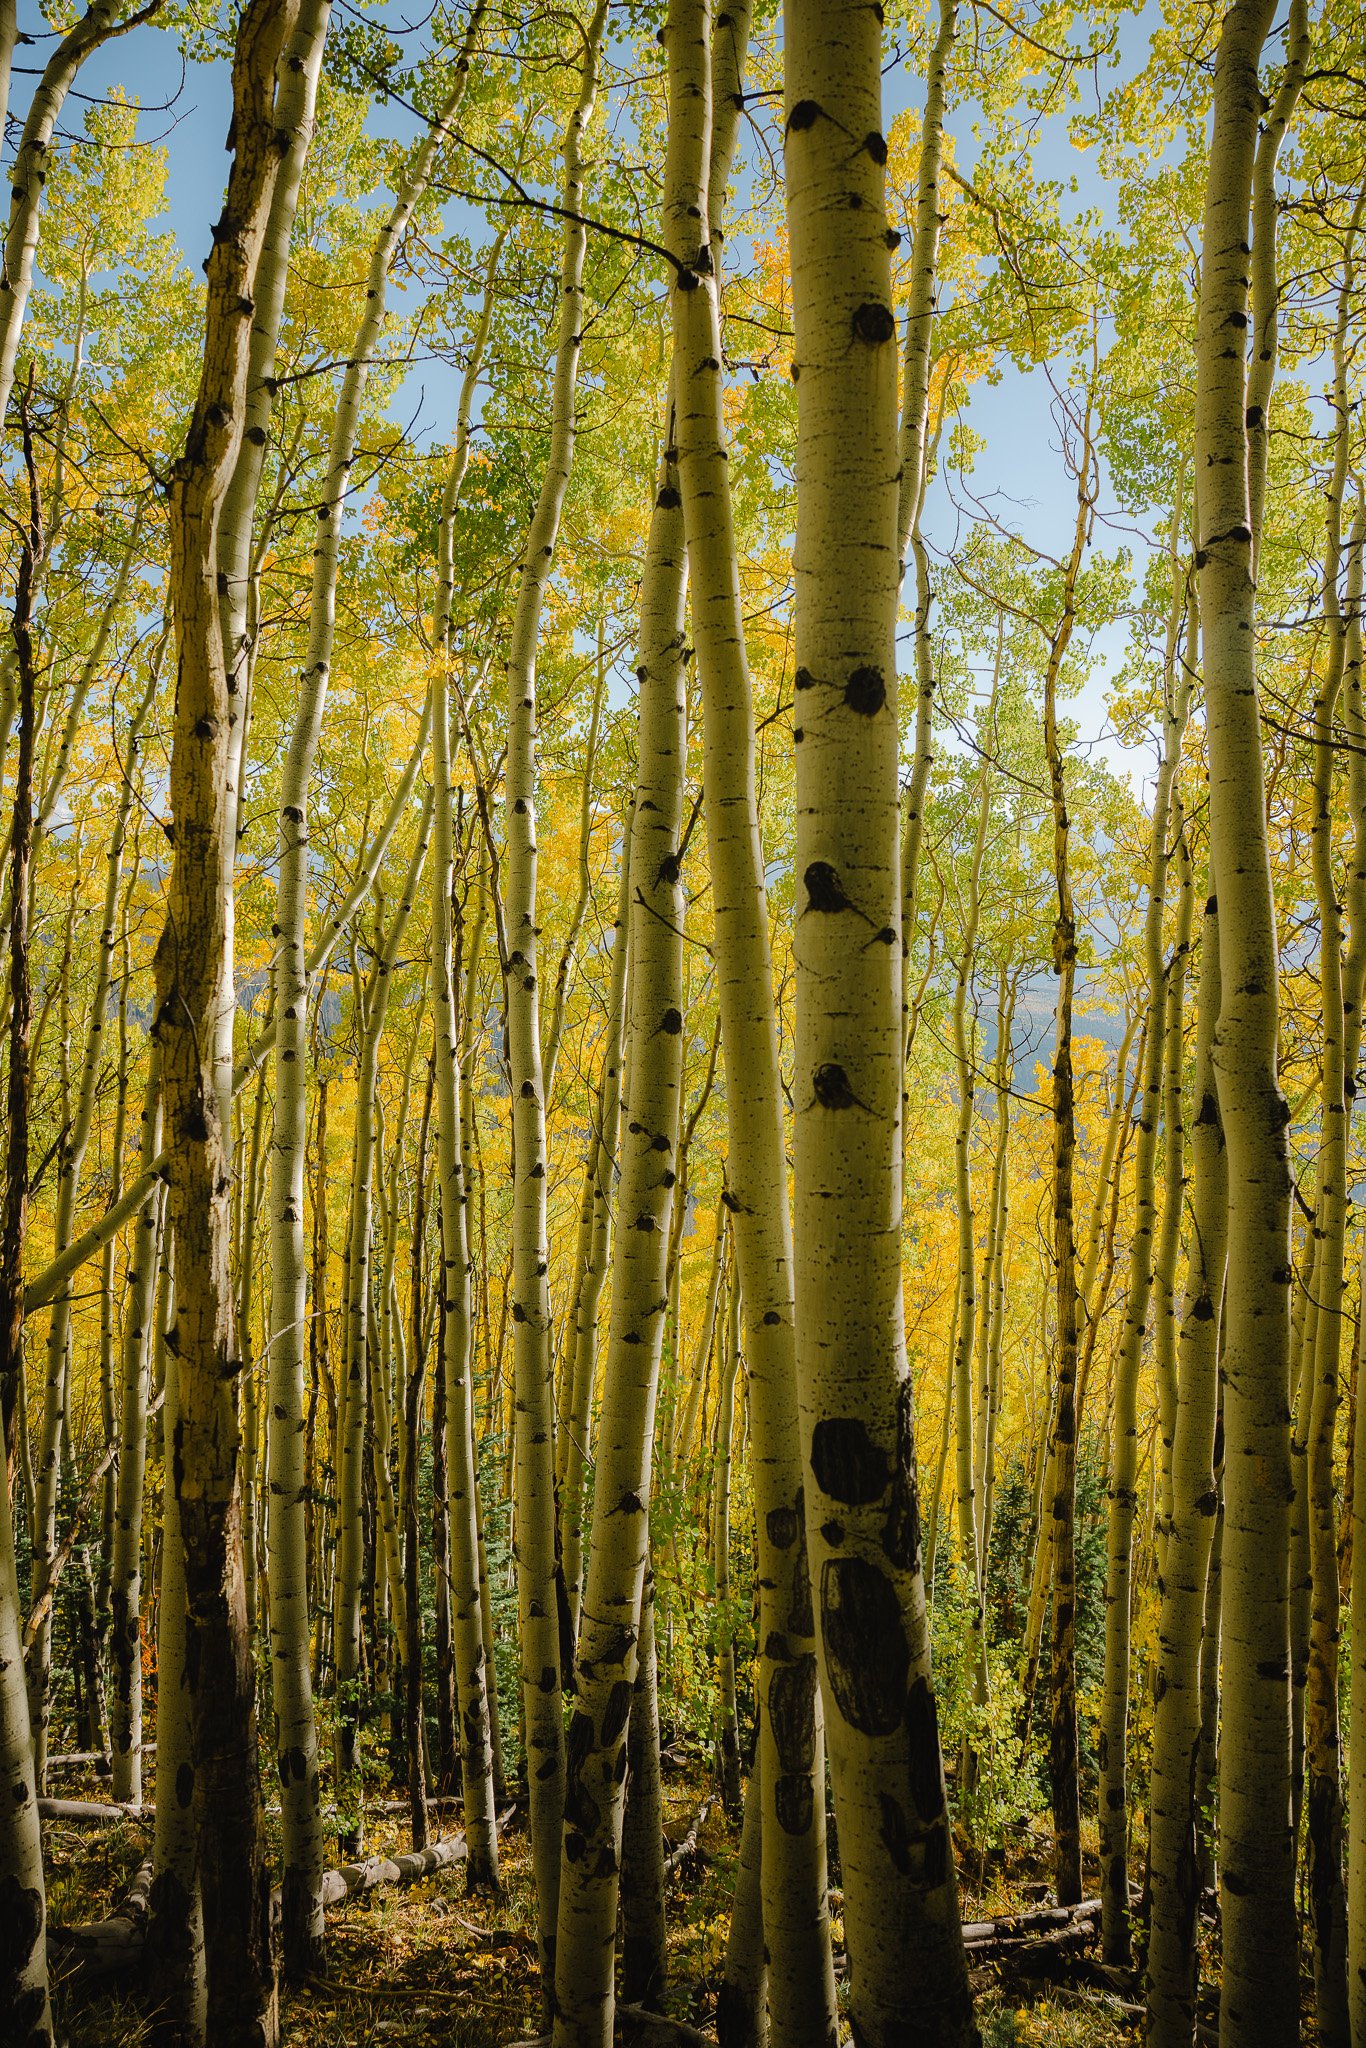
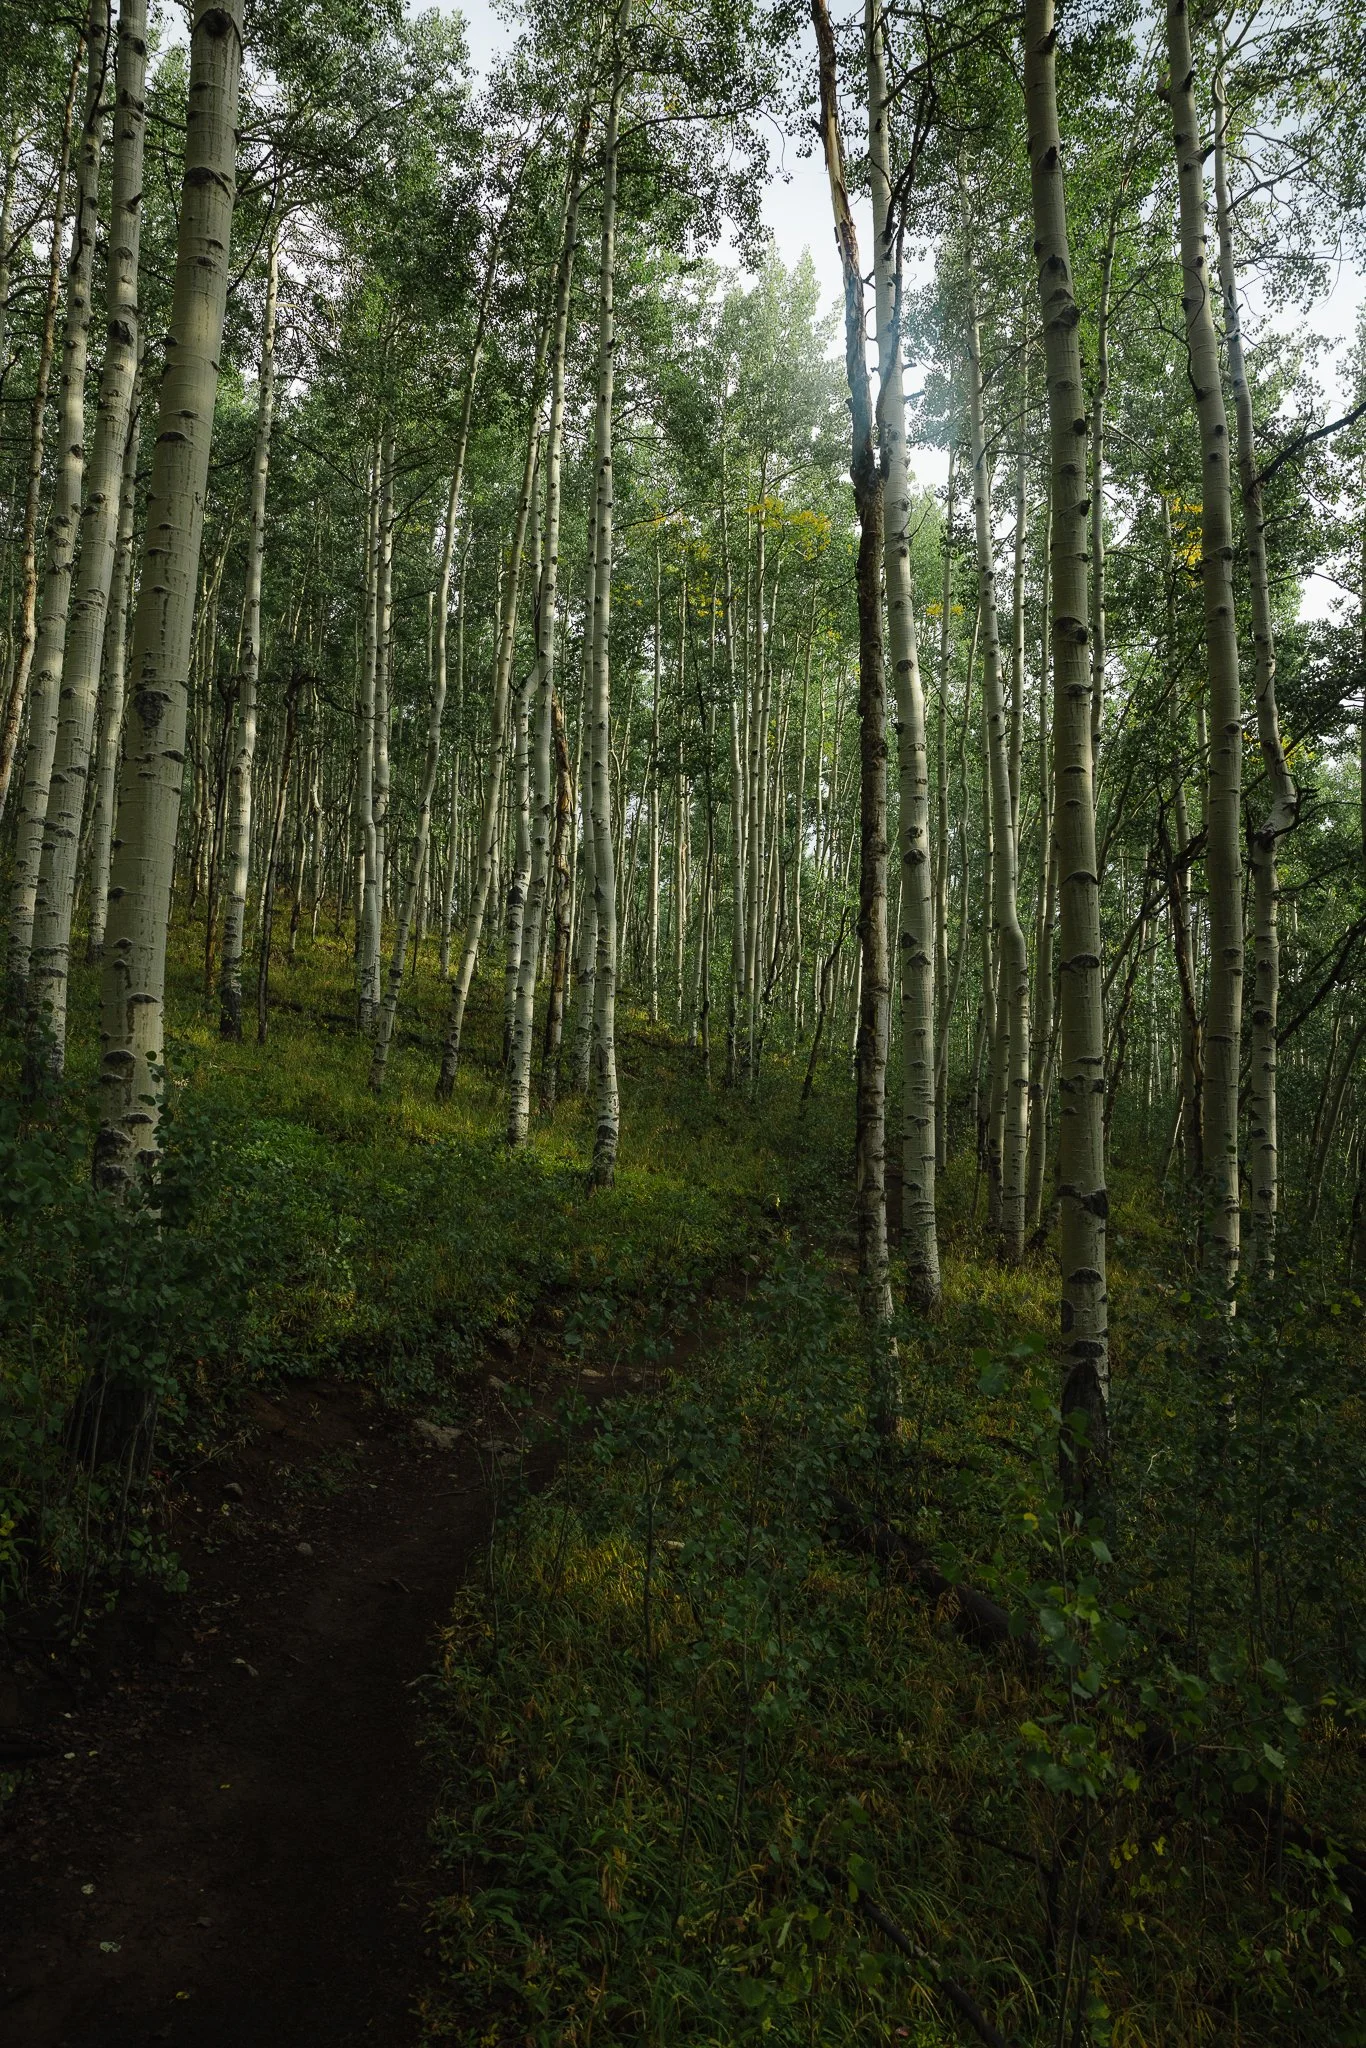
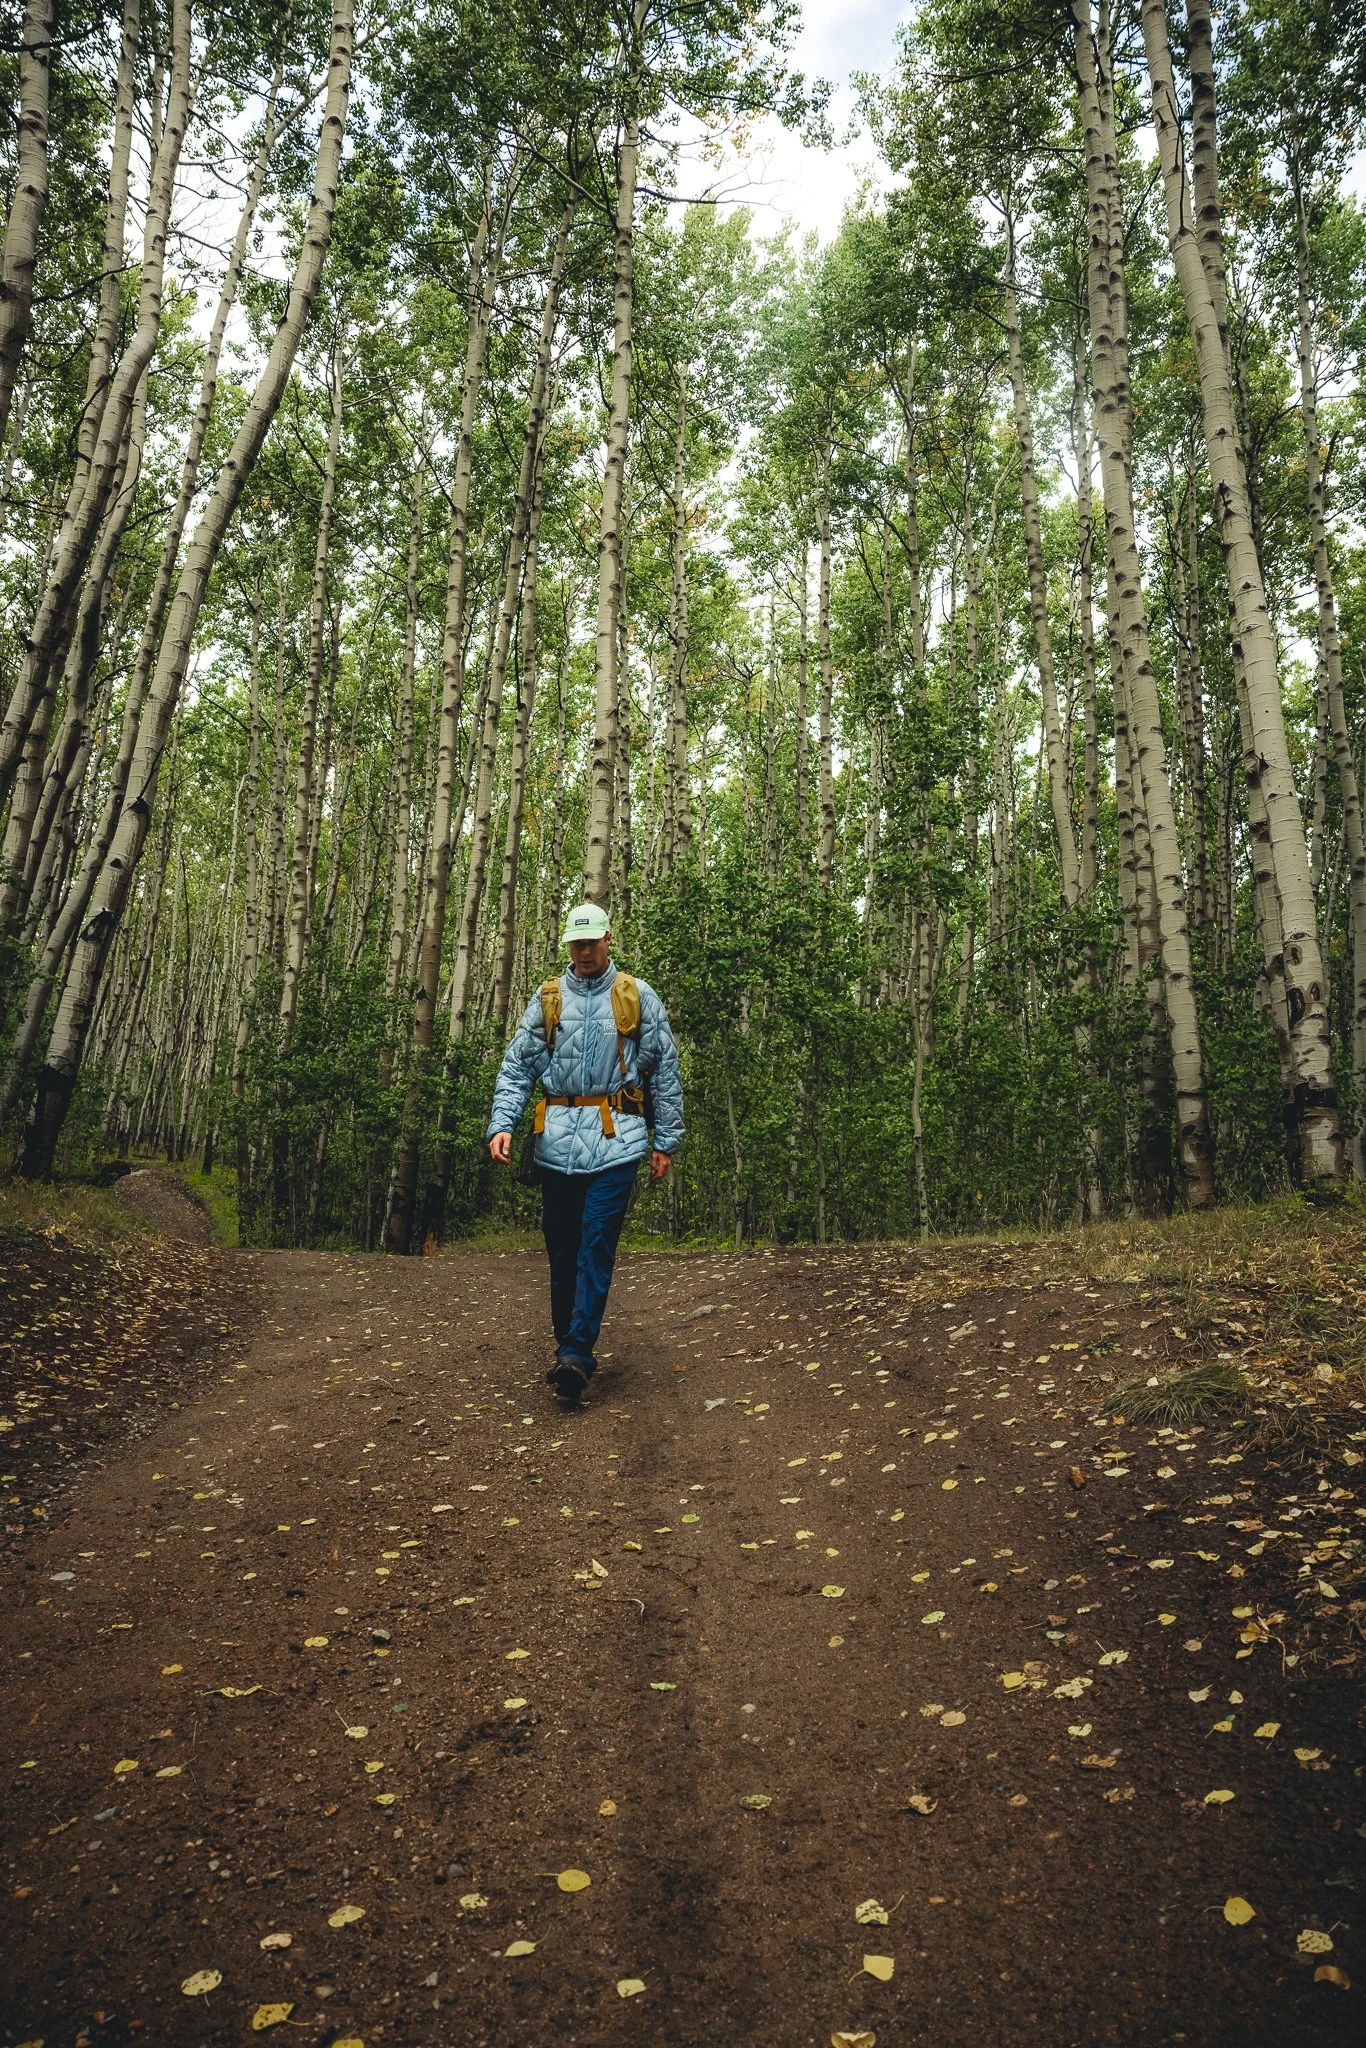
After the last viewpoint, the trail will mainly be through aspen trees, with hardly any views. It is pretty nice to walk through the aspen trees as you ascend the last leg of the hike.
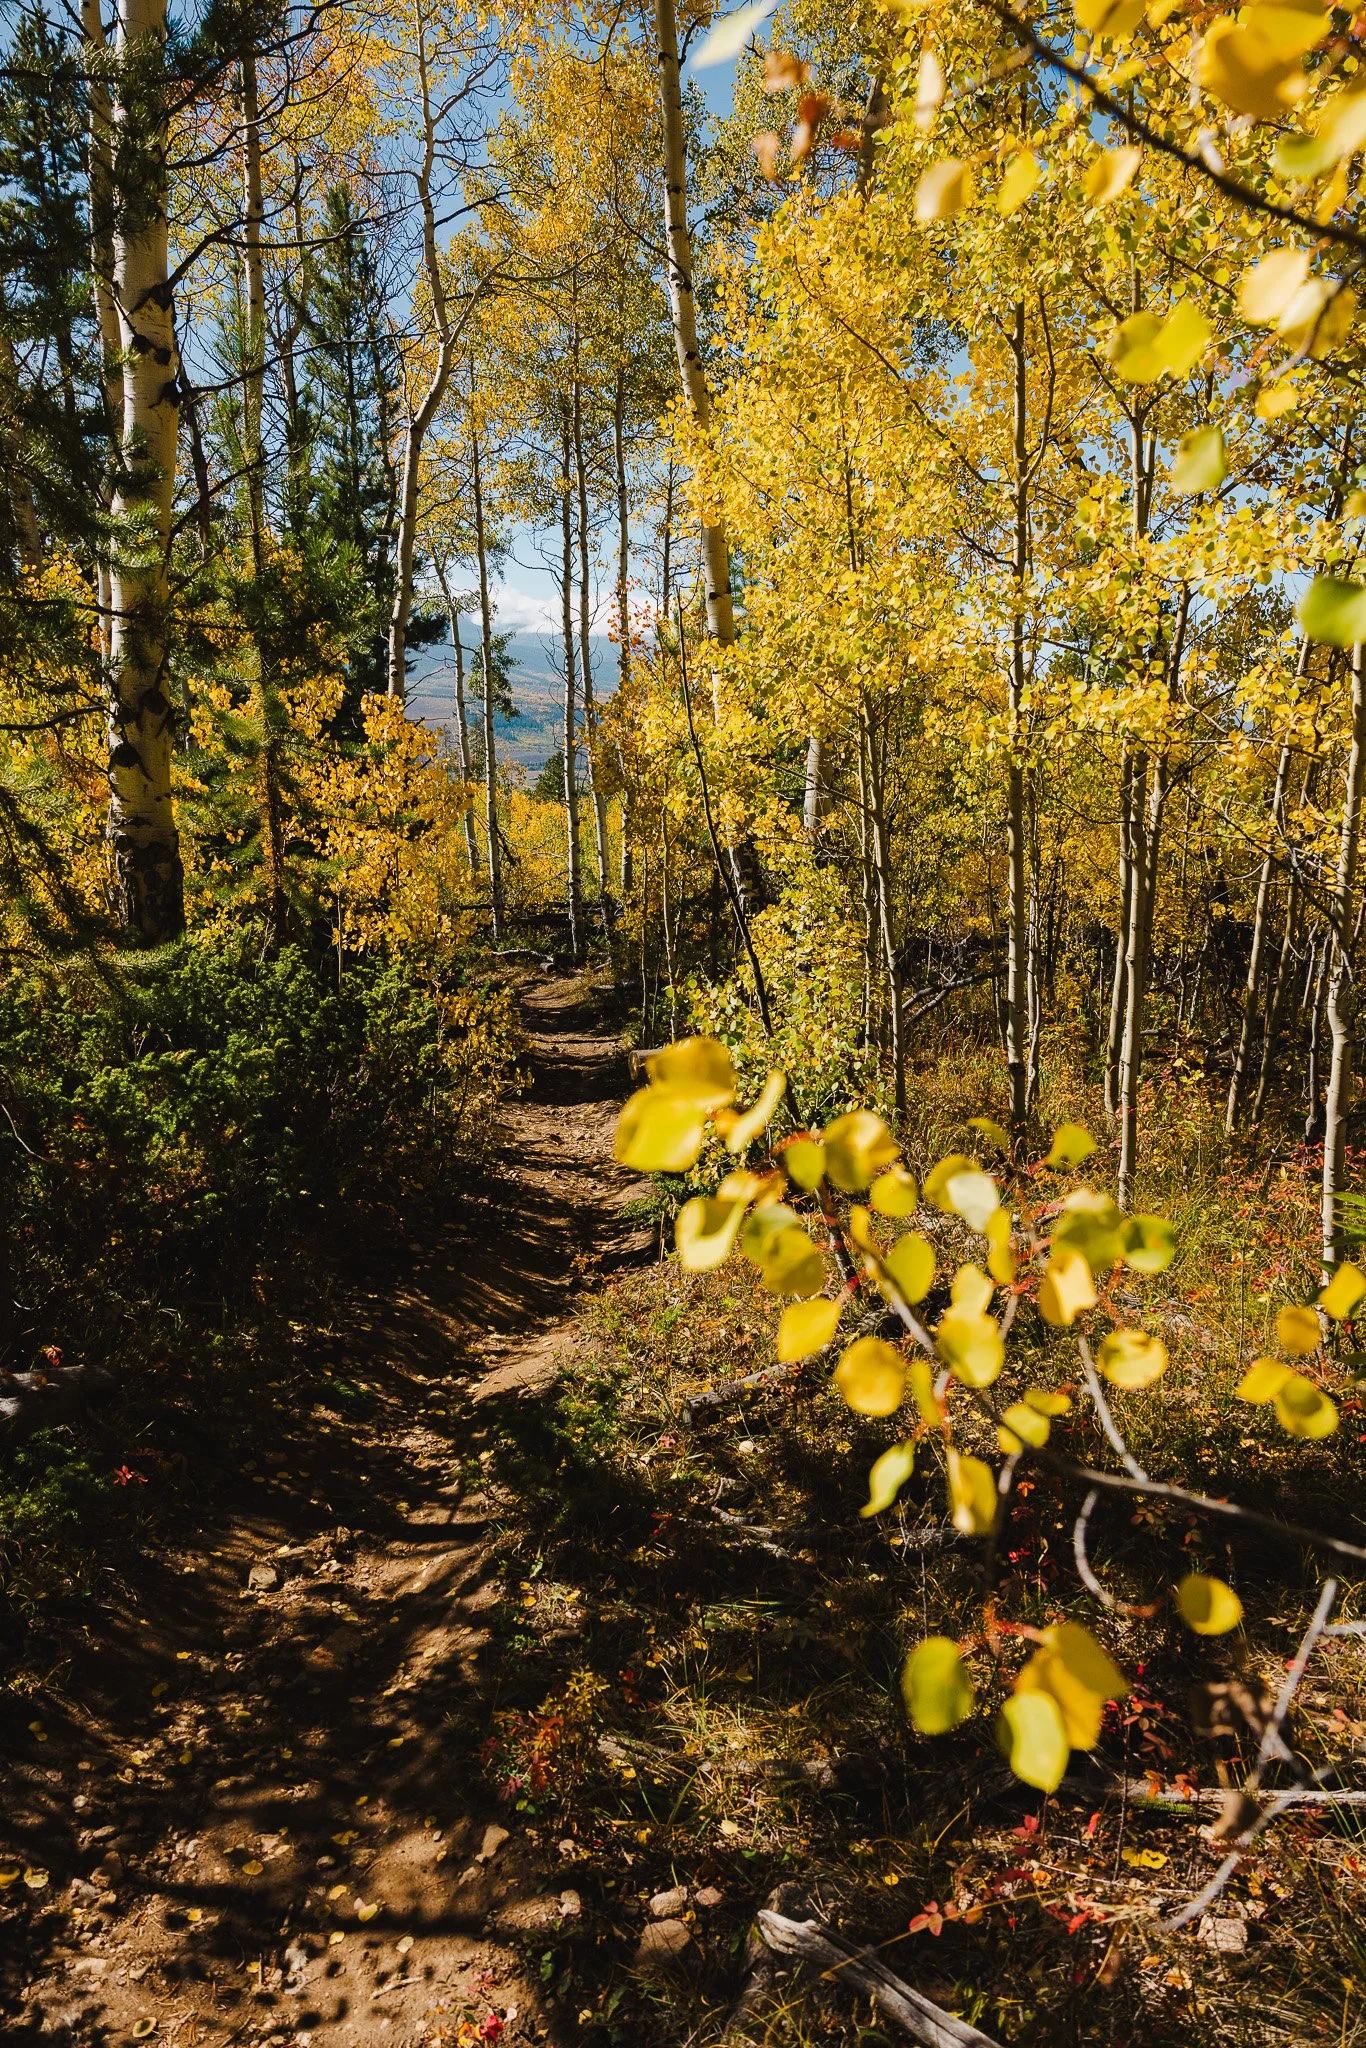
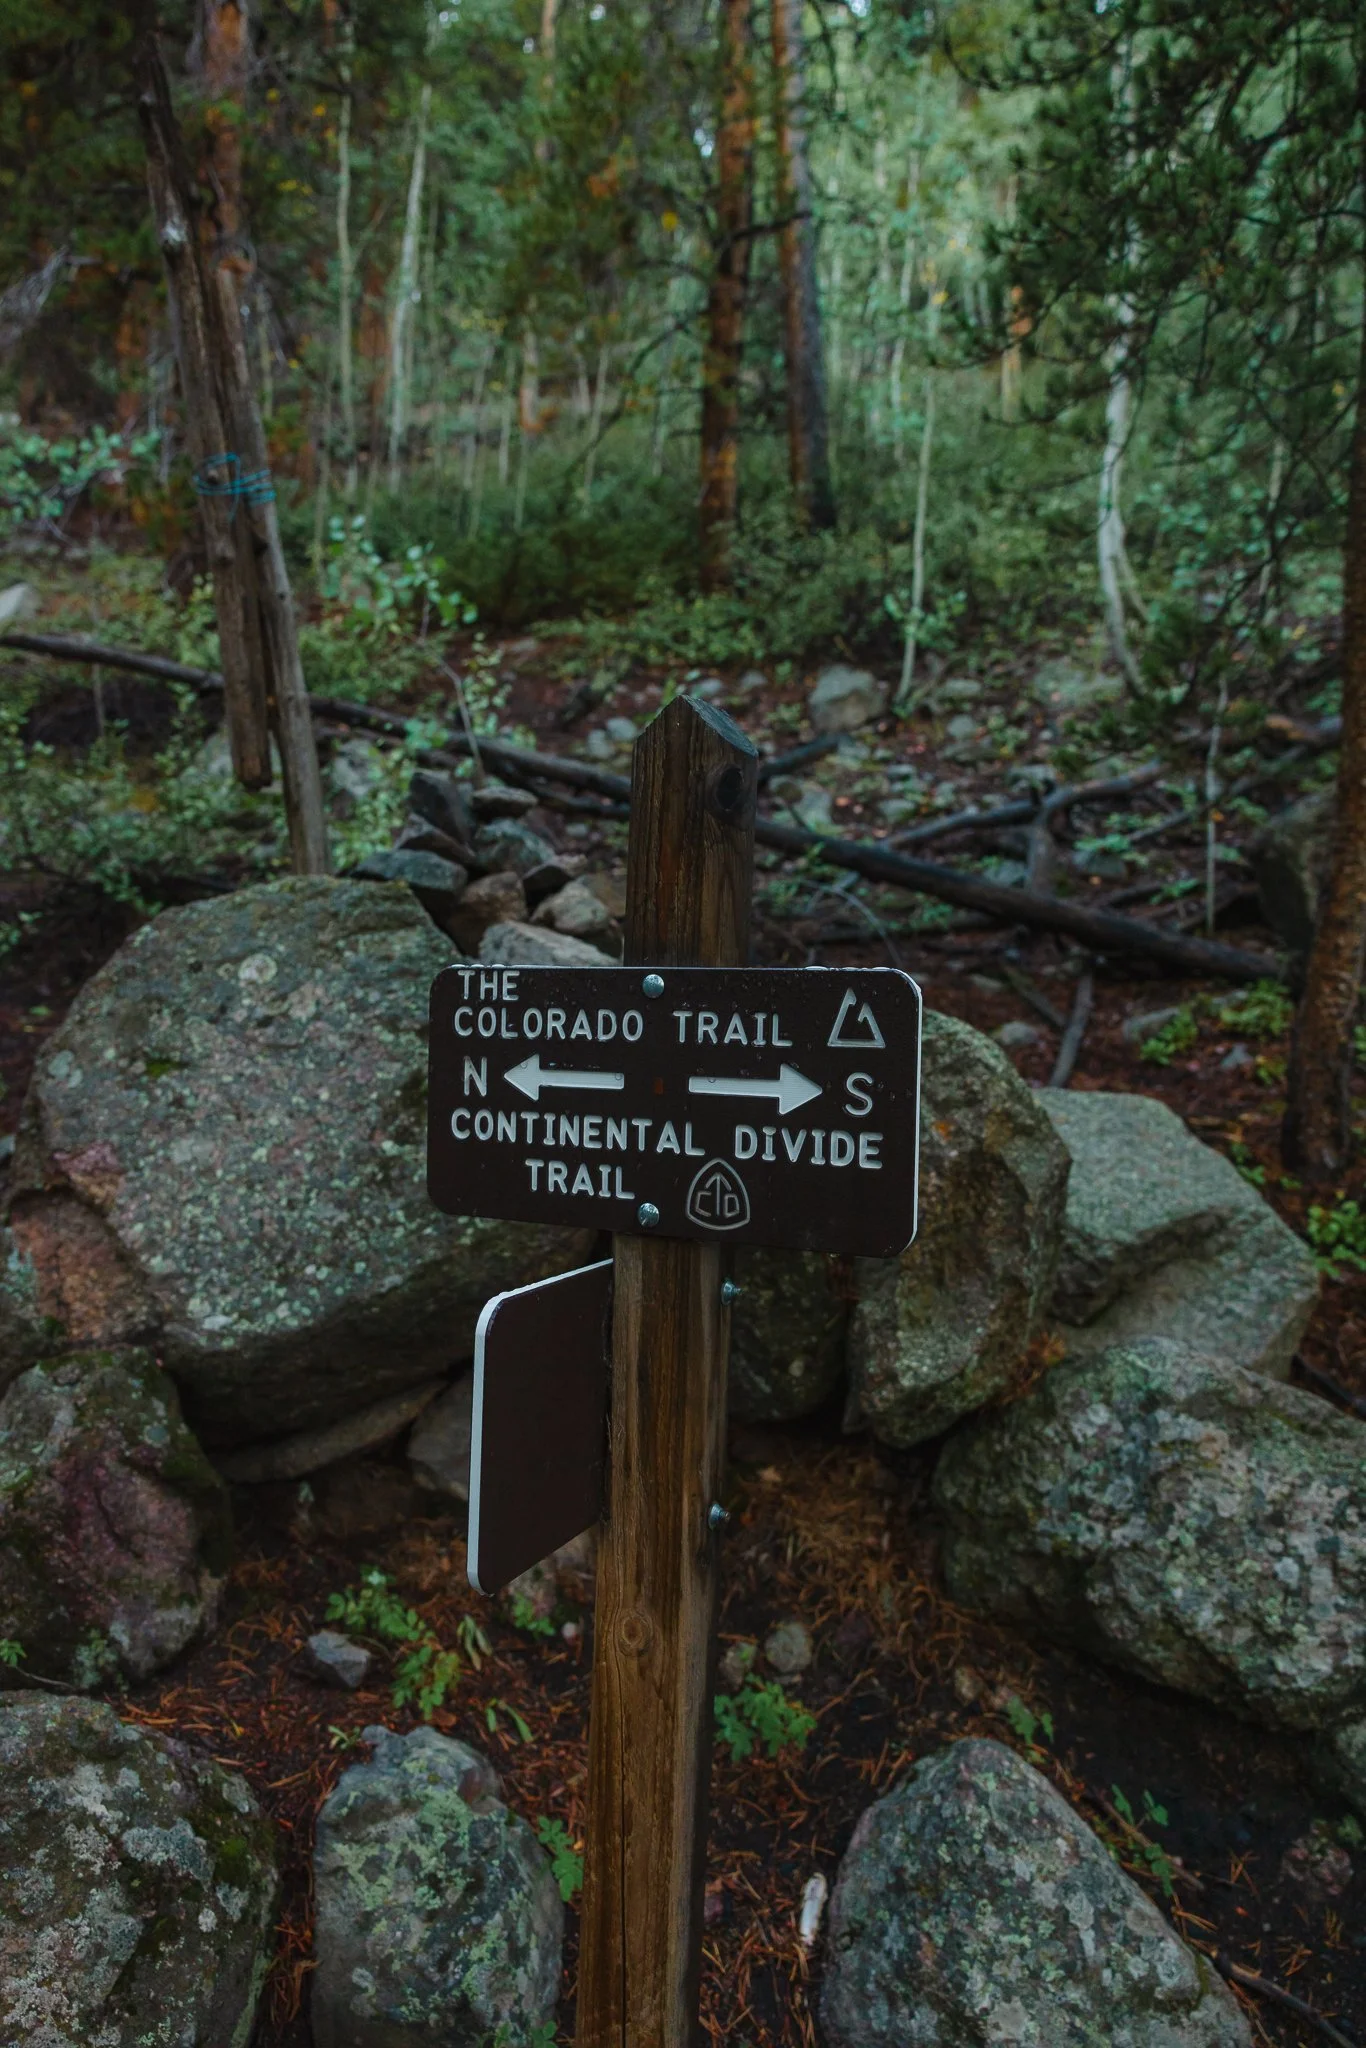
As seen in the photos below you’ll get a variety of leaf colors from green to yellow, orange and even red. The trail will eventually intersect with the Ute Peak trail, another hike that is close by in Silverthorne.
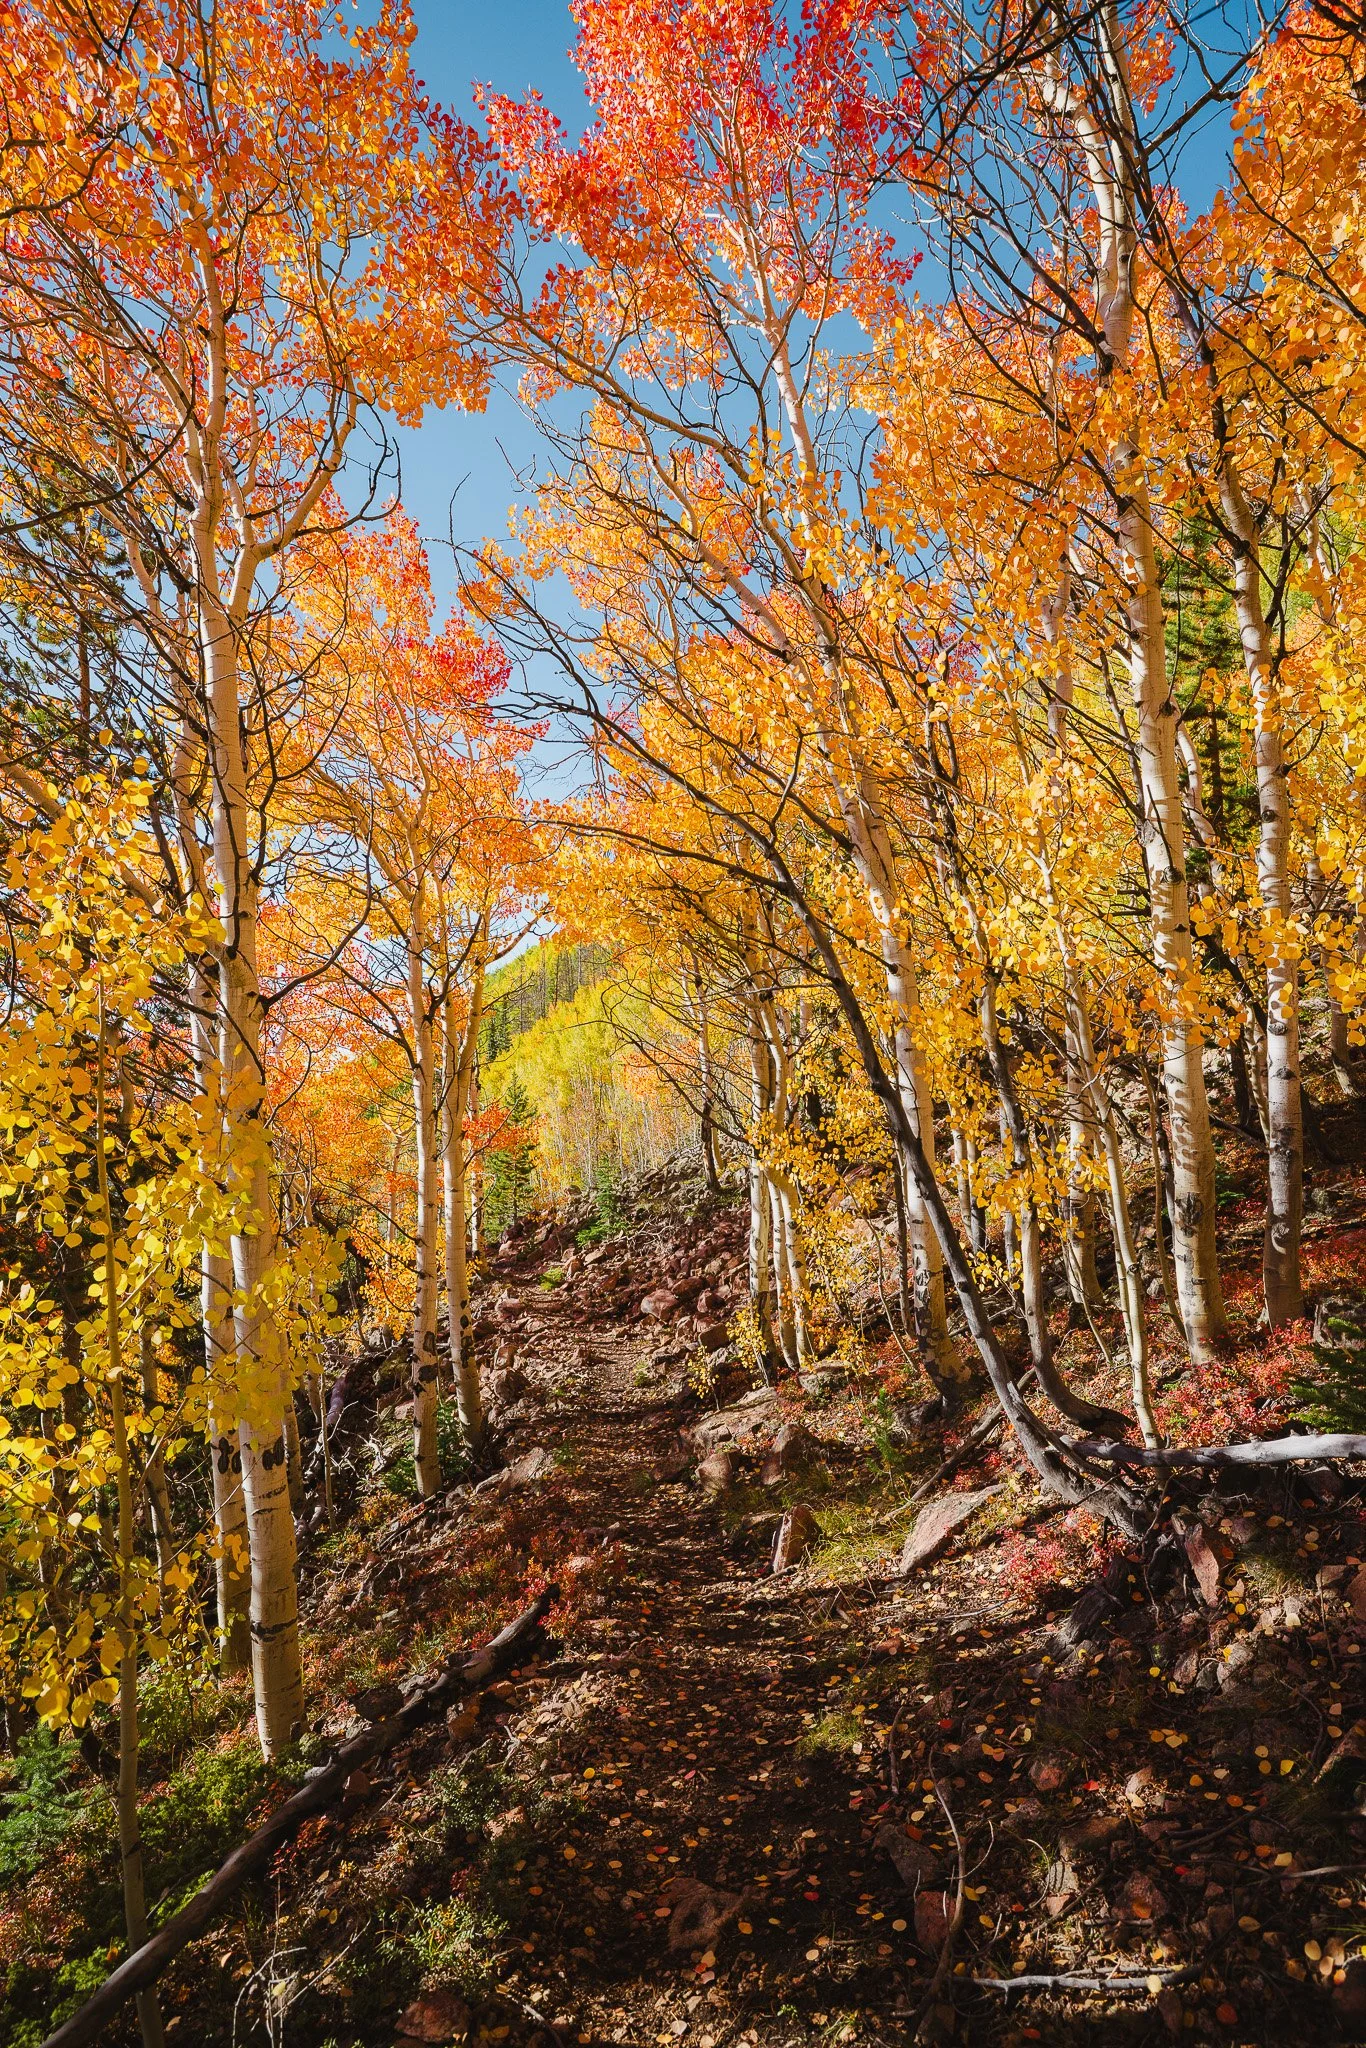
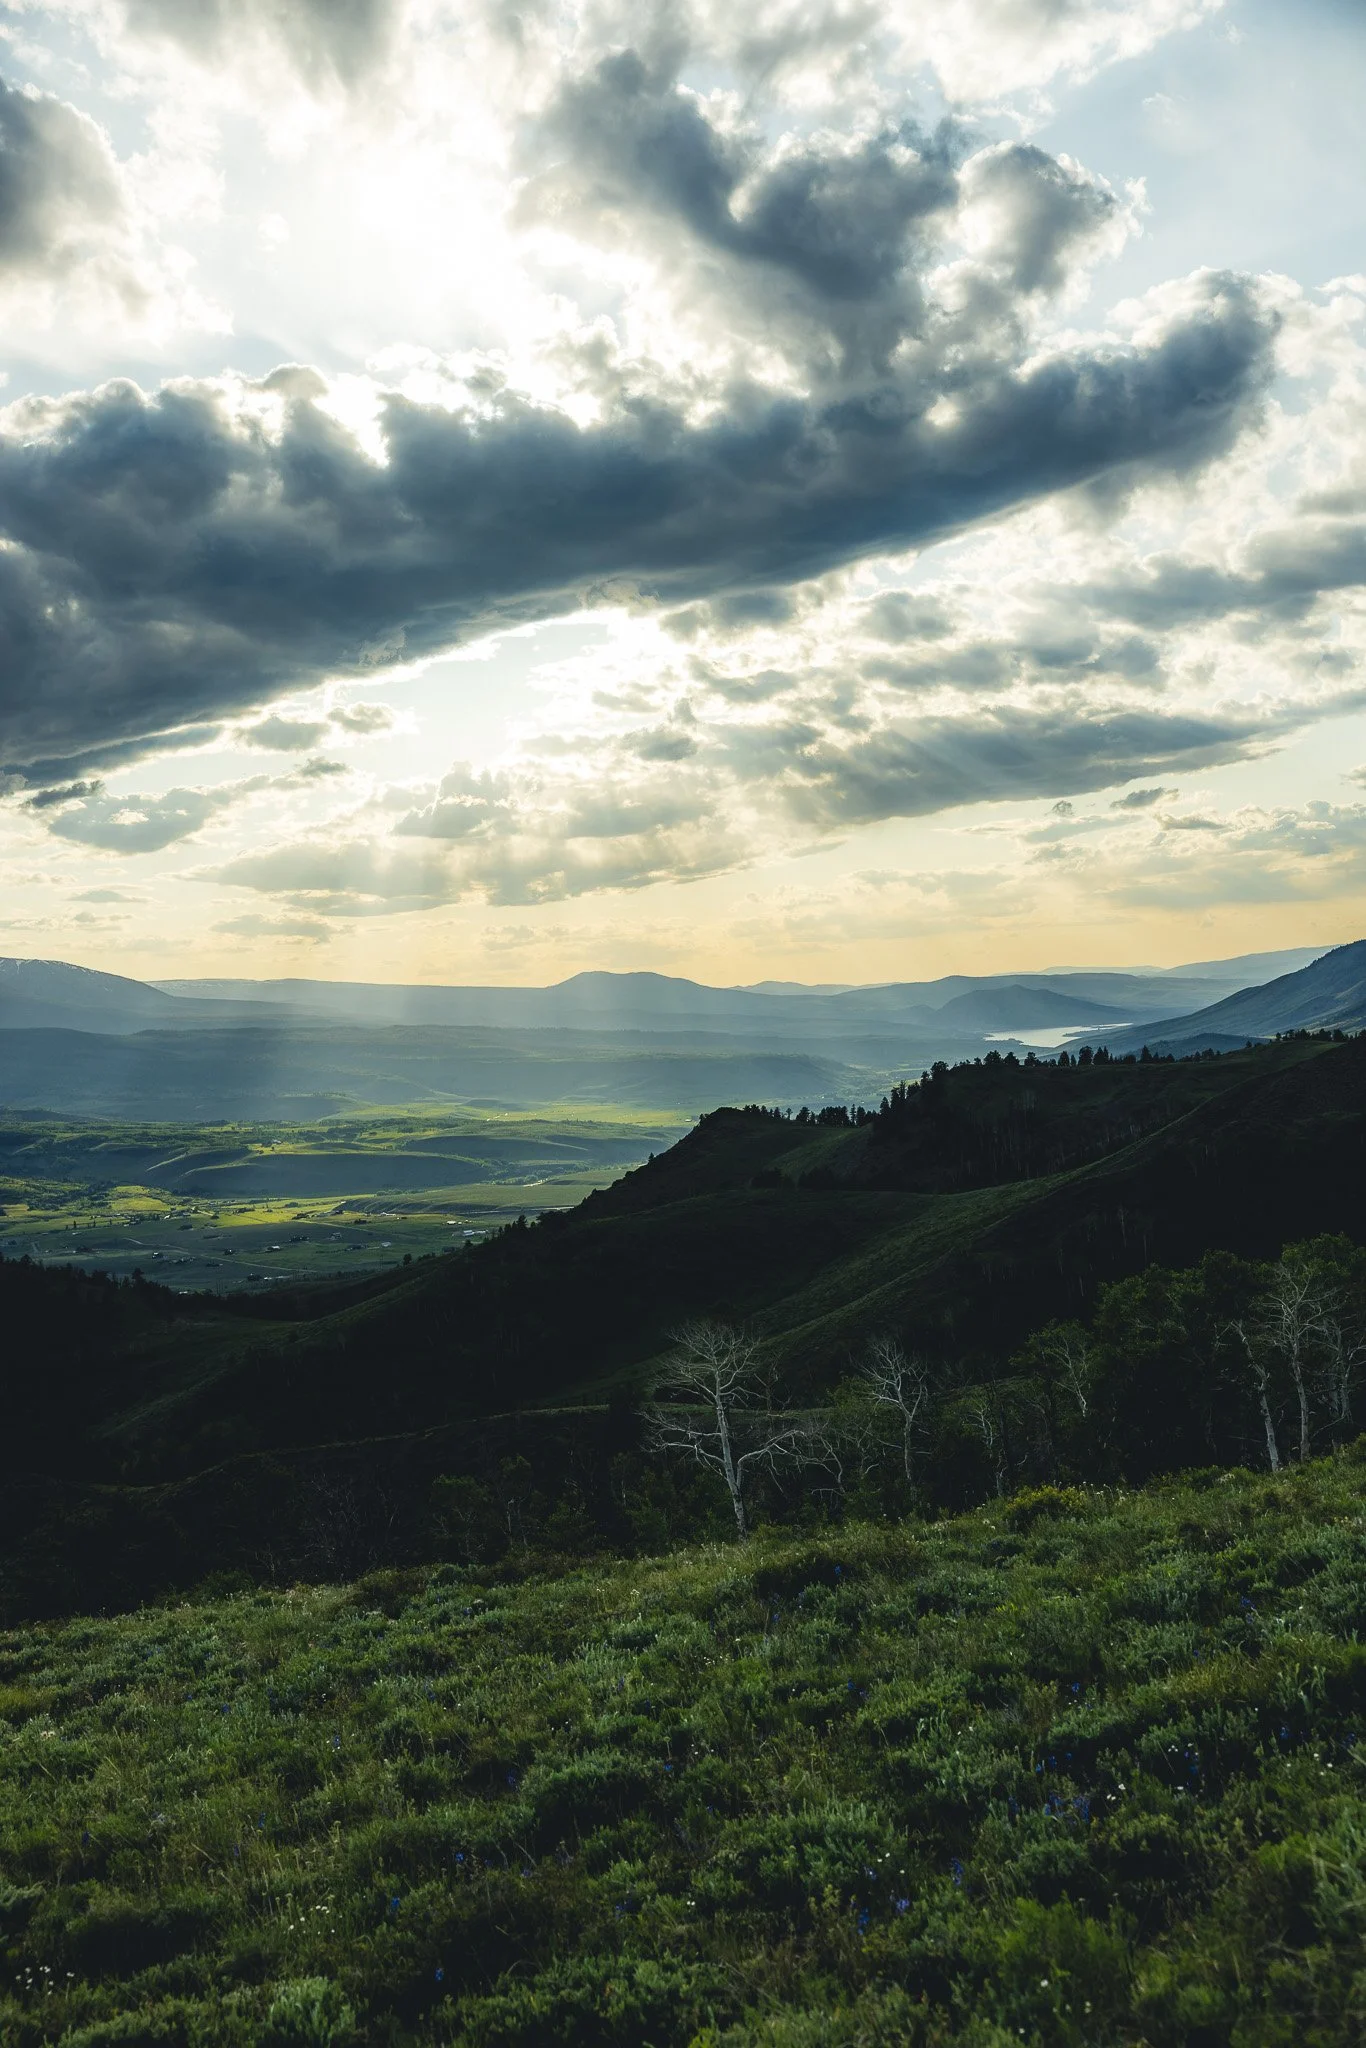
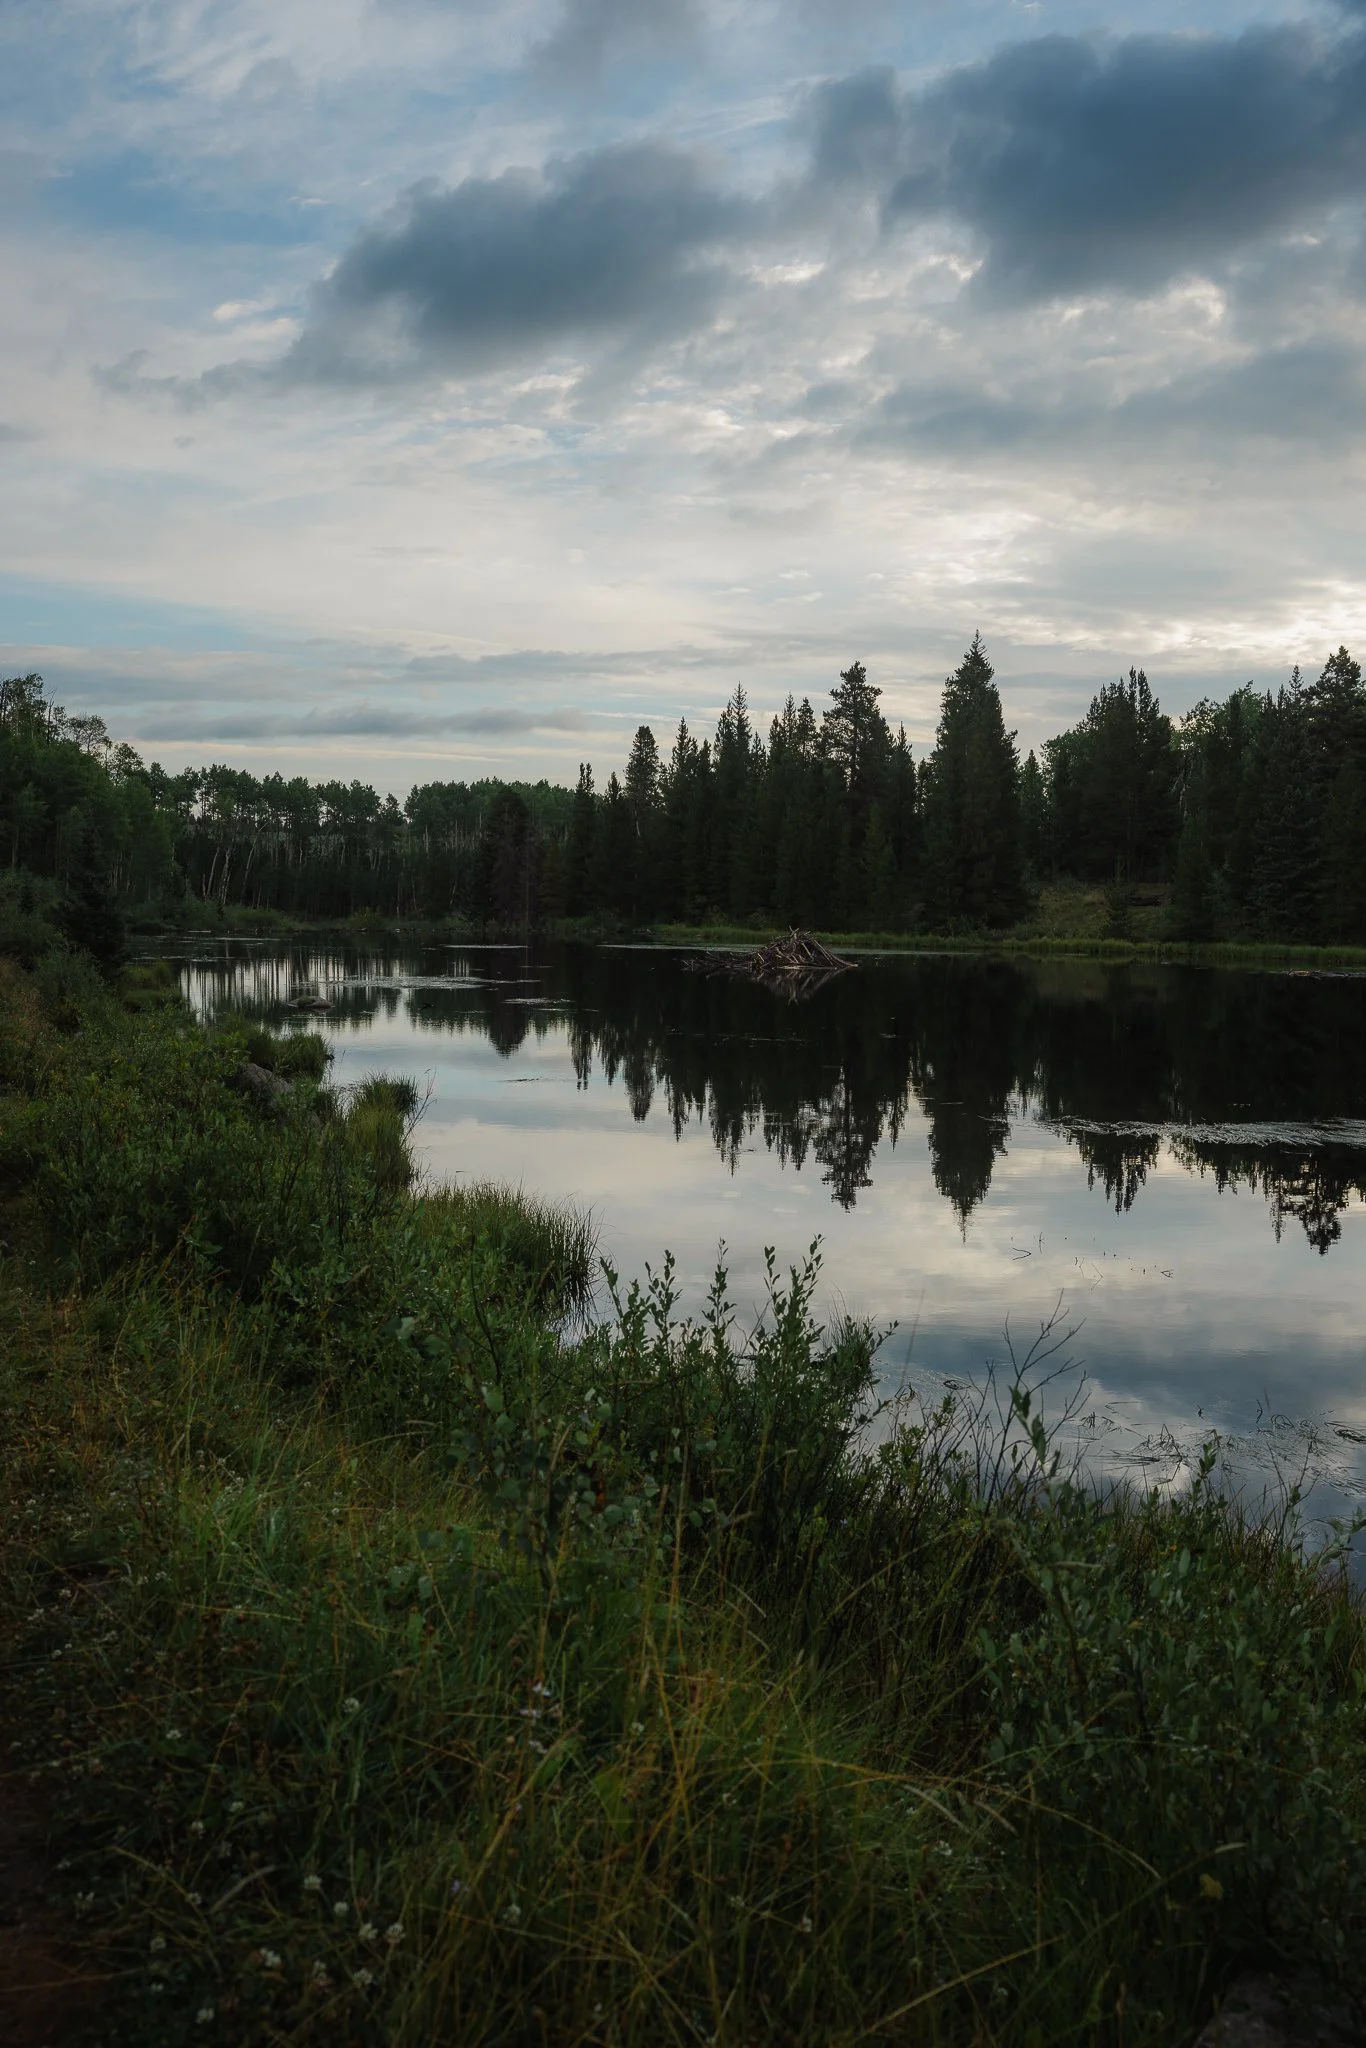
A good snow year will usually mean a wet spring which means lots of green in the mountains!
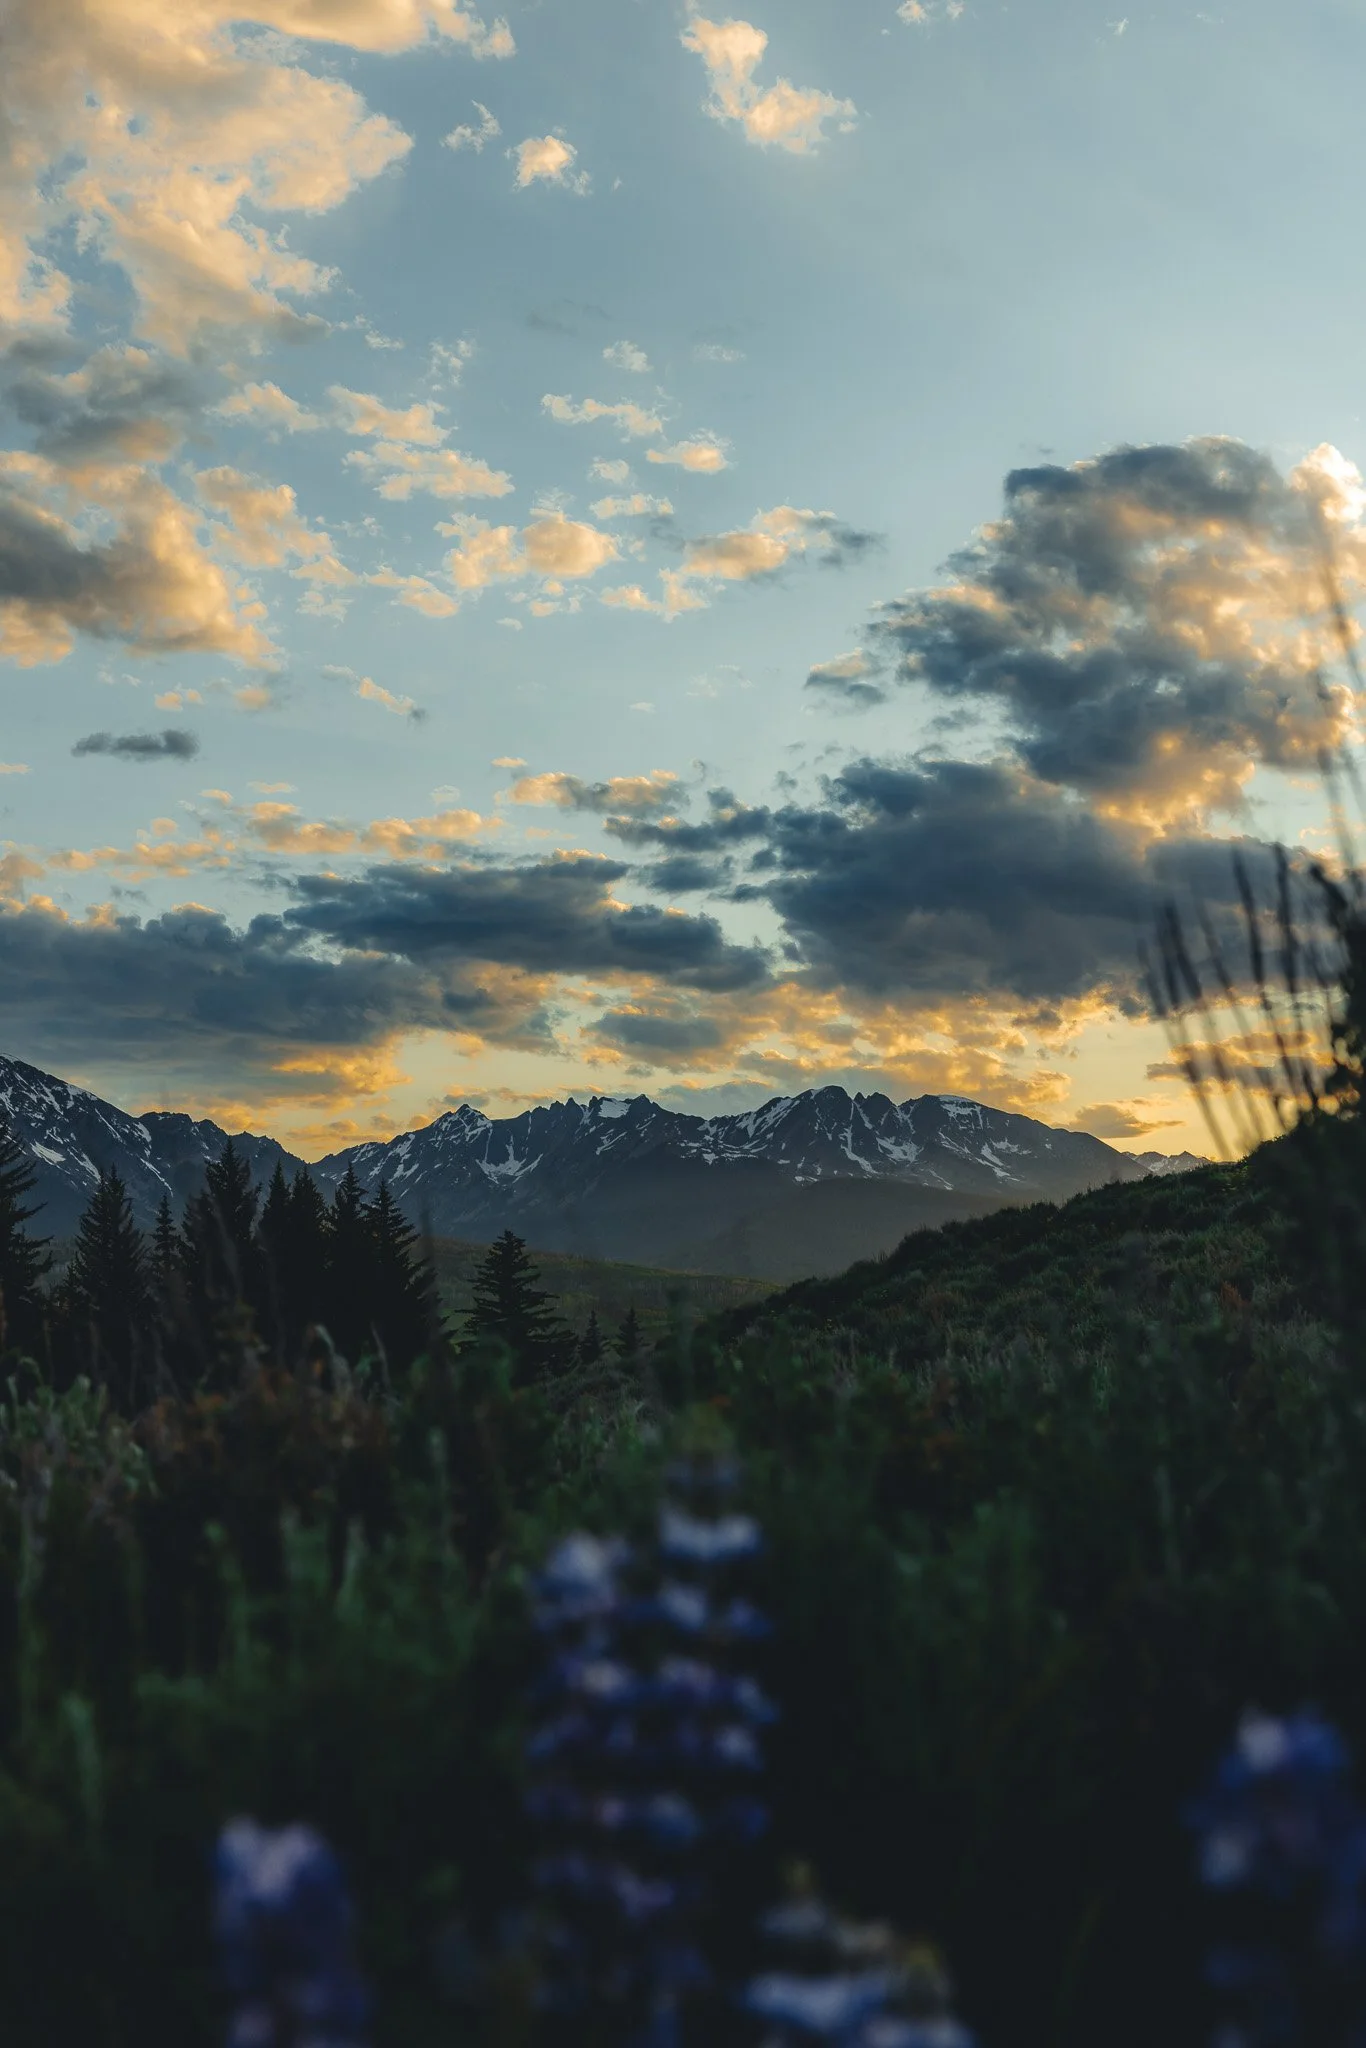
Later in the day you could be rewarded with a colorful sky and sunset resting over the peaks. And if you hiked the entire trail, pat yourself on the back because this is not an easy one!
Things to be aware of when hiking the area
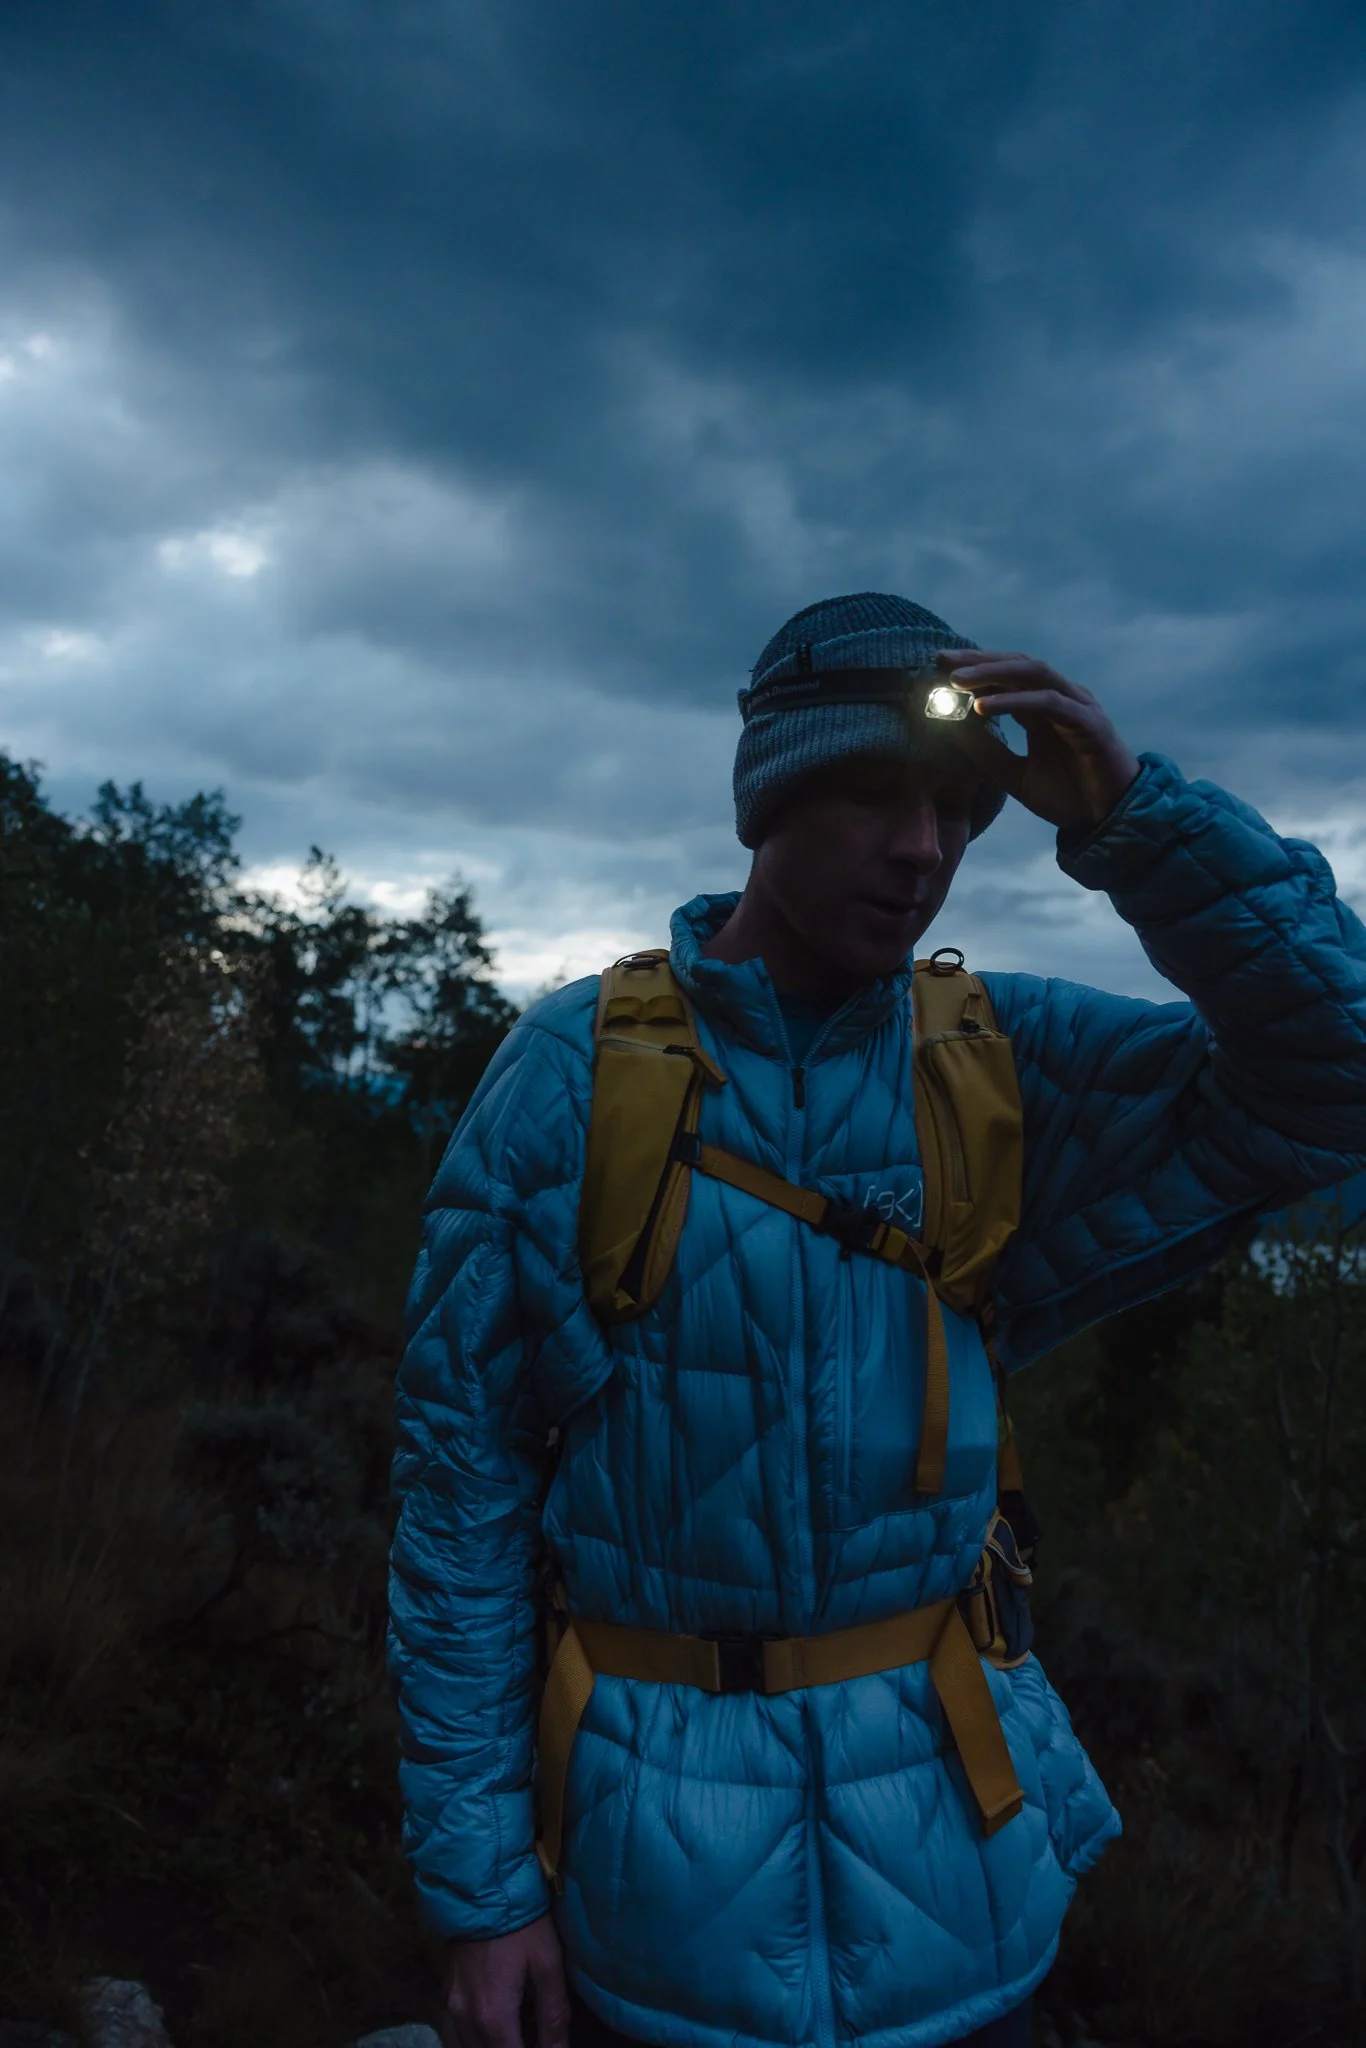
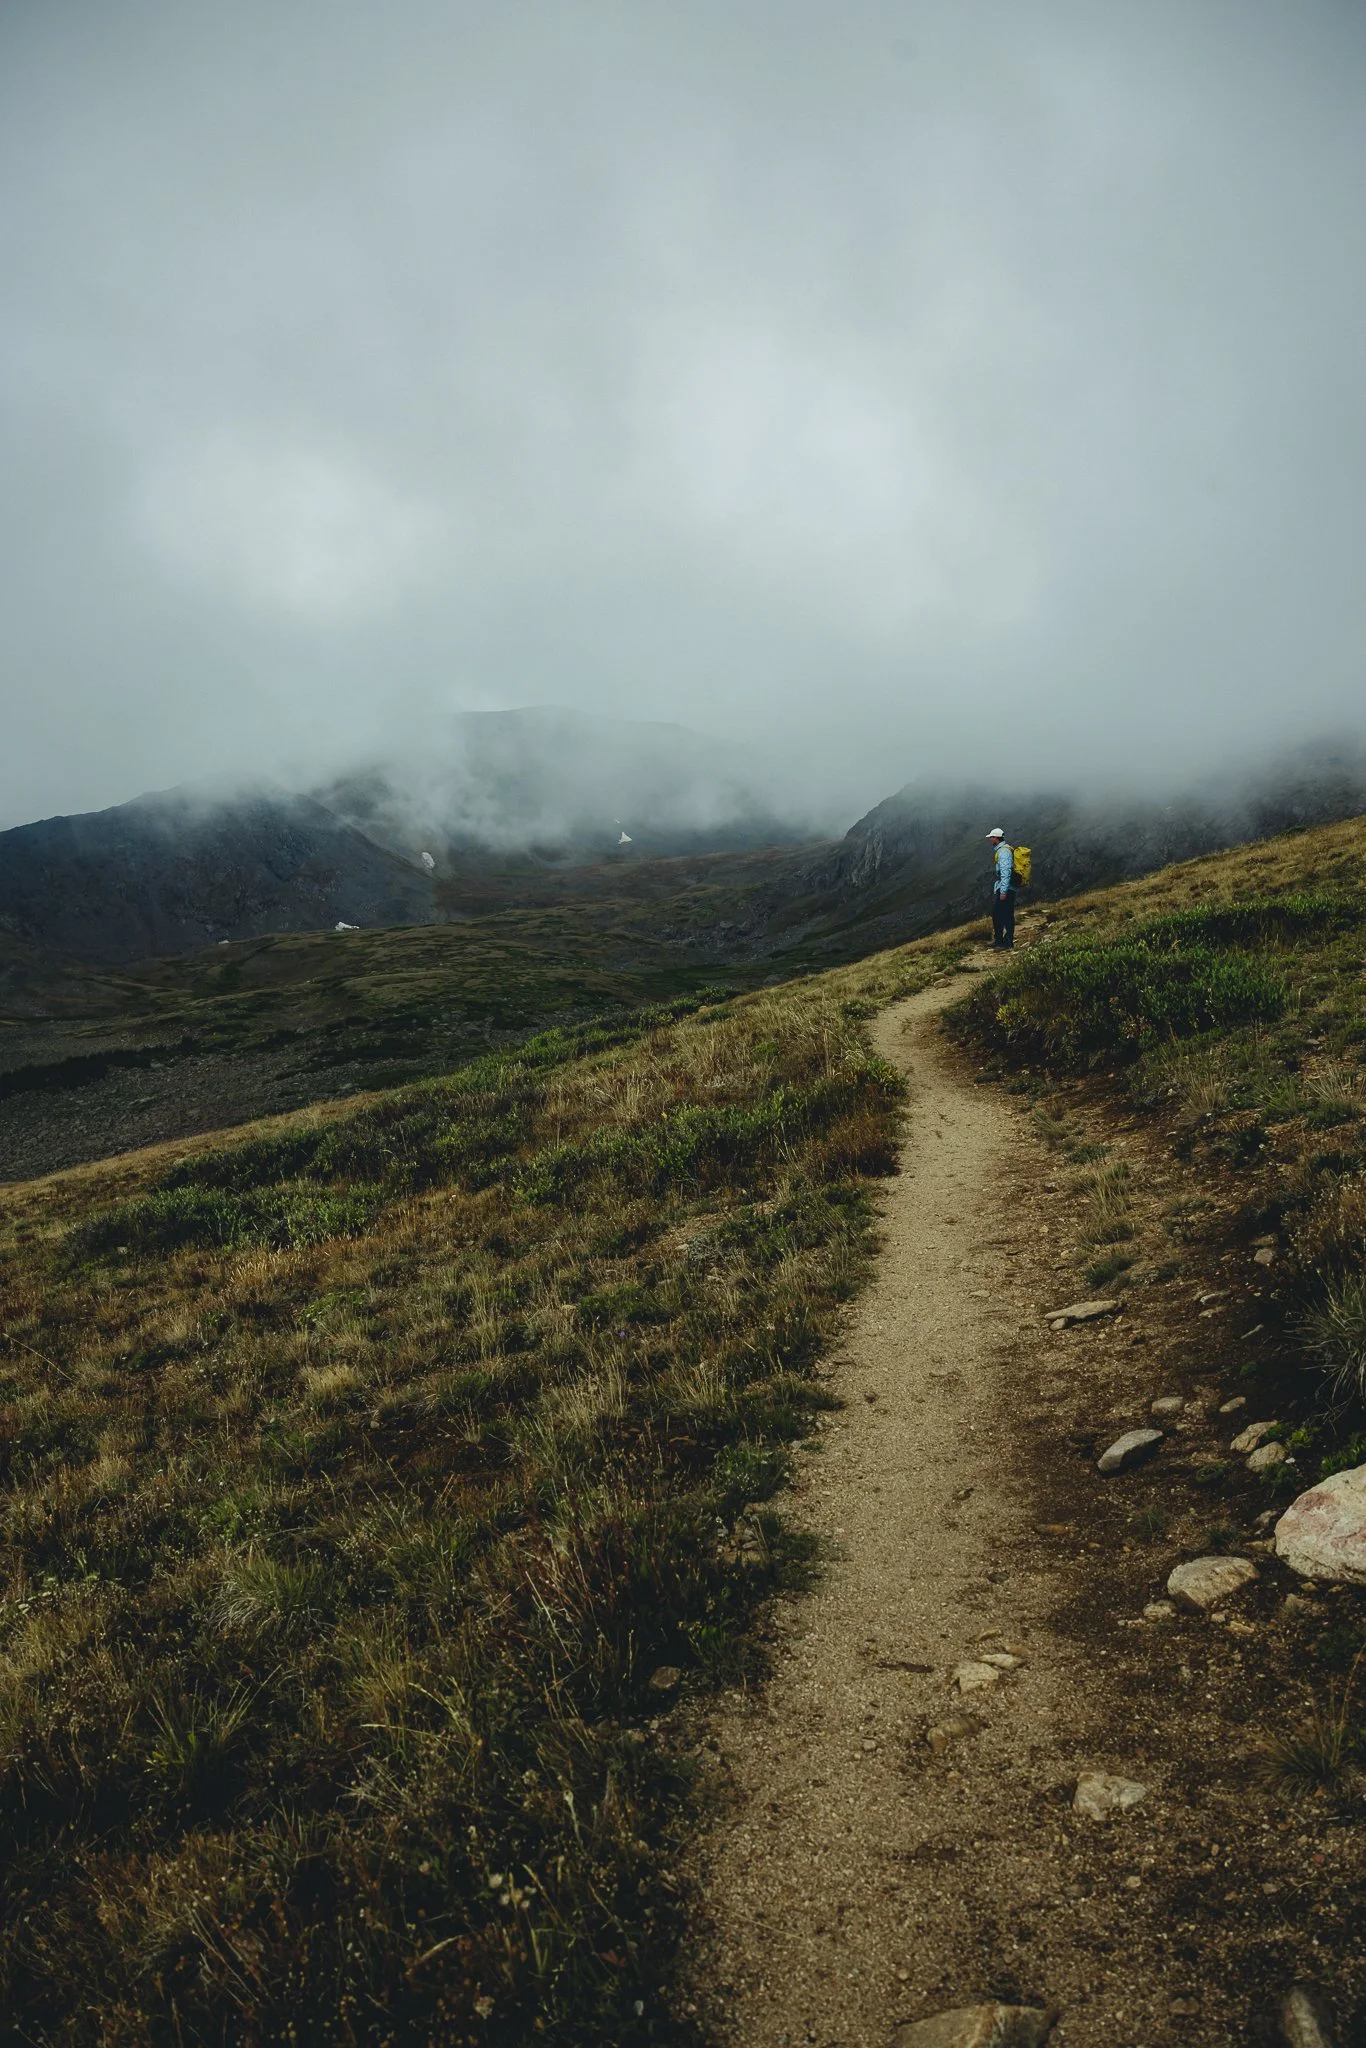
Mountain Lions, bears, and moose do roam the area so it’s important to use caution, carry bear spray, and to hike with others. Also be aware of weather as it can pop up in the mountains unnoticed. Use good judgement on weather to keep hiking or turn around if dark clouds start to show up.
In Colorado, thunderstorms can typically happen in the afternoon so check the weather before to see if you should hike it early in the morning.
What should we pack
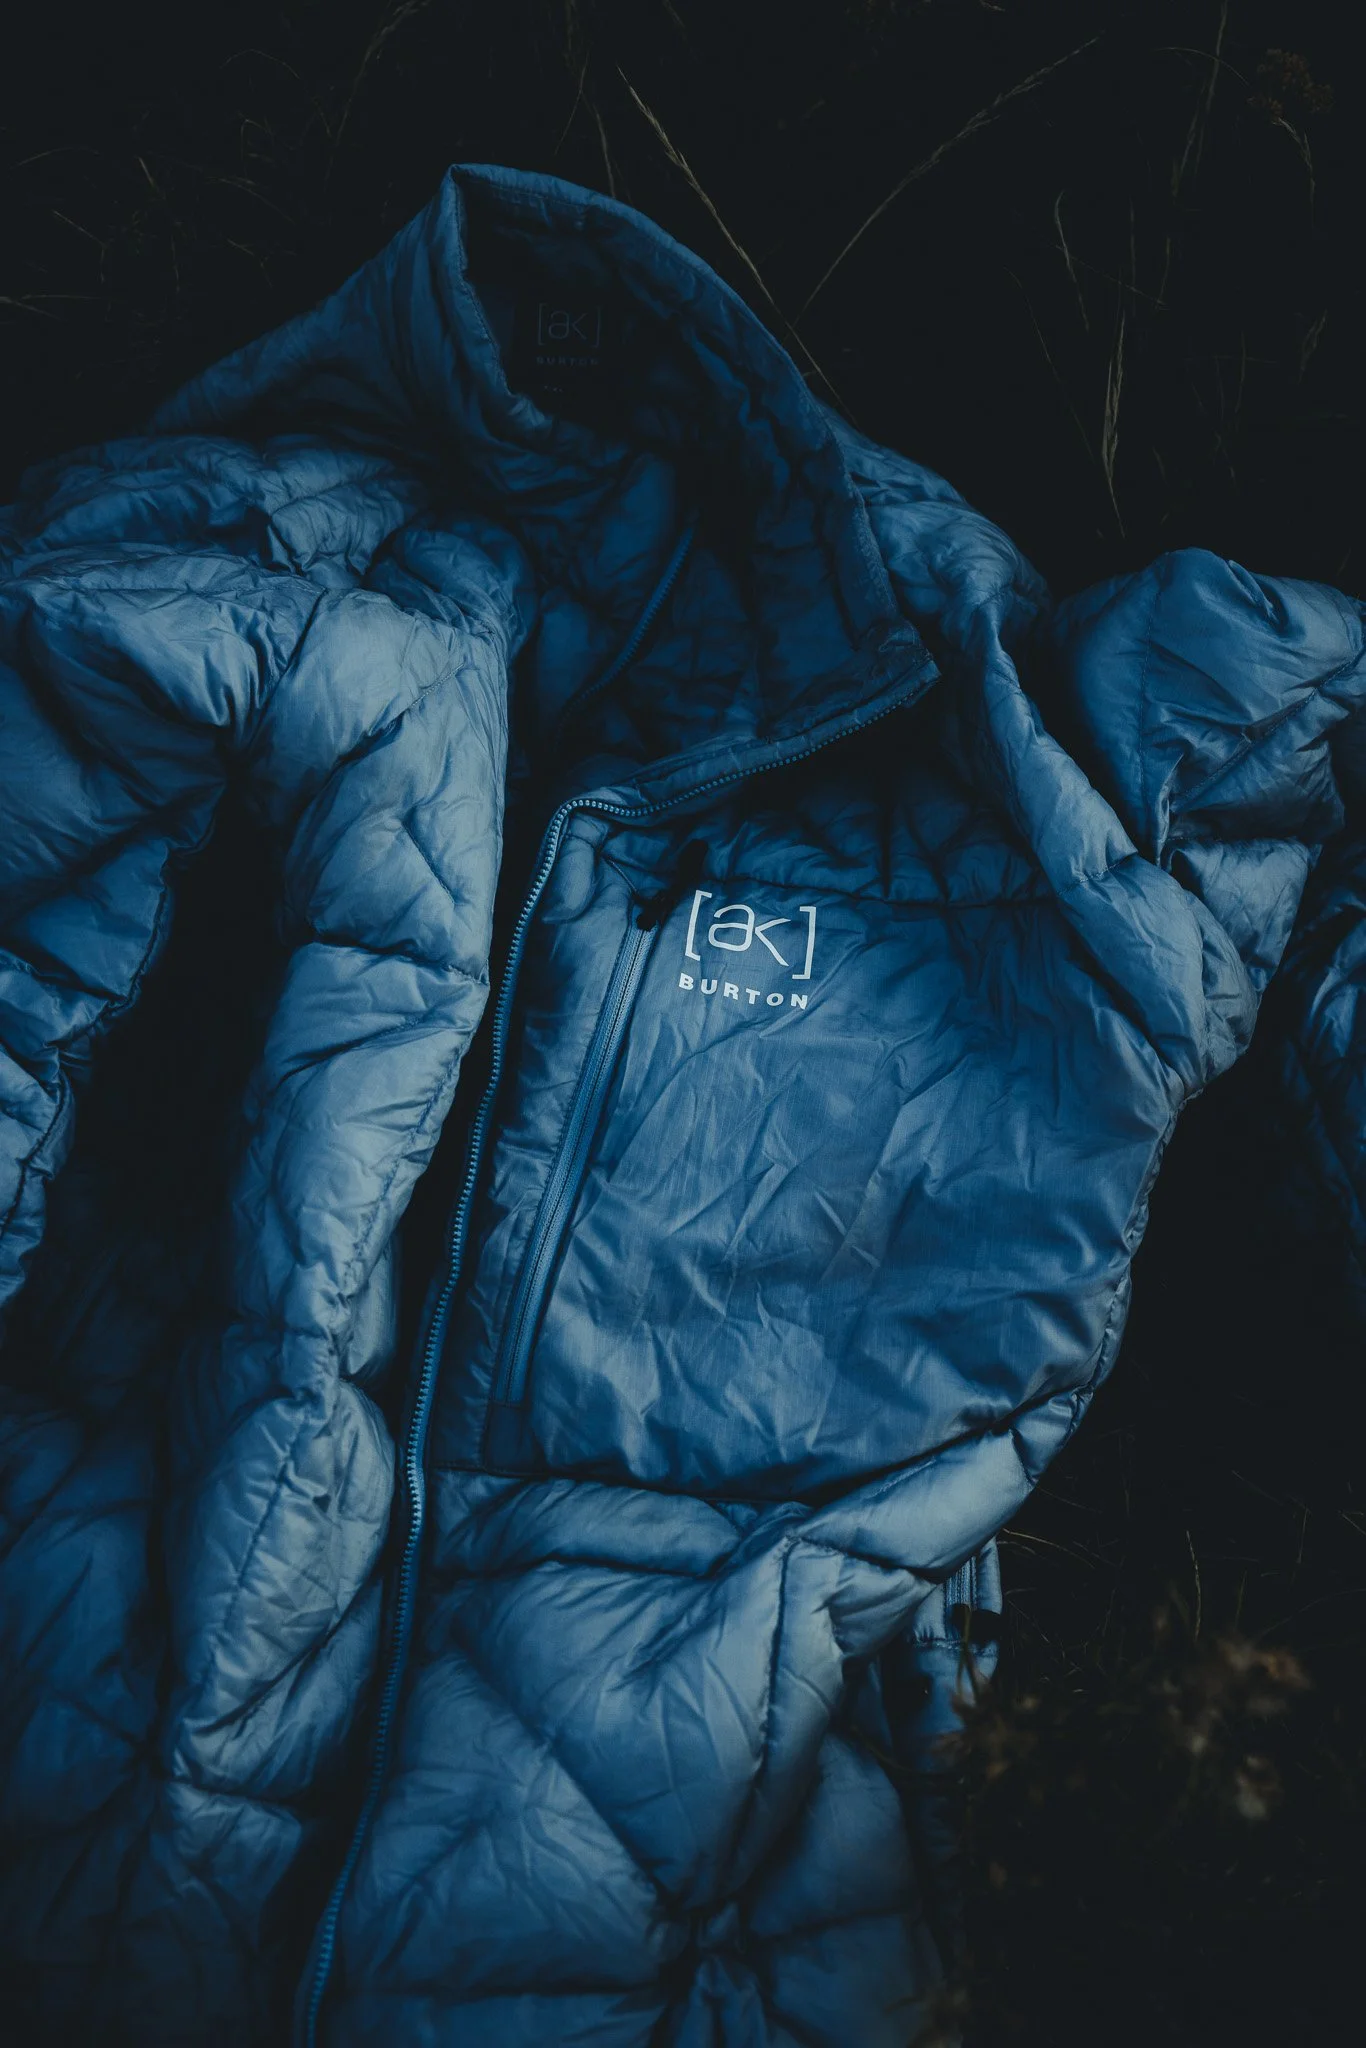
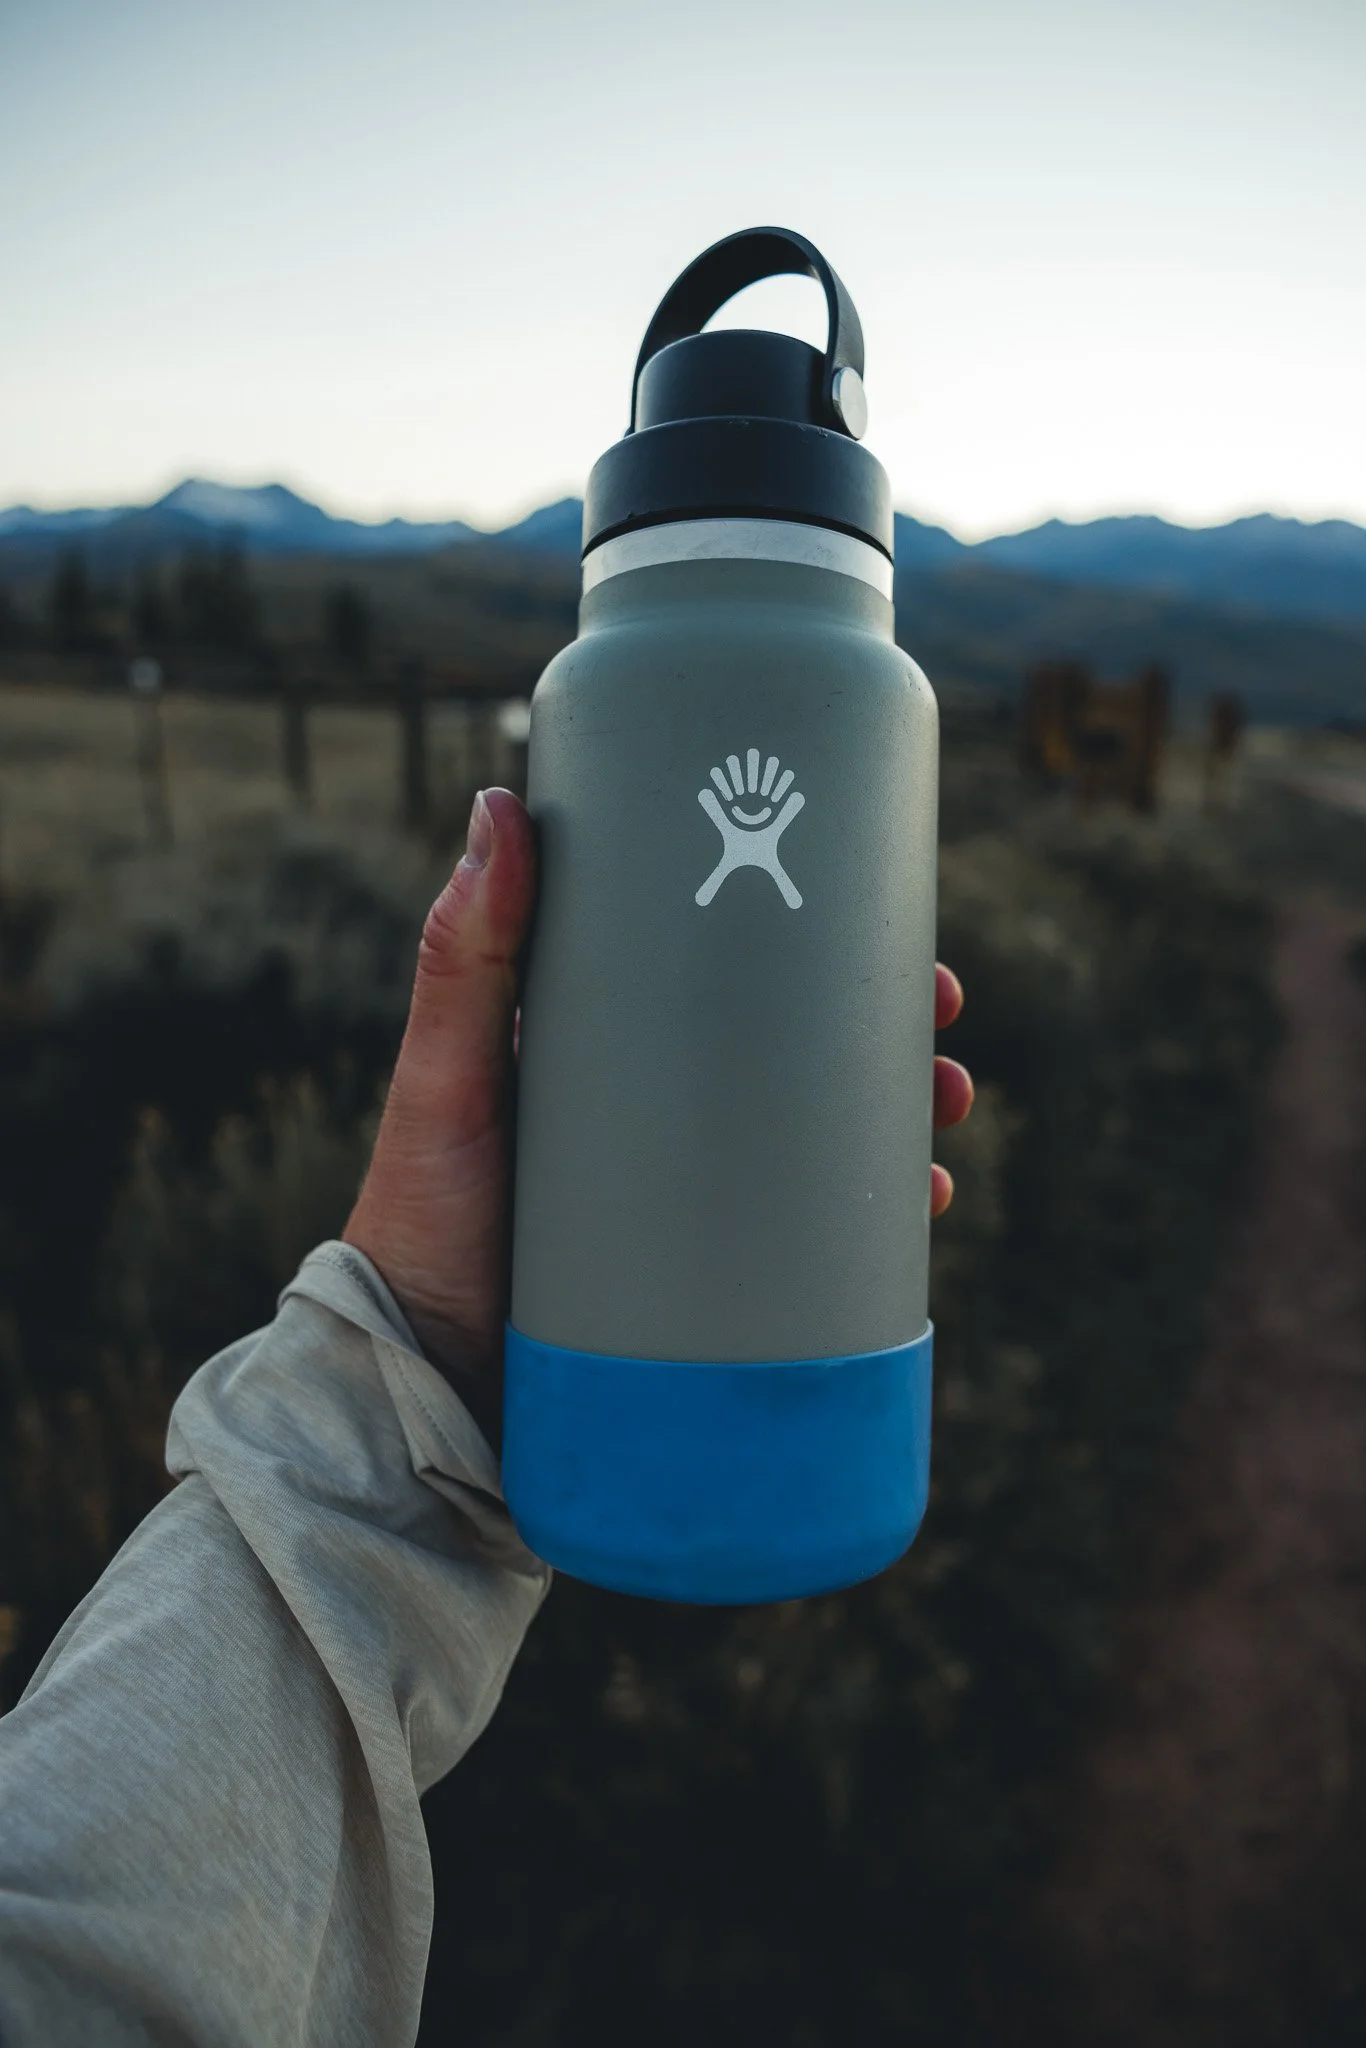
Plenty of water, an extra lightweight jacket, sunscreen, good hiking footwear, and a rain jacket are all things that will make the hike much more enjoyable.
That’s it for the Acorn Creek hike. A shorter post, but hopefully the images inspire you to venture to this beautiful spot. Thanks for reading the blog and I’ll see you on the next post.

Colorado 14ers, Everything you need to know about Hiking Mt Elbert
Not gonna lie the first time I heard about people waking up at 4am to hike mountains greater than 14,000 feet (4267 meters), I thought they were crazy and
Disclosure: When you buy something through the Affiliate product links I have created below, I earn a small commission. I only promote products and companies I support as well as believe in.
Not gonna lie the first time I heard about people waking up at 4am to hike mountains greater than 14,000 feet (4267 meters), I thought they were crazy and it wasn’t something that I would ever even consider doing. However, as I spent more time living in Colorado and hearing about 14ers I became intrigued and decided to hike one. With Elbert being my second 14er it was also one of the hardest hikes I’ve done, yet very rewarding when you make it to the summit. What I liked most about this hike is the variety of terrain and views you get, along with a designated trail all the way to the summit.
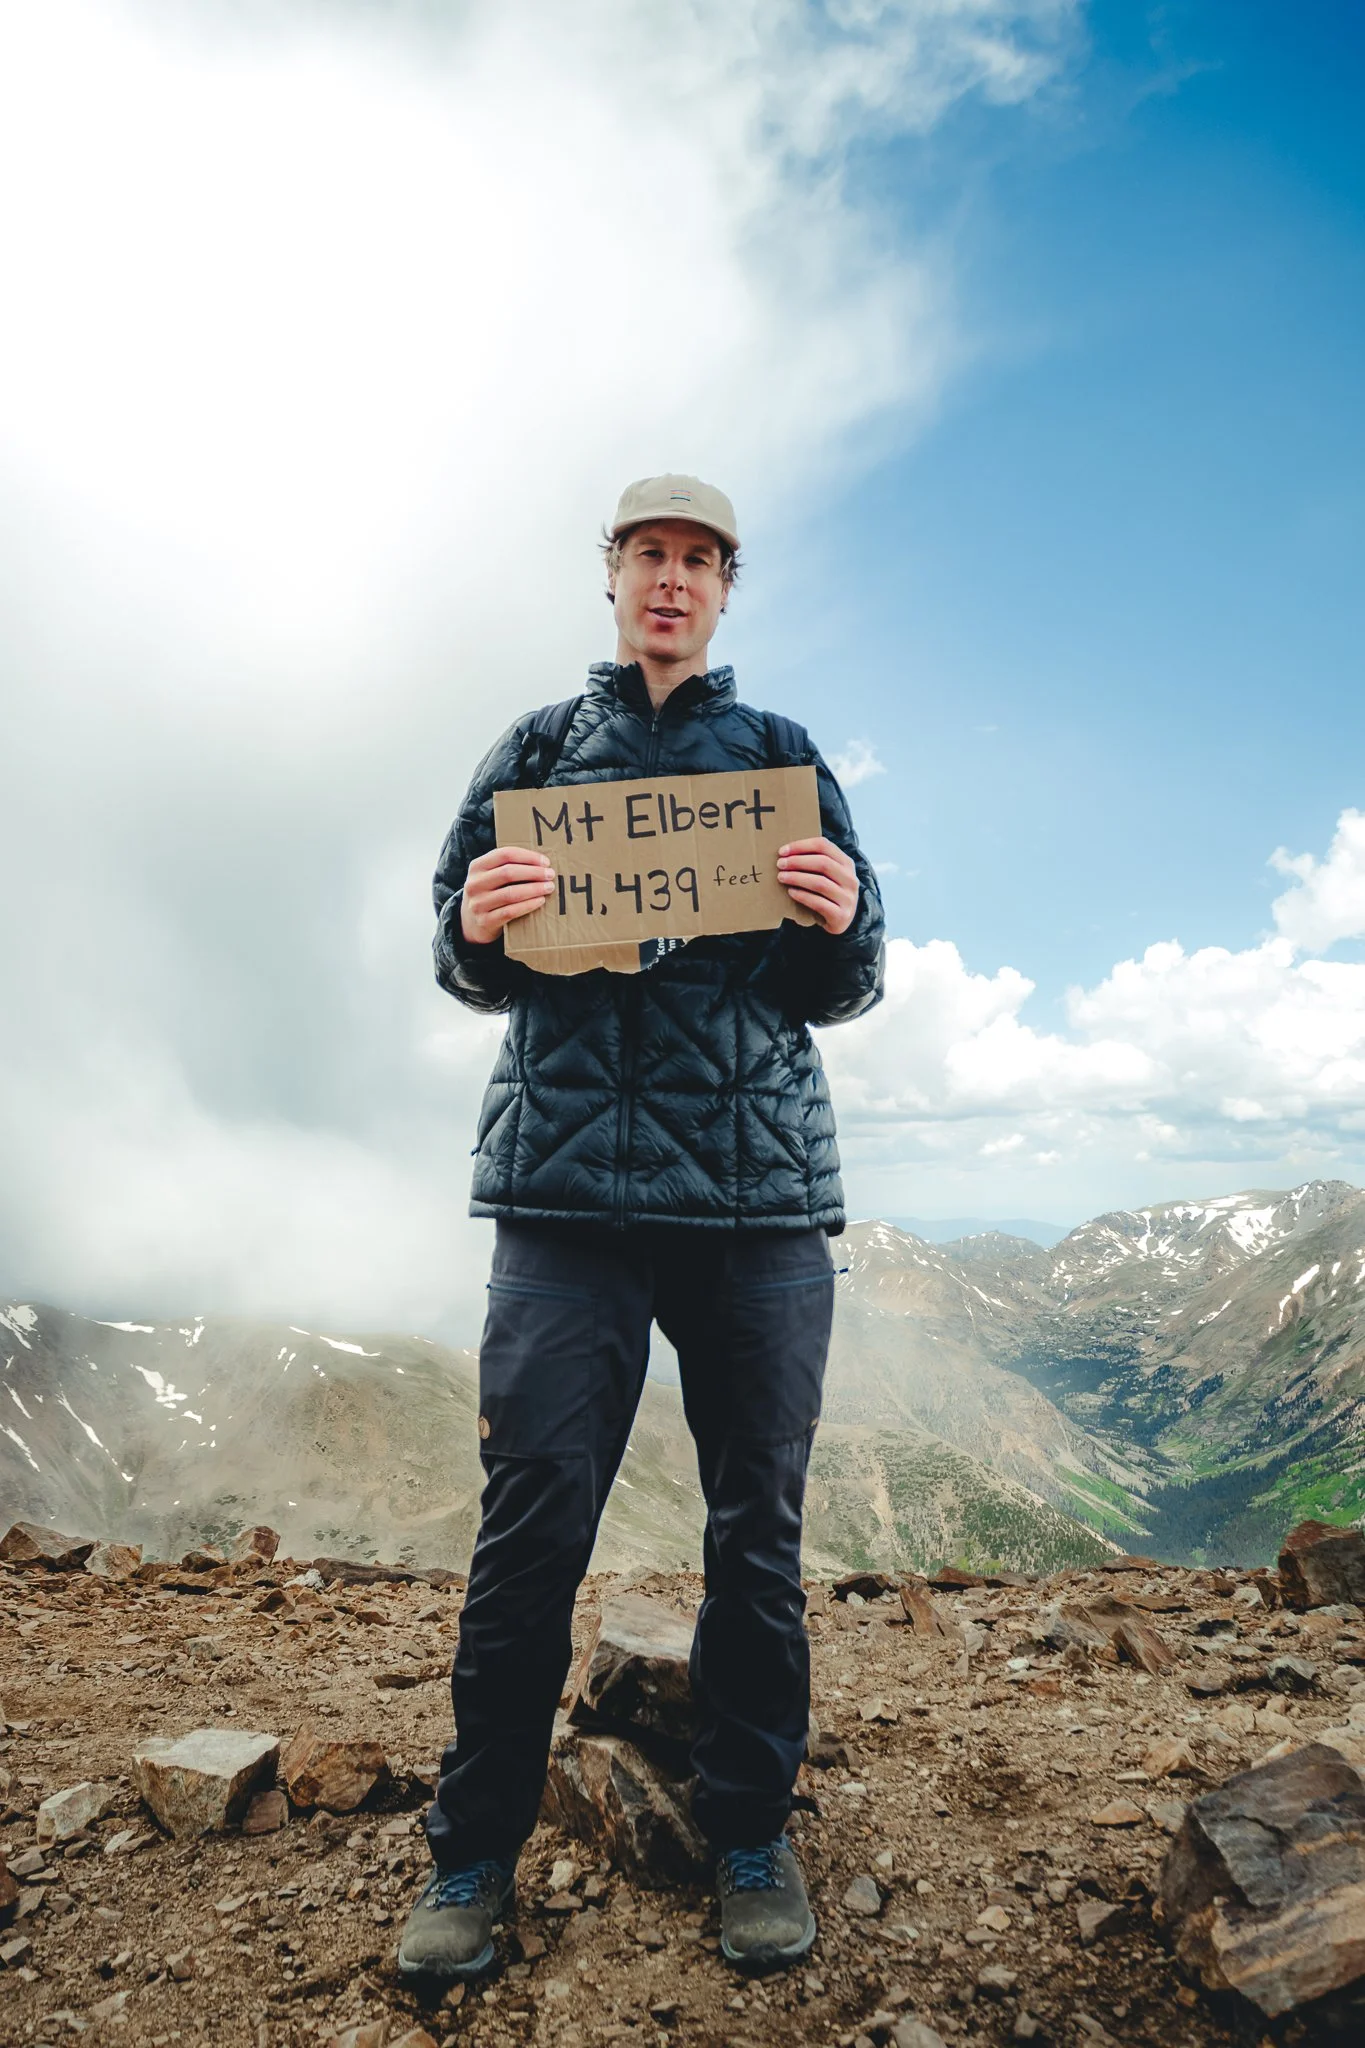
Mt Elbert is the highest peak in Colorado and the second highest in the lower 48 of the United States, standing at 14,443 feet (4,402 meters). The first being Mt Whitney in California, which stands at 14,505 feet (4,421 meters). If you’ve ever wondered what it’s like to hike a mountain this tall this guide is for you. With that being said, in this post I’ll go over where Elbert is located, how to get there, what the hike is like, what to know, and preparation/packing tips. Alright lets goo.
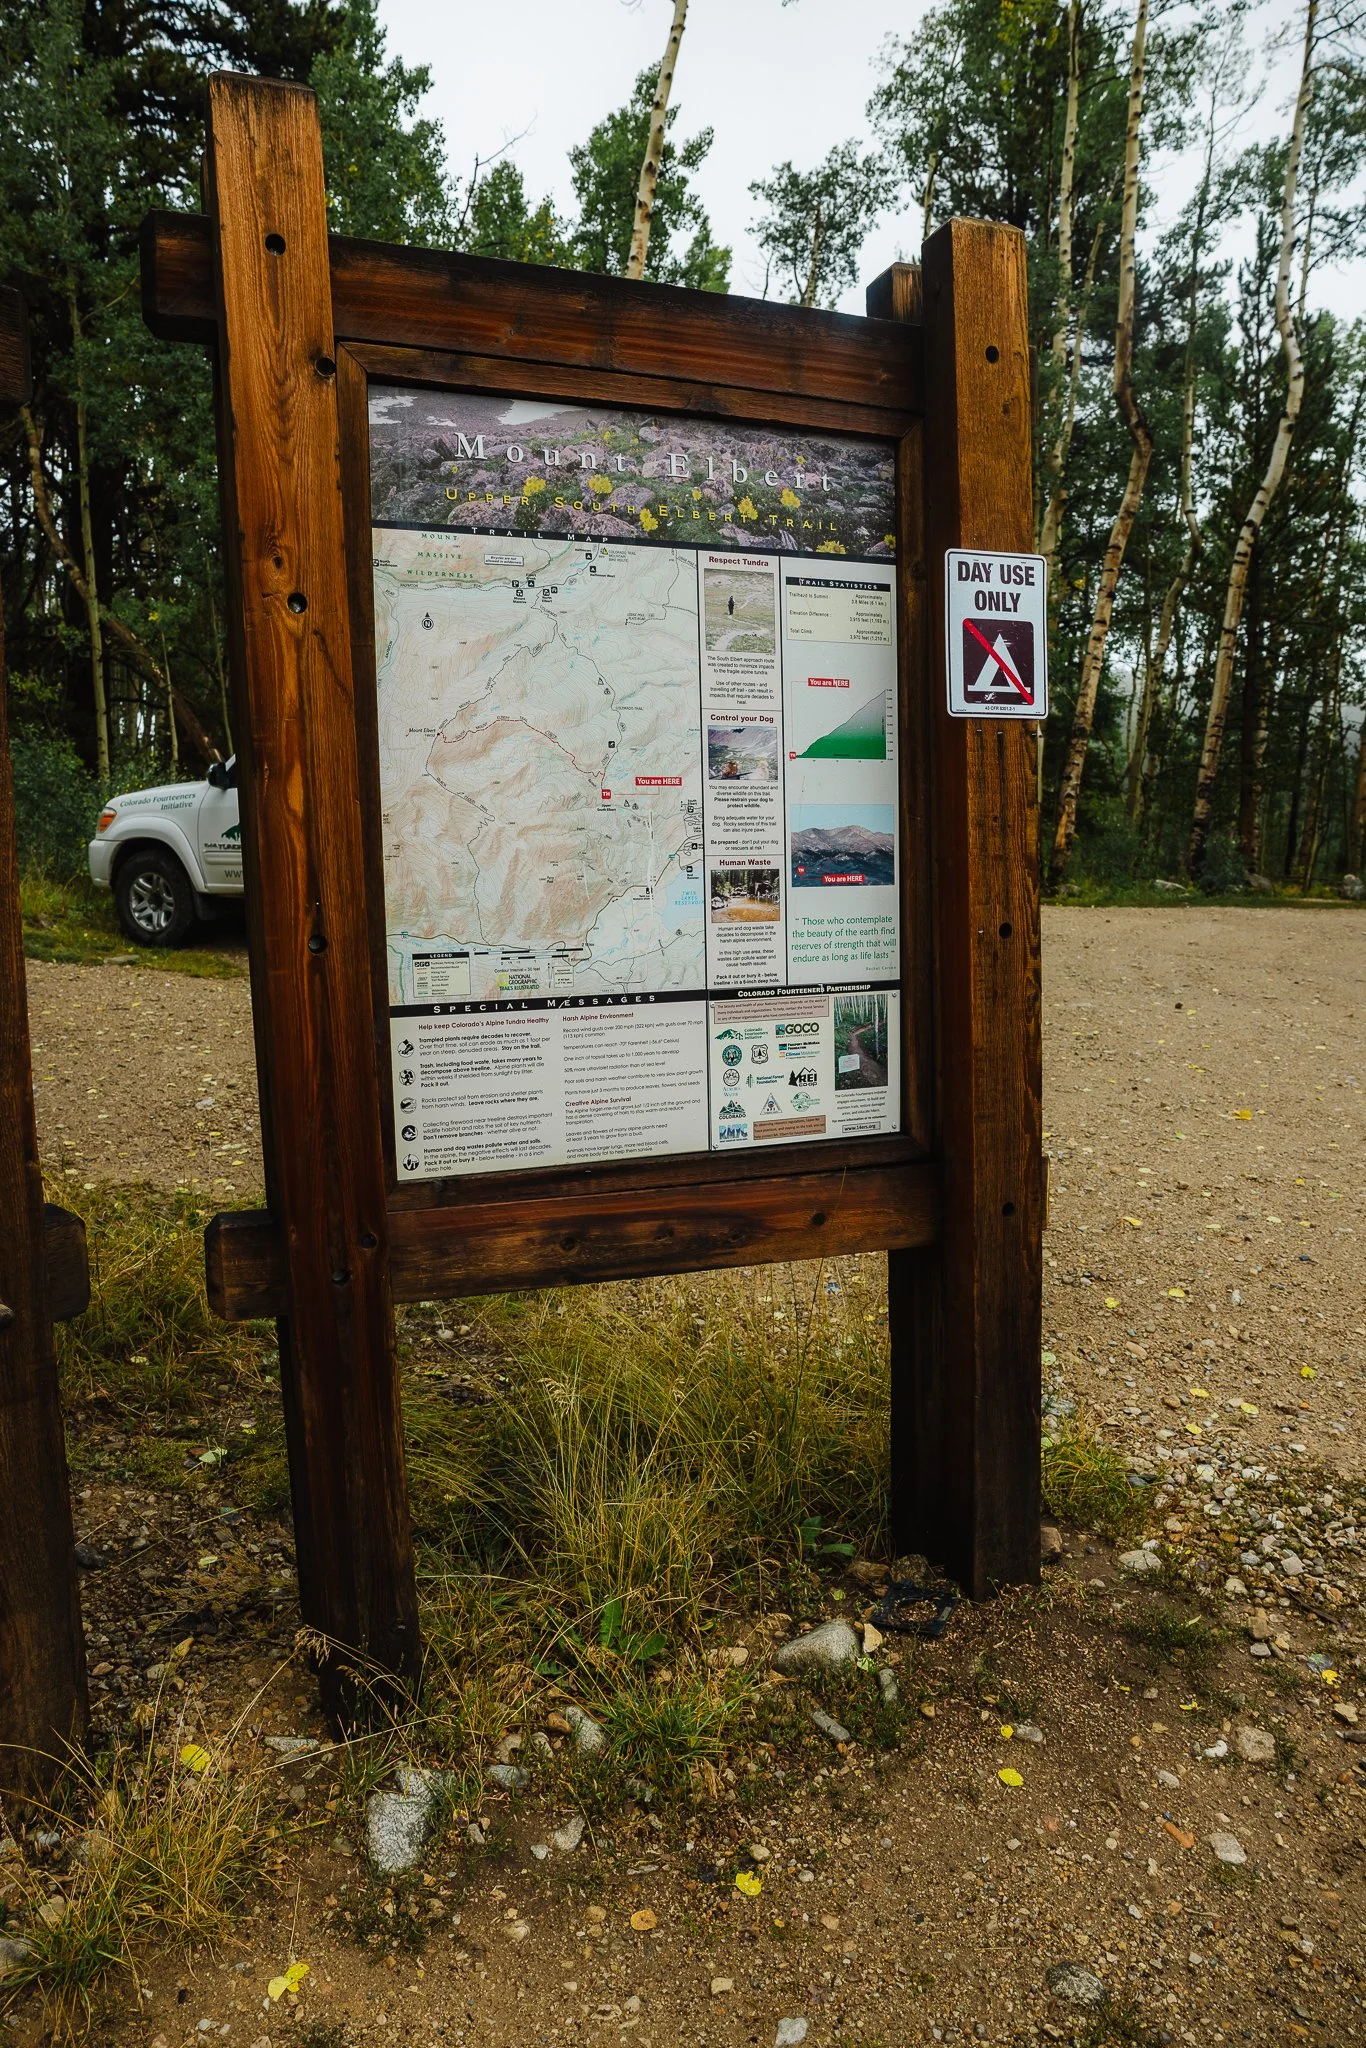
Where is Mt Elbert and how many routes are there to the Peak
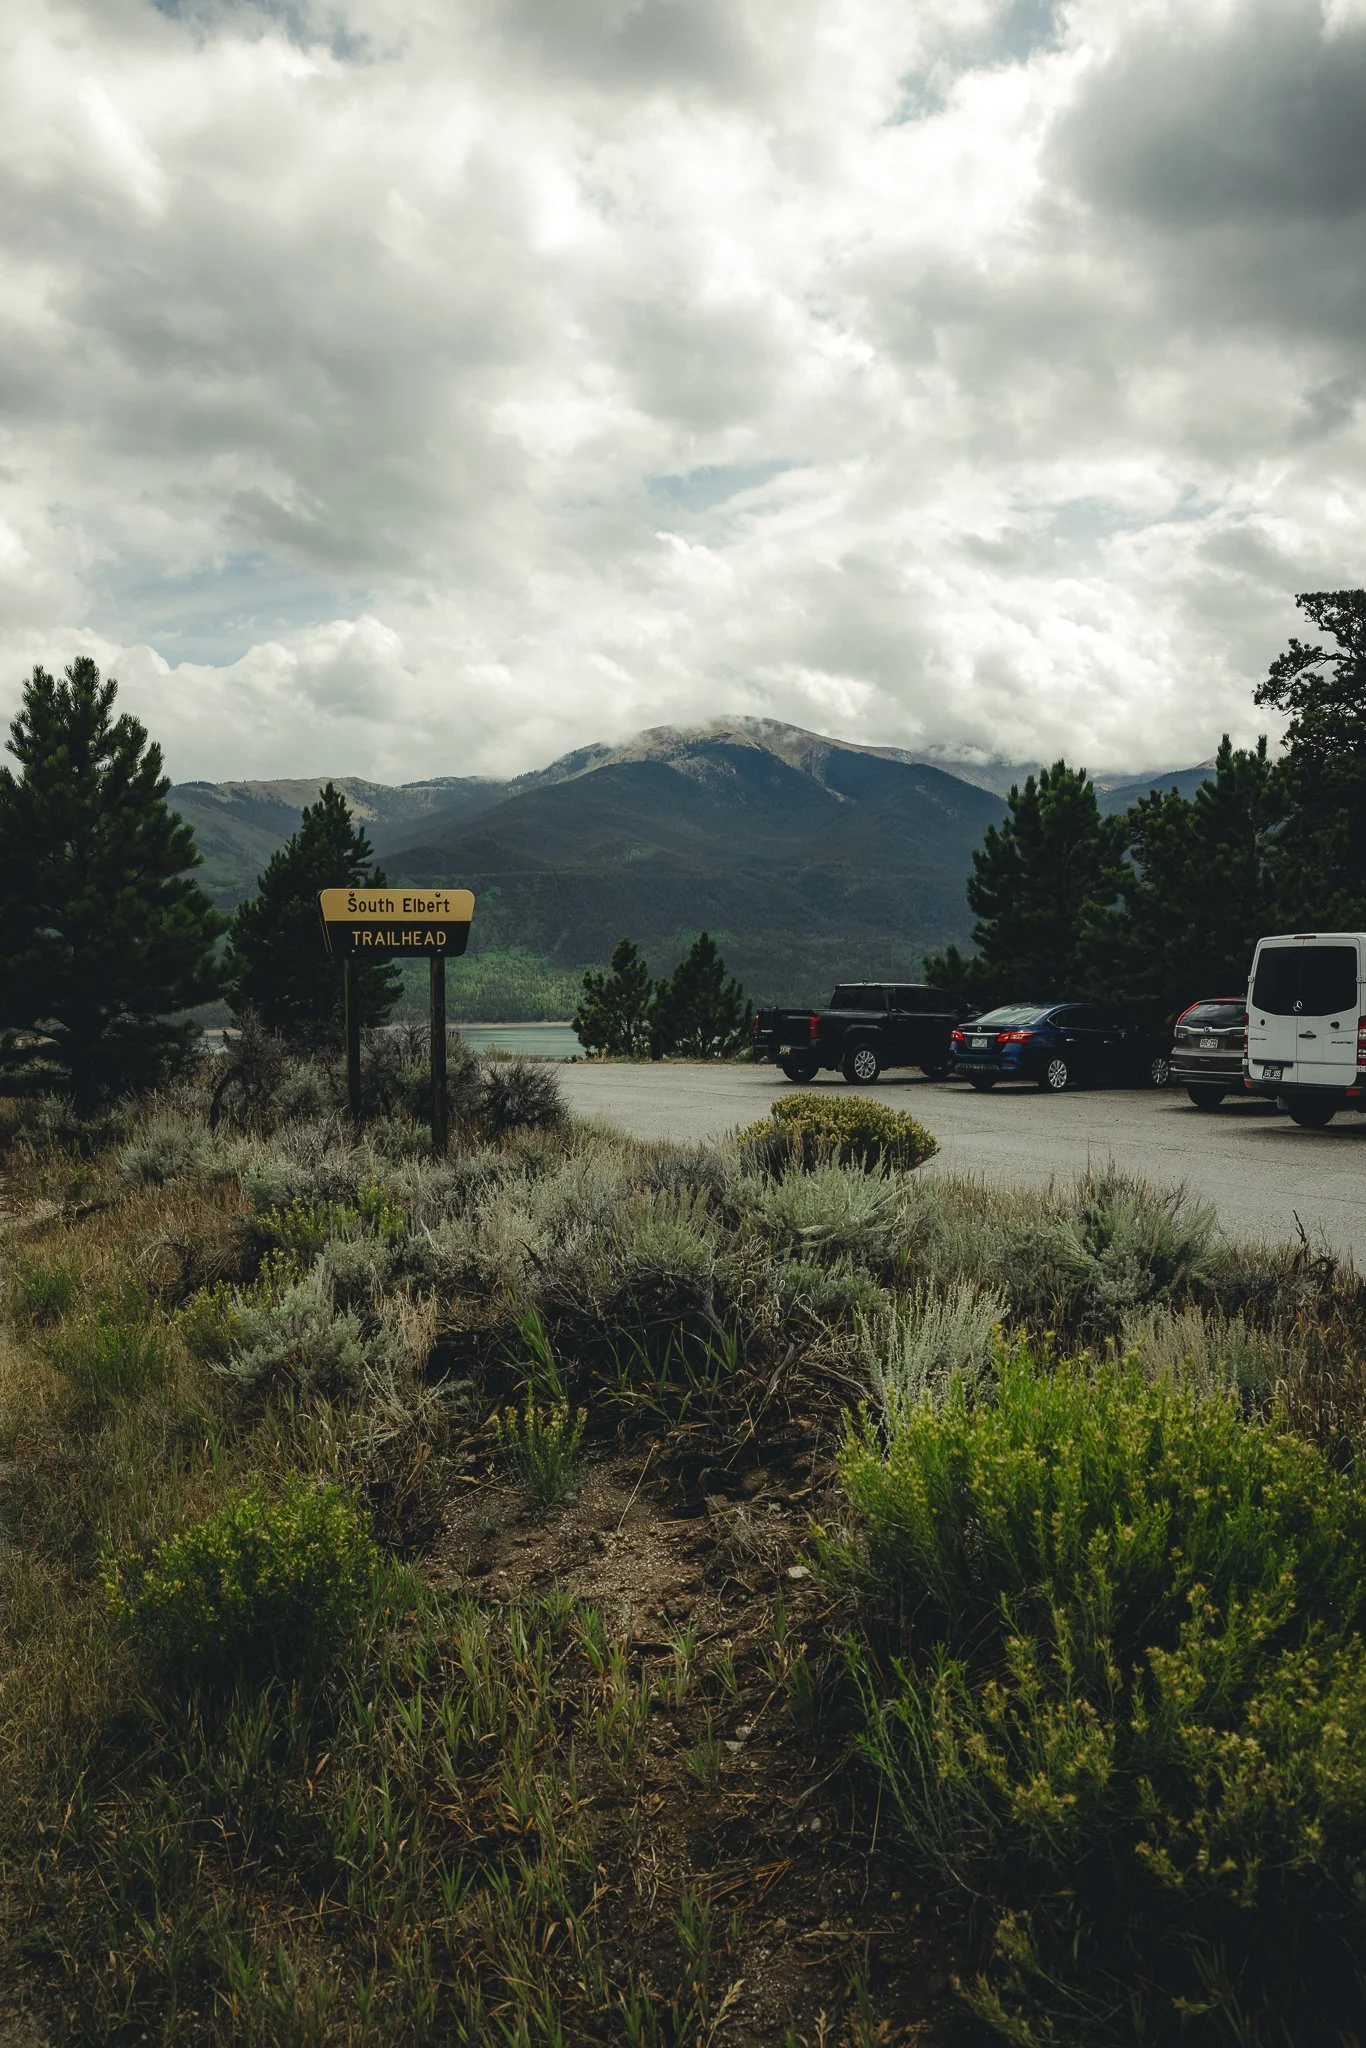
Elbert is located in the small town of Twin Lakes Colorado not far from Leadville or even Aspen. No matter where you’re driving from you end up on CO 82 that takes you through Twin Lakes and Ultimately Aspen, if you were to keep driving. There’s three different routes, but after reading reviews on All Trails it was clear that the East Ridge Route was the better trail to take. Below, I’ve listed times and distances from major areas to the South Mount Trailhead. You’ll need AWD with High Clearance if you want to park at the East Ridge Trailhead. I recommend parking in the South Mount lot and then hiking to the East Ridge trailhead.
Denver- 2 hours 15 minutes/115 miles/185 km (If I70W is congested take 285 South)
Summit County- 1 hour and 15 min/53 miles/85 km
Leadville- 25 min/22 miles/35 km
Aspen- 1 hour and 15 min/39 miles/63 km
Vail- 1 hour and 8 min/63 miles/101 km

Trail Stats
As mentioned, there’s three main routes that will take you to the peak of Elbert, each w/ different mileage for the hike. These routes are the East Ridge, Southeast, and North Mount Trails. Not only did the East Ridge route get great reviews on All Trails, but it also seemed to have better parking. For the Southeast route there isn’t really a designated parking lot and the North Mount trailhead will be North of Twin Lakes on the other side of Elbert. Reviews on Alltrails also does a great job of giving you an idea of what each route will be like. Below I’ve listed stats for each trail to the summit.
North Mount
Trail type- Out and Back
Length- 10.4 Miles (17 km)
Elevation Gain- 4,468 feet (1,362 meters)
East Ridge
Trail type- Out and Back with a loop towards the beginning/end of the hike
Length- 14.7 miles (24 km)
Elevation Gain- 4,895 feet (1492 meters)
South East Ridge
Trail type- Out and Back
Length- 11 miles (18 km)
Elevation Gain- 5,111 feet (1558 meters)
What is parking like
There are parking lots for the North Mount, South Mount, and East Ridge trail head starting points. As mentioned earlier the East Ridge Trailhead requires AWD and High Clearance and will be a dirt lot while the North Mount and South Mount lots are paved. Starting the hike at the South Mount Trailhead will eventually lead you to the East Ridge Trailhead (somewhat confusing, but will make sense if you do this hike)The Southeast Ridge Trailhead is somewhat off the beaten path and doesn’t really have designated parking.
On weekdays these lots won’t fill up too much, however on weekends when the weather is good, I can imagine them filling up. The earlier you get to the parking lot the better!
Is the hike Difficult
The short answer is Yes, this is a pretty difficult hike, especially towards the very top where this isn’t much oxygen, but a lot of elevation gain. Before you hike Elbert I would recommend doing some easier hikes in Colorado with less mileage and elevation gain. Also make sure to pack enough water and take breaks when needed. Listen to your body and don’t over due it!
Best time of year to hike this trail
Because of how long winters are in Colorado the Best time to hike this 14er would be late May to Late September, weather dependent. Snow can sometimes still cover trails as late as mid-late May. Although it melts pretty quickly, I’ve still seen it snow over a foot in May a number of times.
The best time of day to hike this trail is EARLY. Due to the fact that thunderstorms can pop up in the afternoon you typically want to reach the summit by noon. I would try to get to the trailhead by 5am and no later then 7am. Depending on which route you take, the East Ridge route takes about 9.5 hours round trip meaning you have to start hiking as early as possible.
Trail Details and what we should Expect
What I really like about this trail is the variety of terrain it had to offer throughout the hike. If you park in the South Mount Trailhead lot you’ll start the hike on a narrow trail that ends up taking you through some Aspen Trees. During a sunrise when the light starts to peak through the trees it’s pretty cool. The beginning part of this trail is also part of the Bartlett Gulch Loop trail.
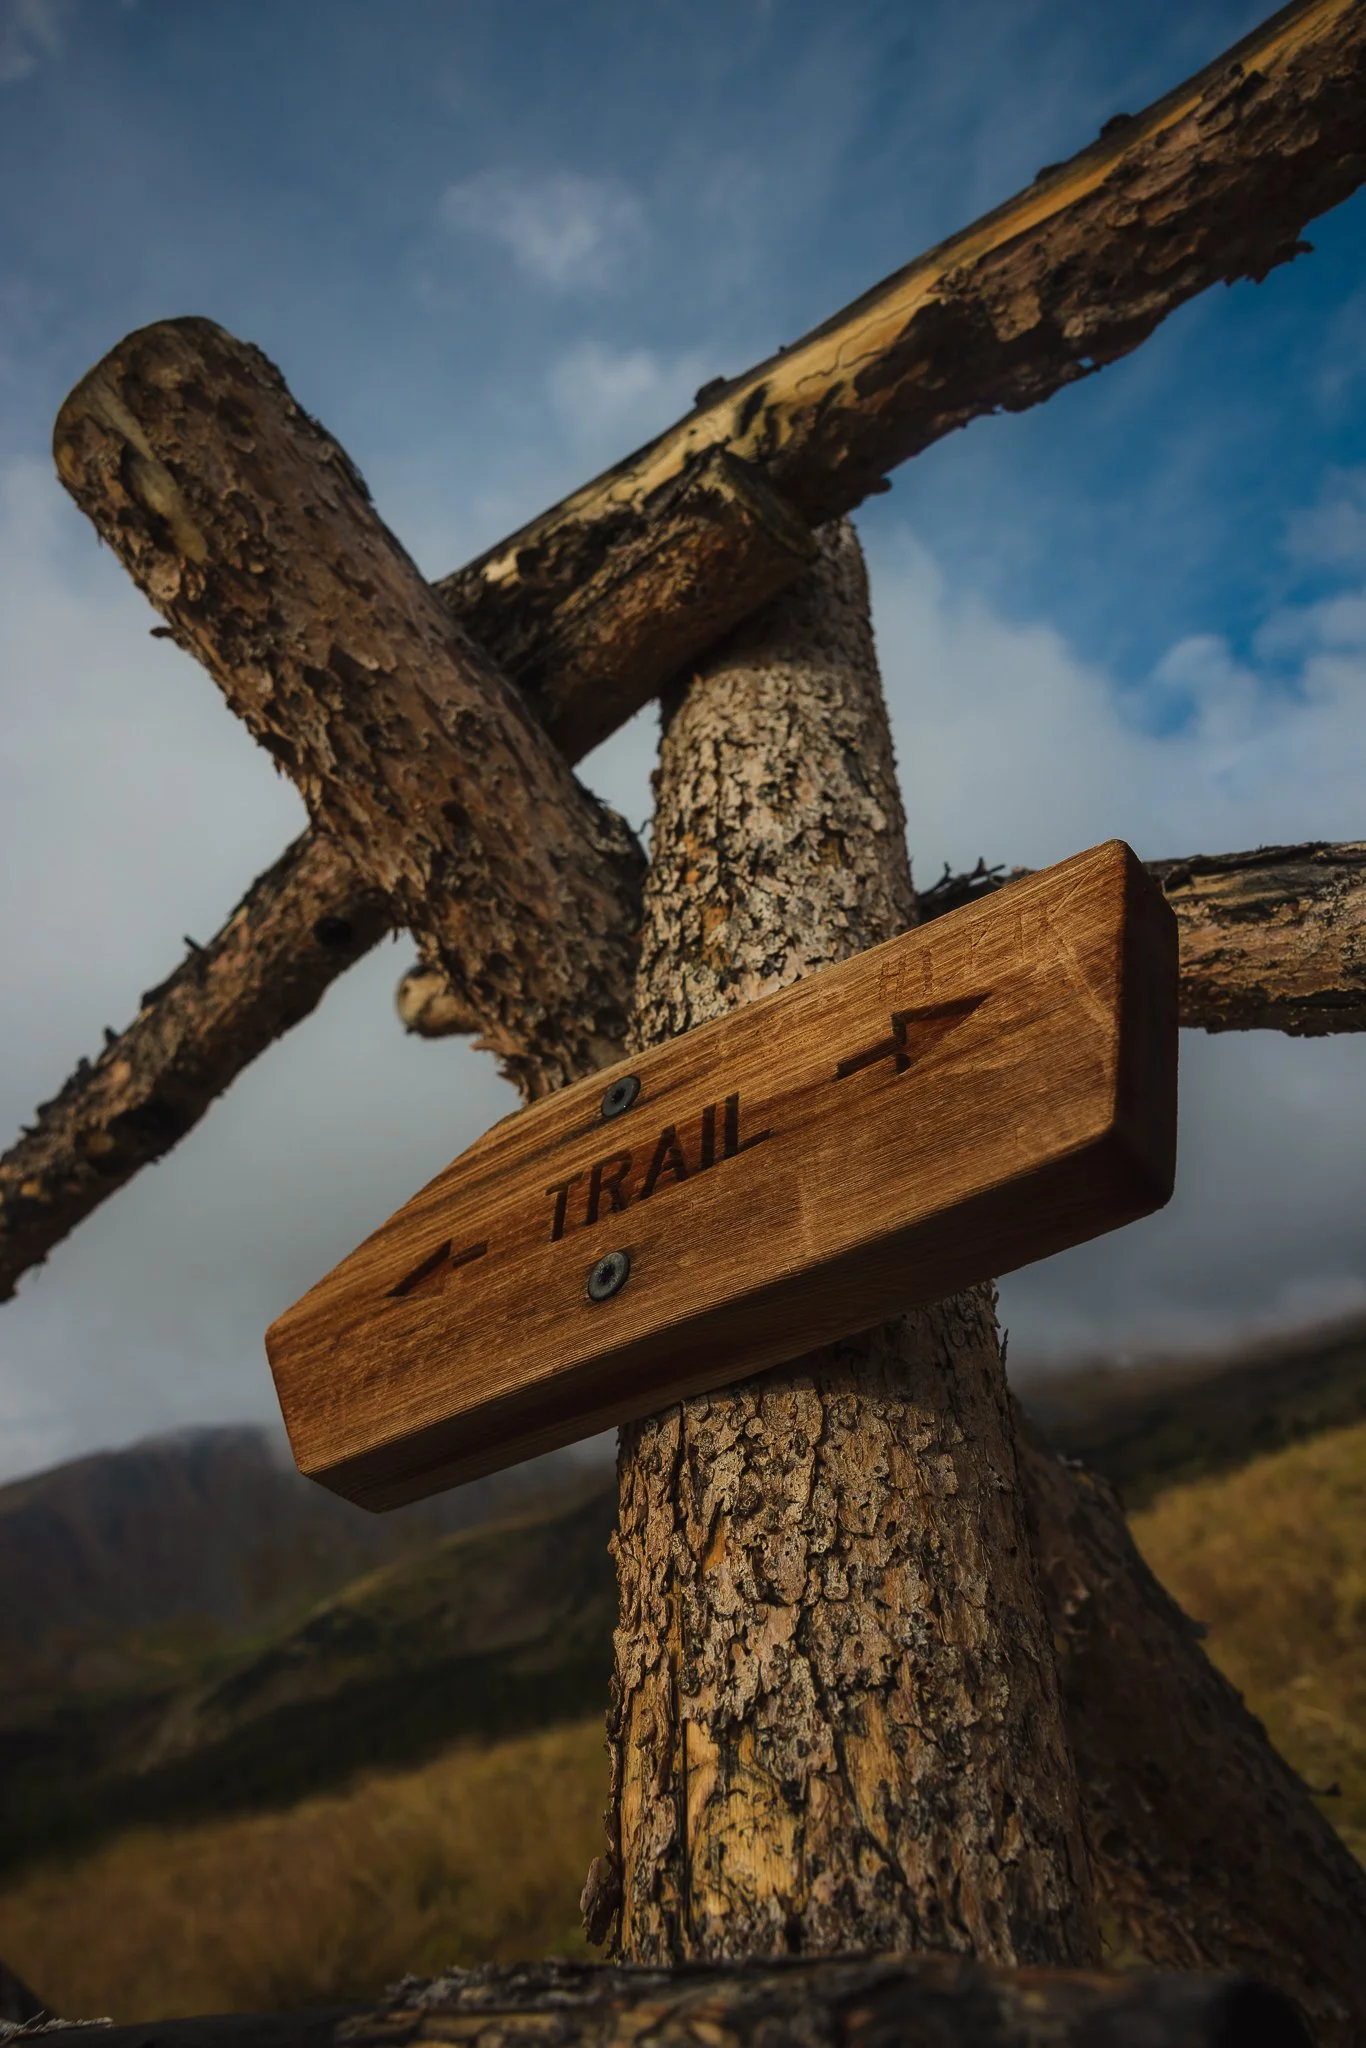
Once you Hike through the Aspens you’ll eventually reach the East Ridge Trailhead with a parking lot. This is really the start of the trailhead and you’ll start to walk through Alpine forests at this point. As you start hiking you’ll want to stay on the S. MT. Elbert TR. No 1481. You’ll also notice on the sign -> Lily Ponds. This is a cool little detour spot to take a break if needed. It’s a tiny pond with some man made areas to sit. I checked it out on the descent back down.
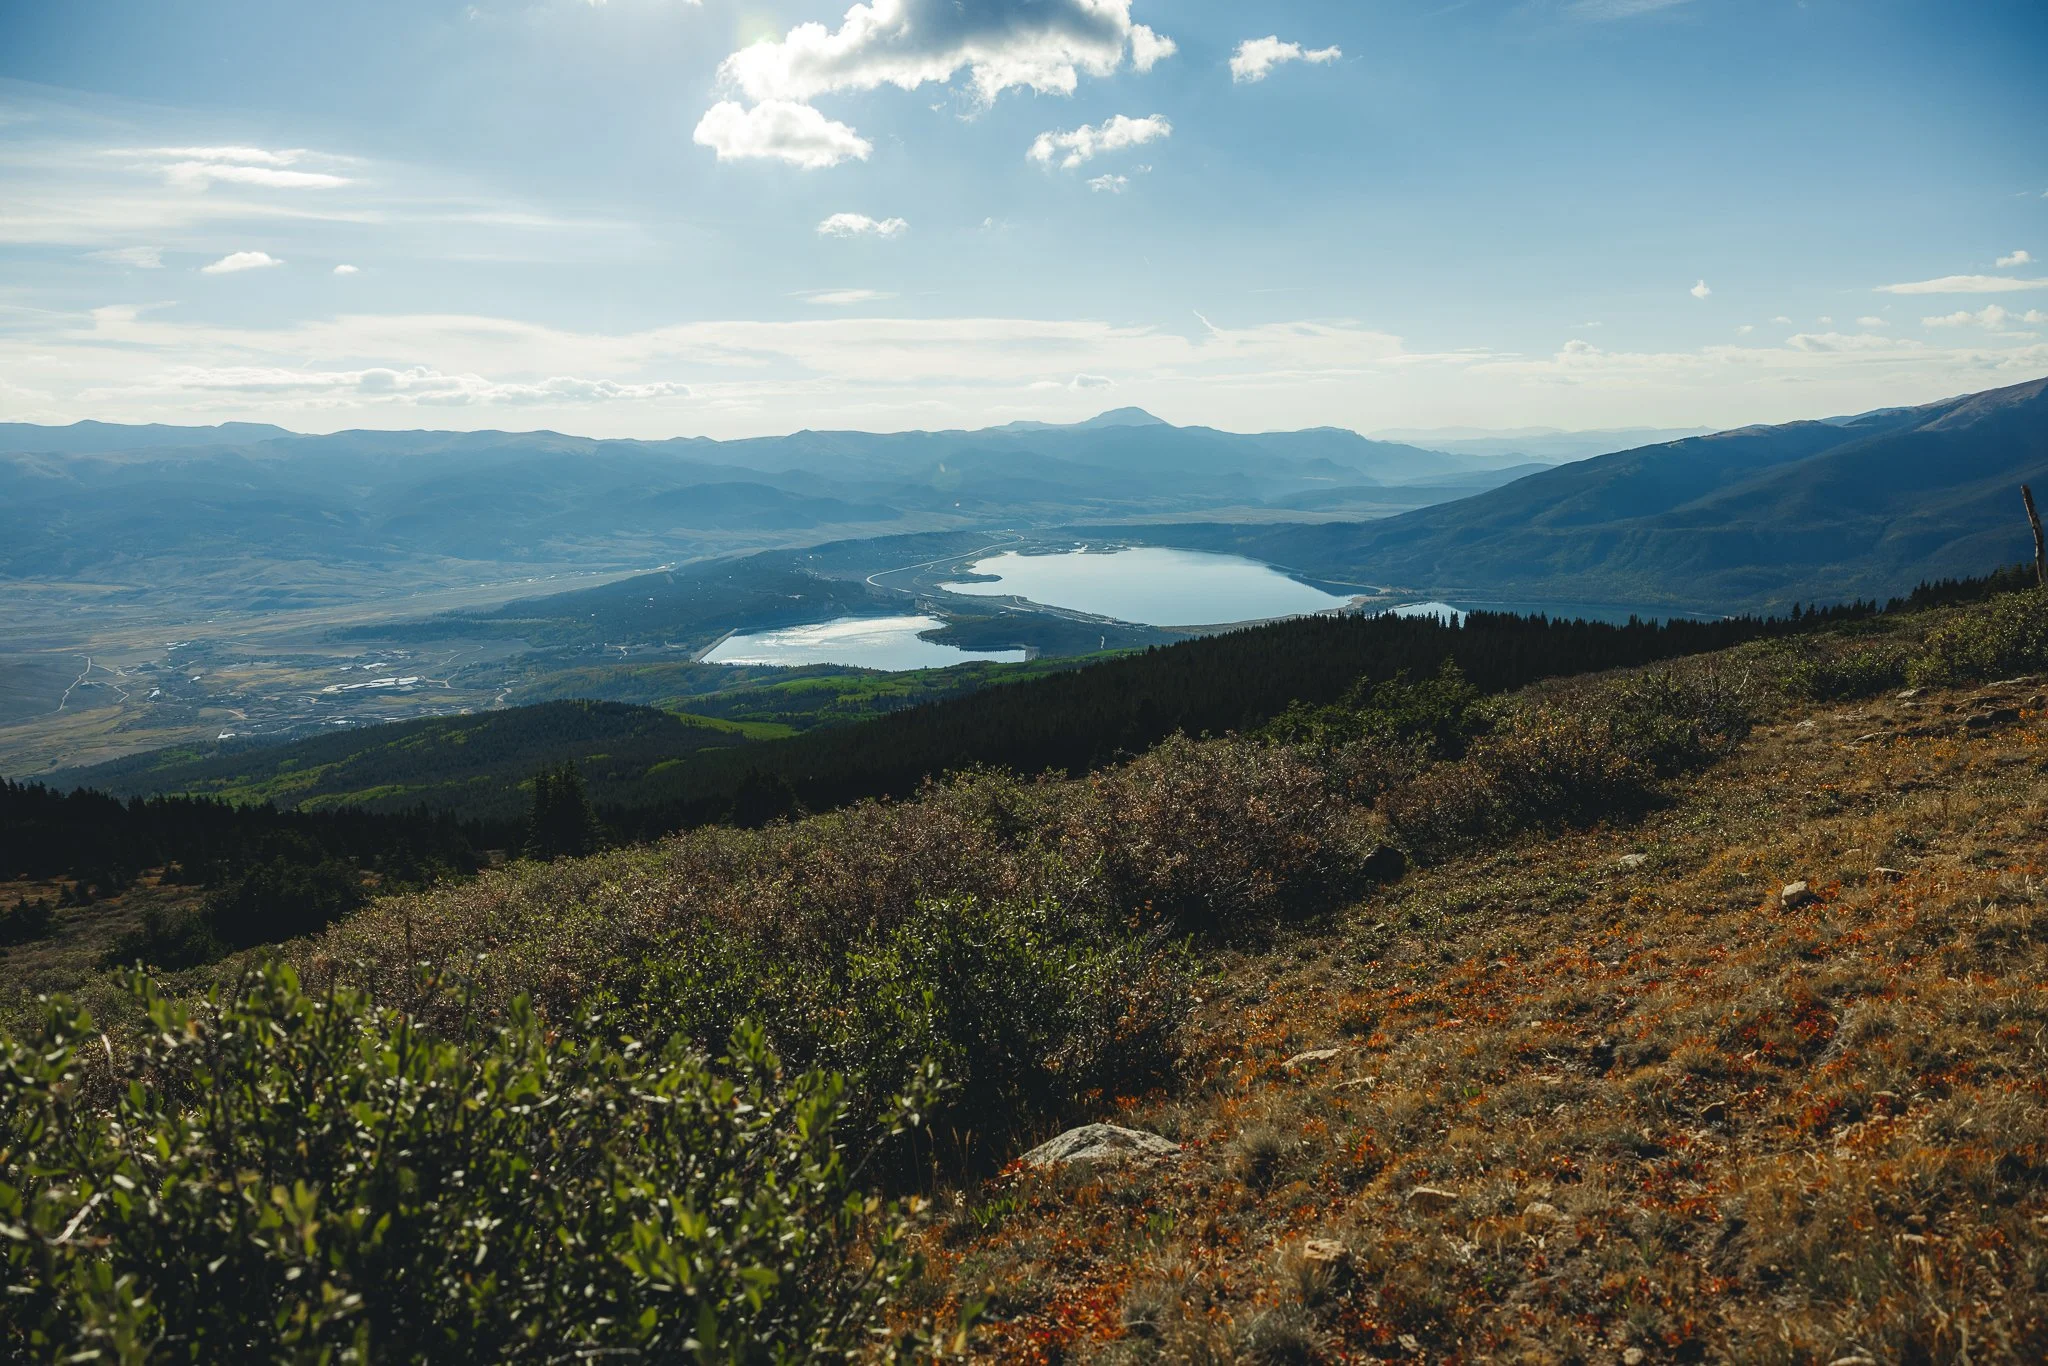
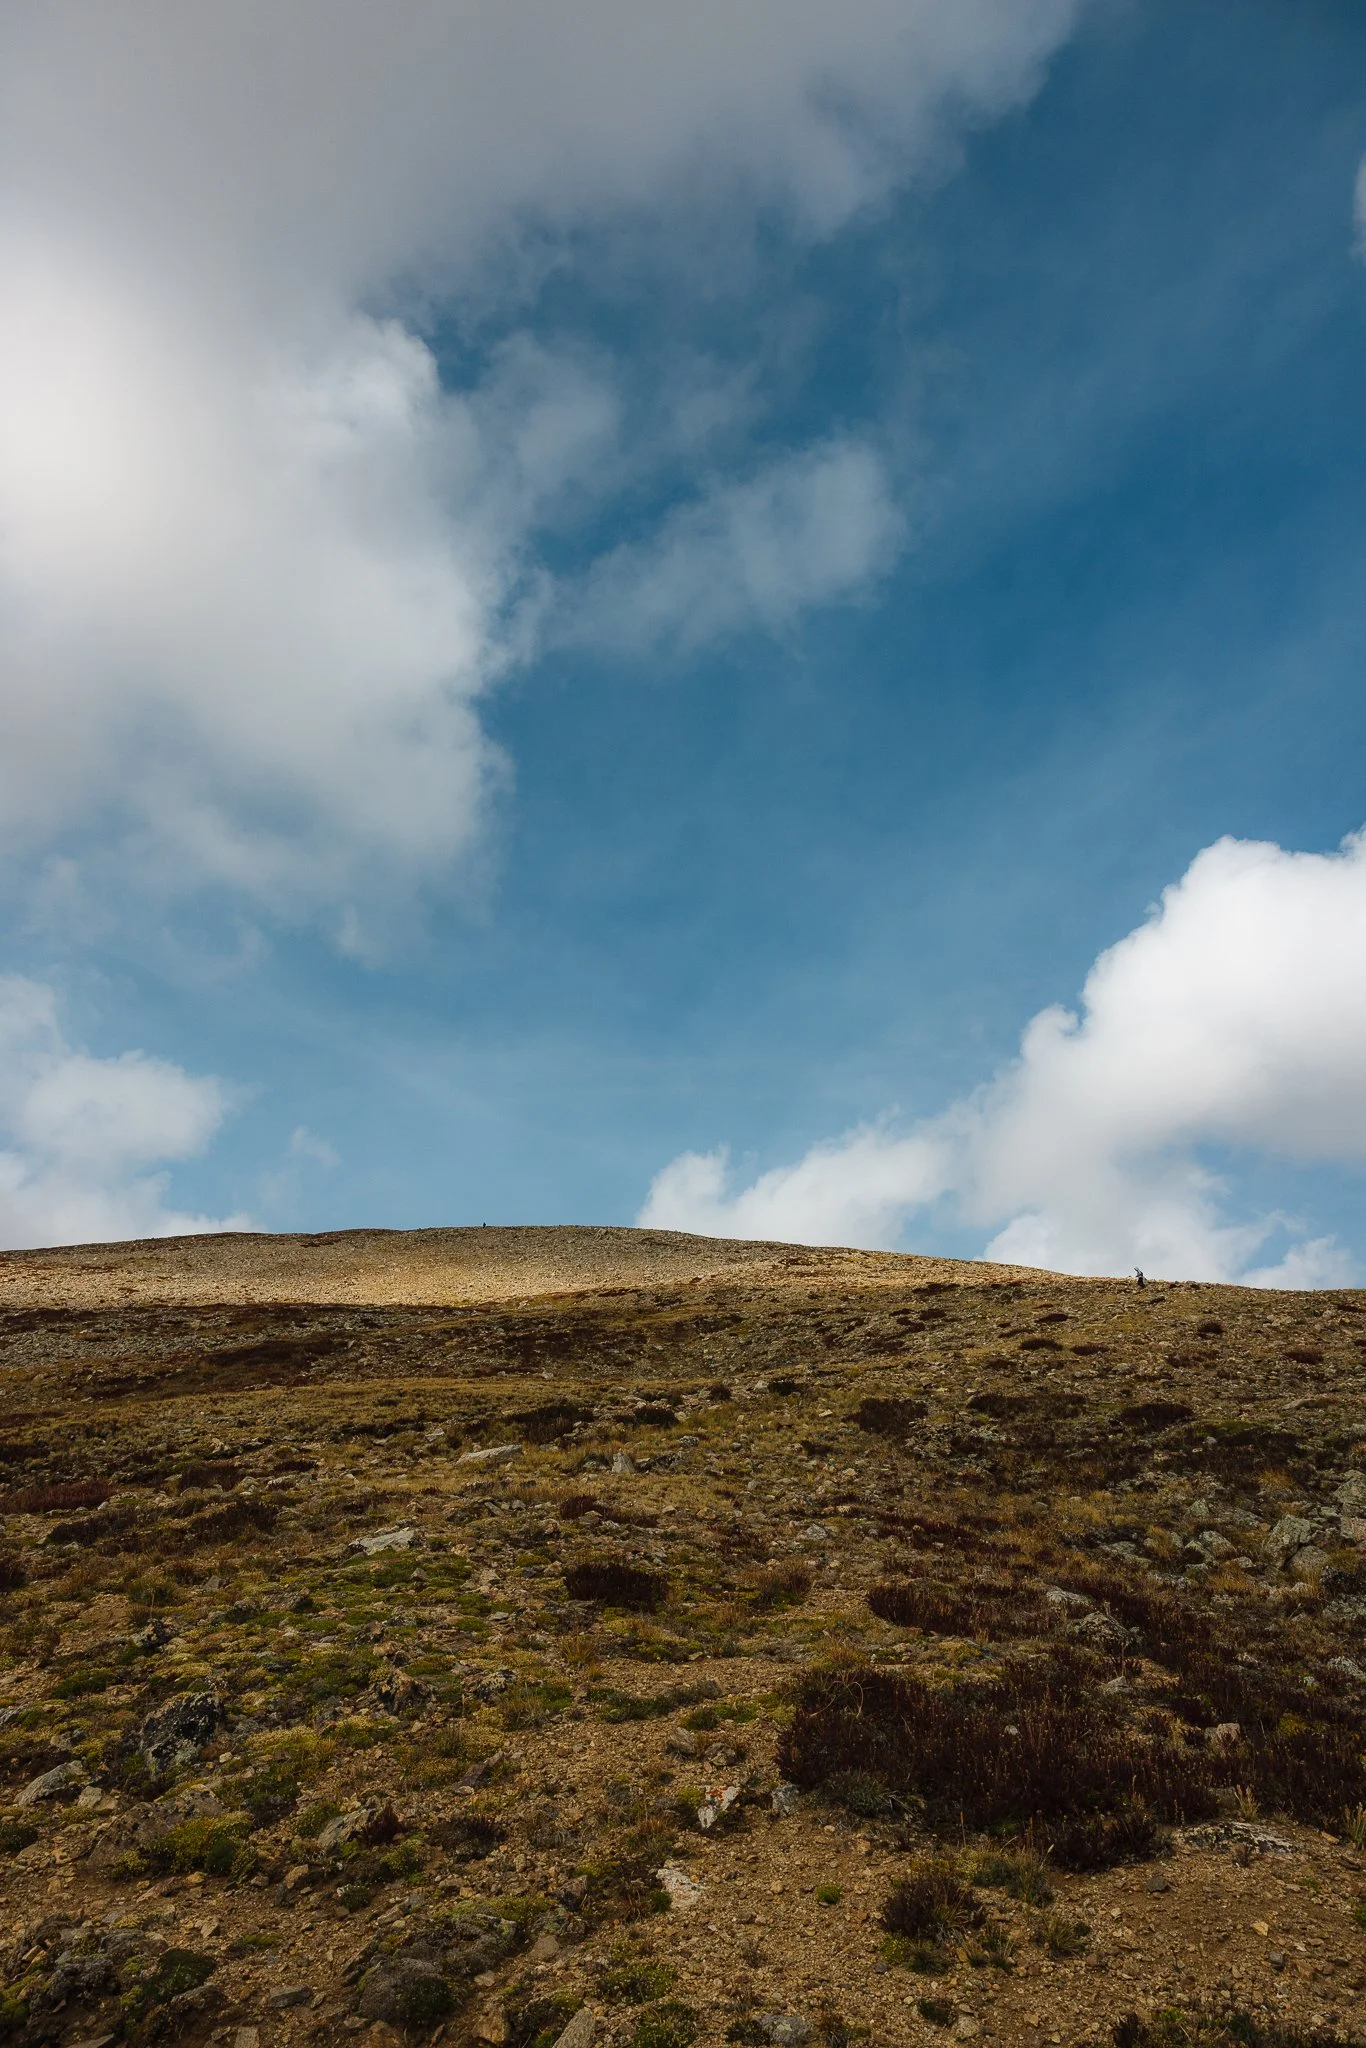
As you start to hike from the East Ridge Trailhead you’ll continue to walk through the woods for a little longer, coming across a stream or two along the way. The elevation gain starts to pick up at this point and you’ll pop out of the trees with amazing views of Twin Lakes down below. By this point your getting closer to getting above tree line which is a little over 4 miles into the hike and 11,800 feet elevation.
Don’t worry about getting lost because the trail is well marked.
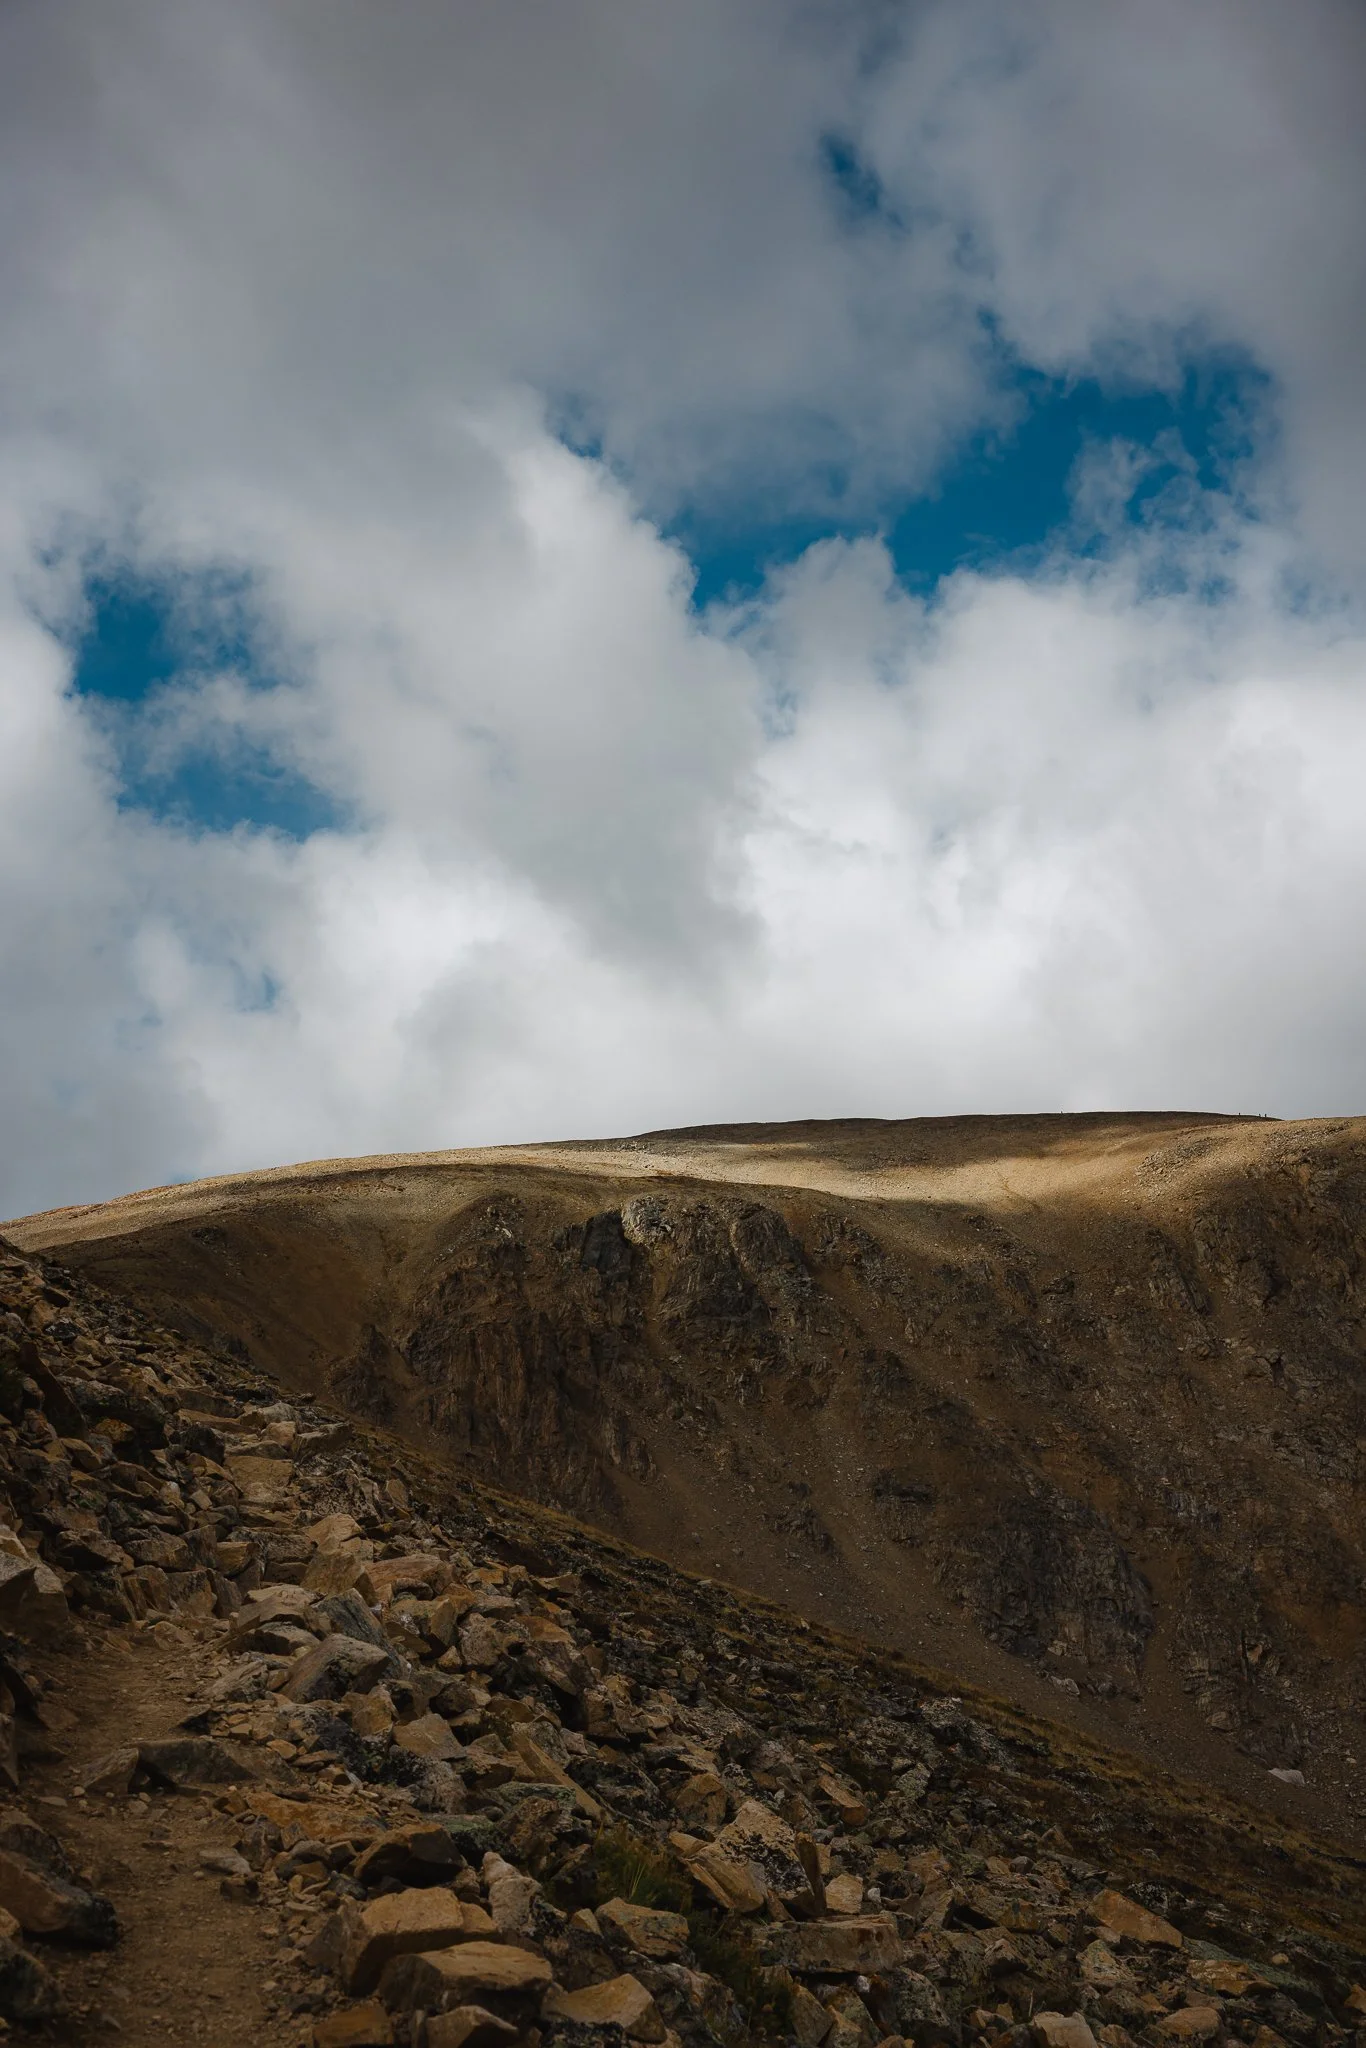
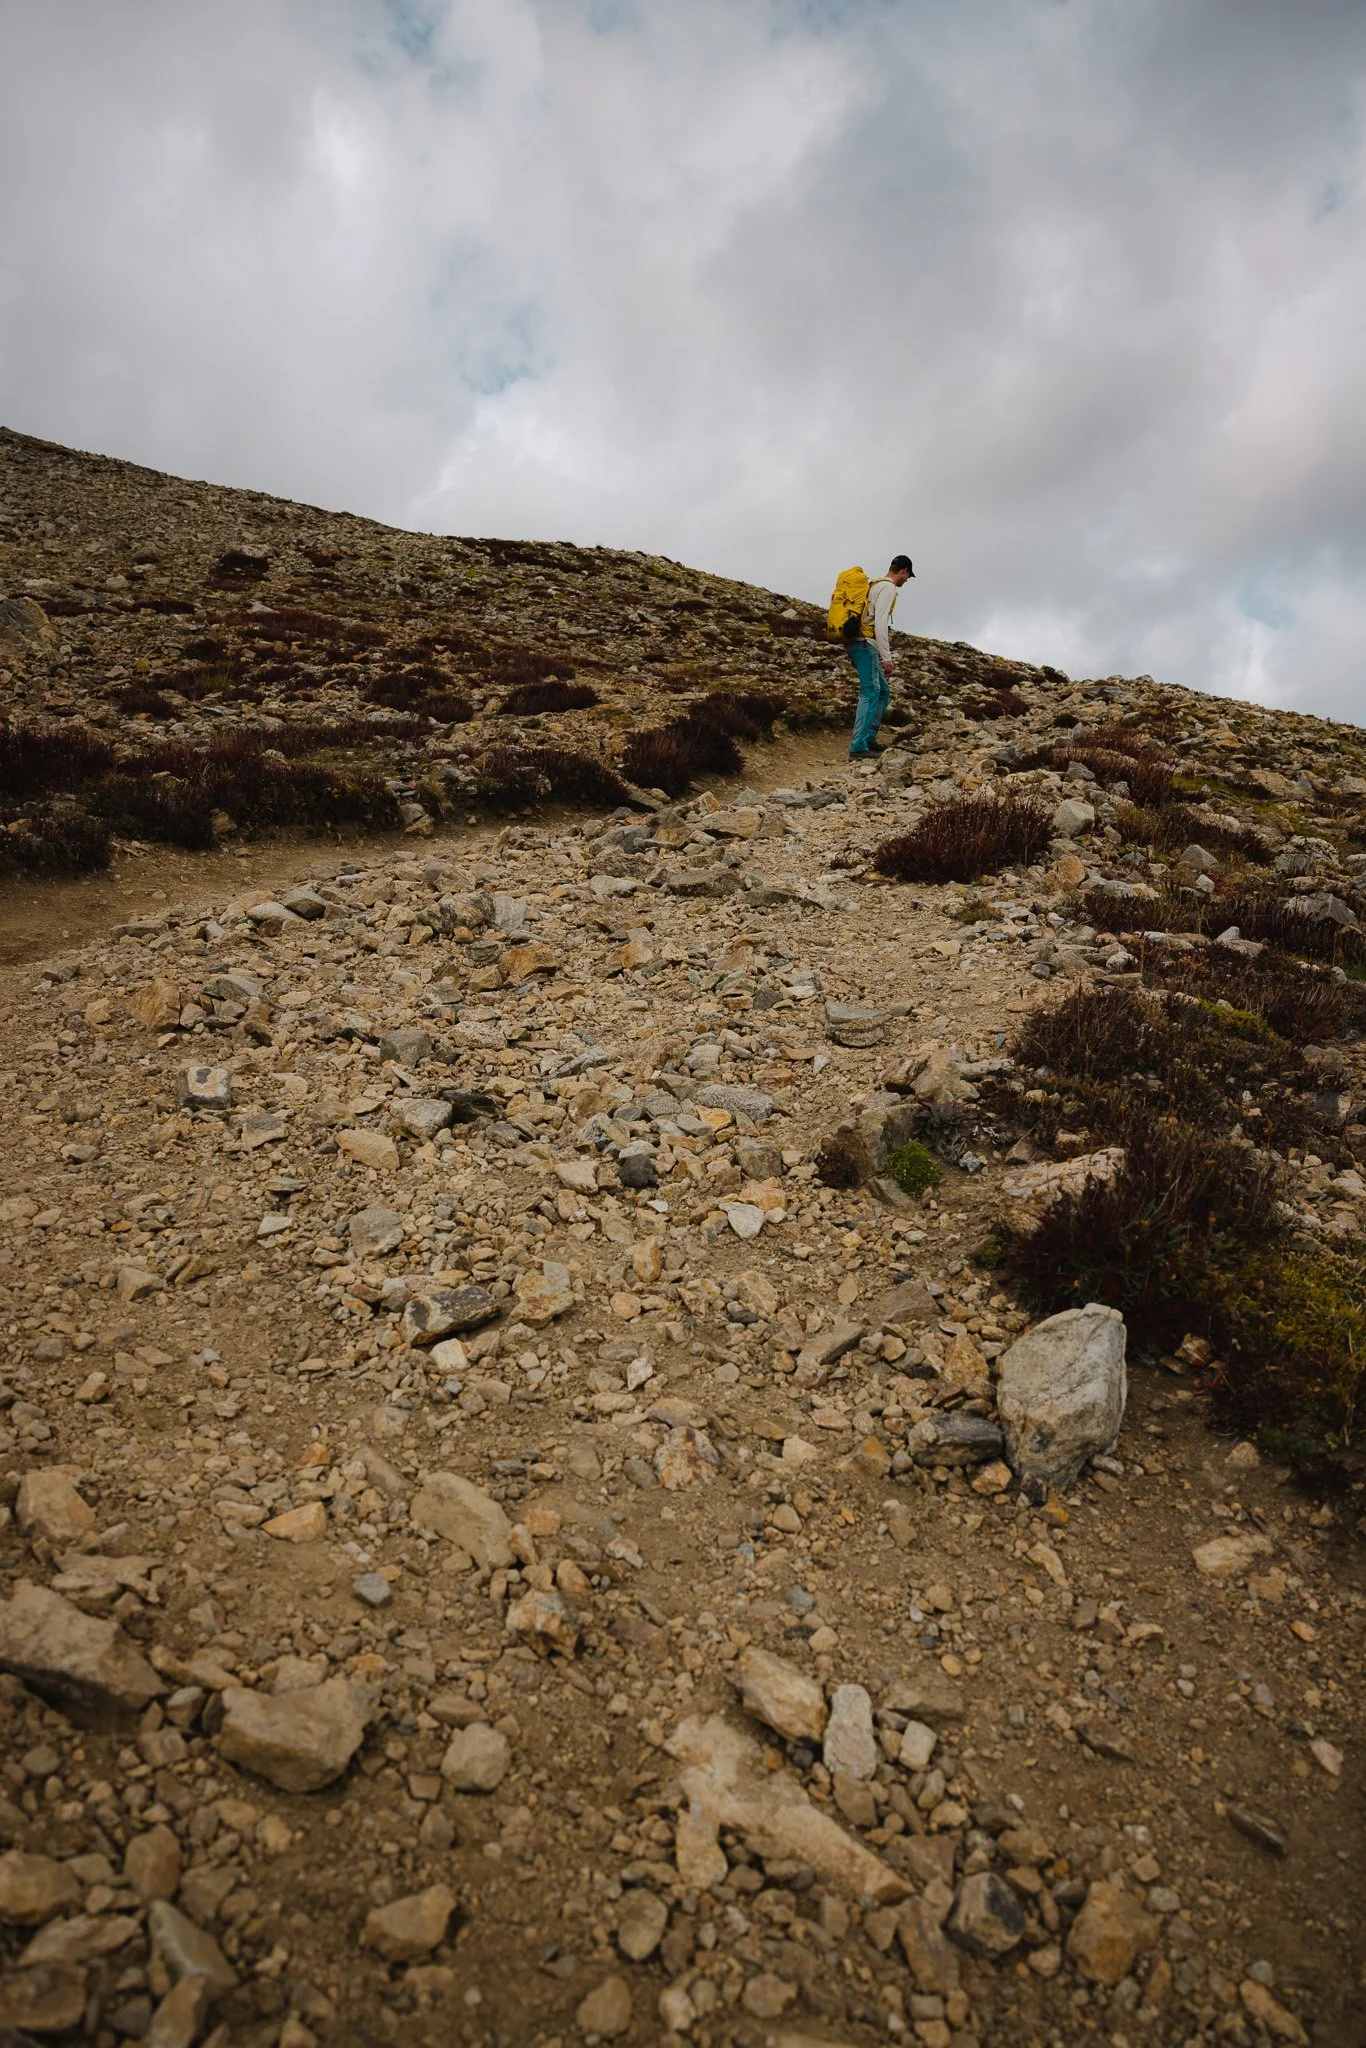
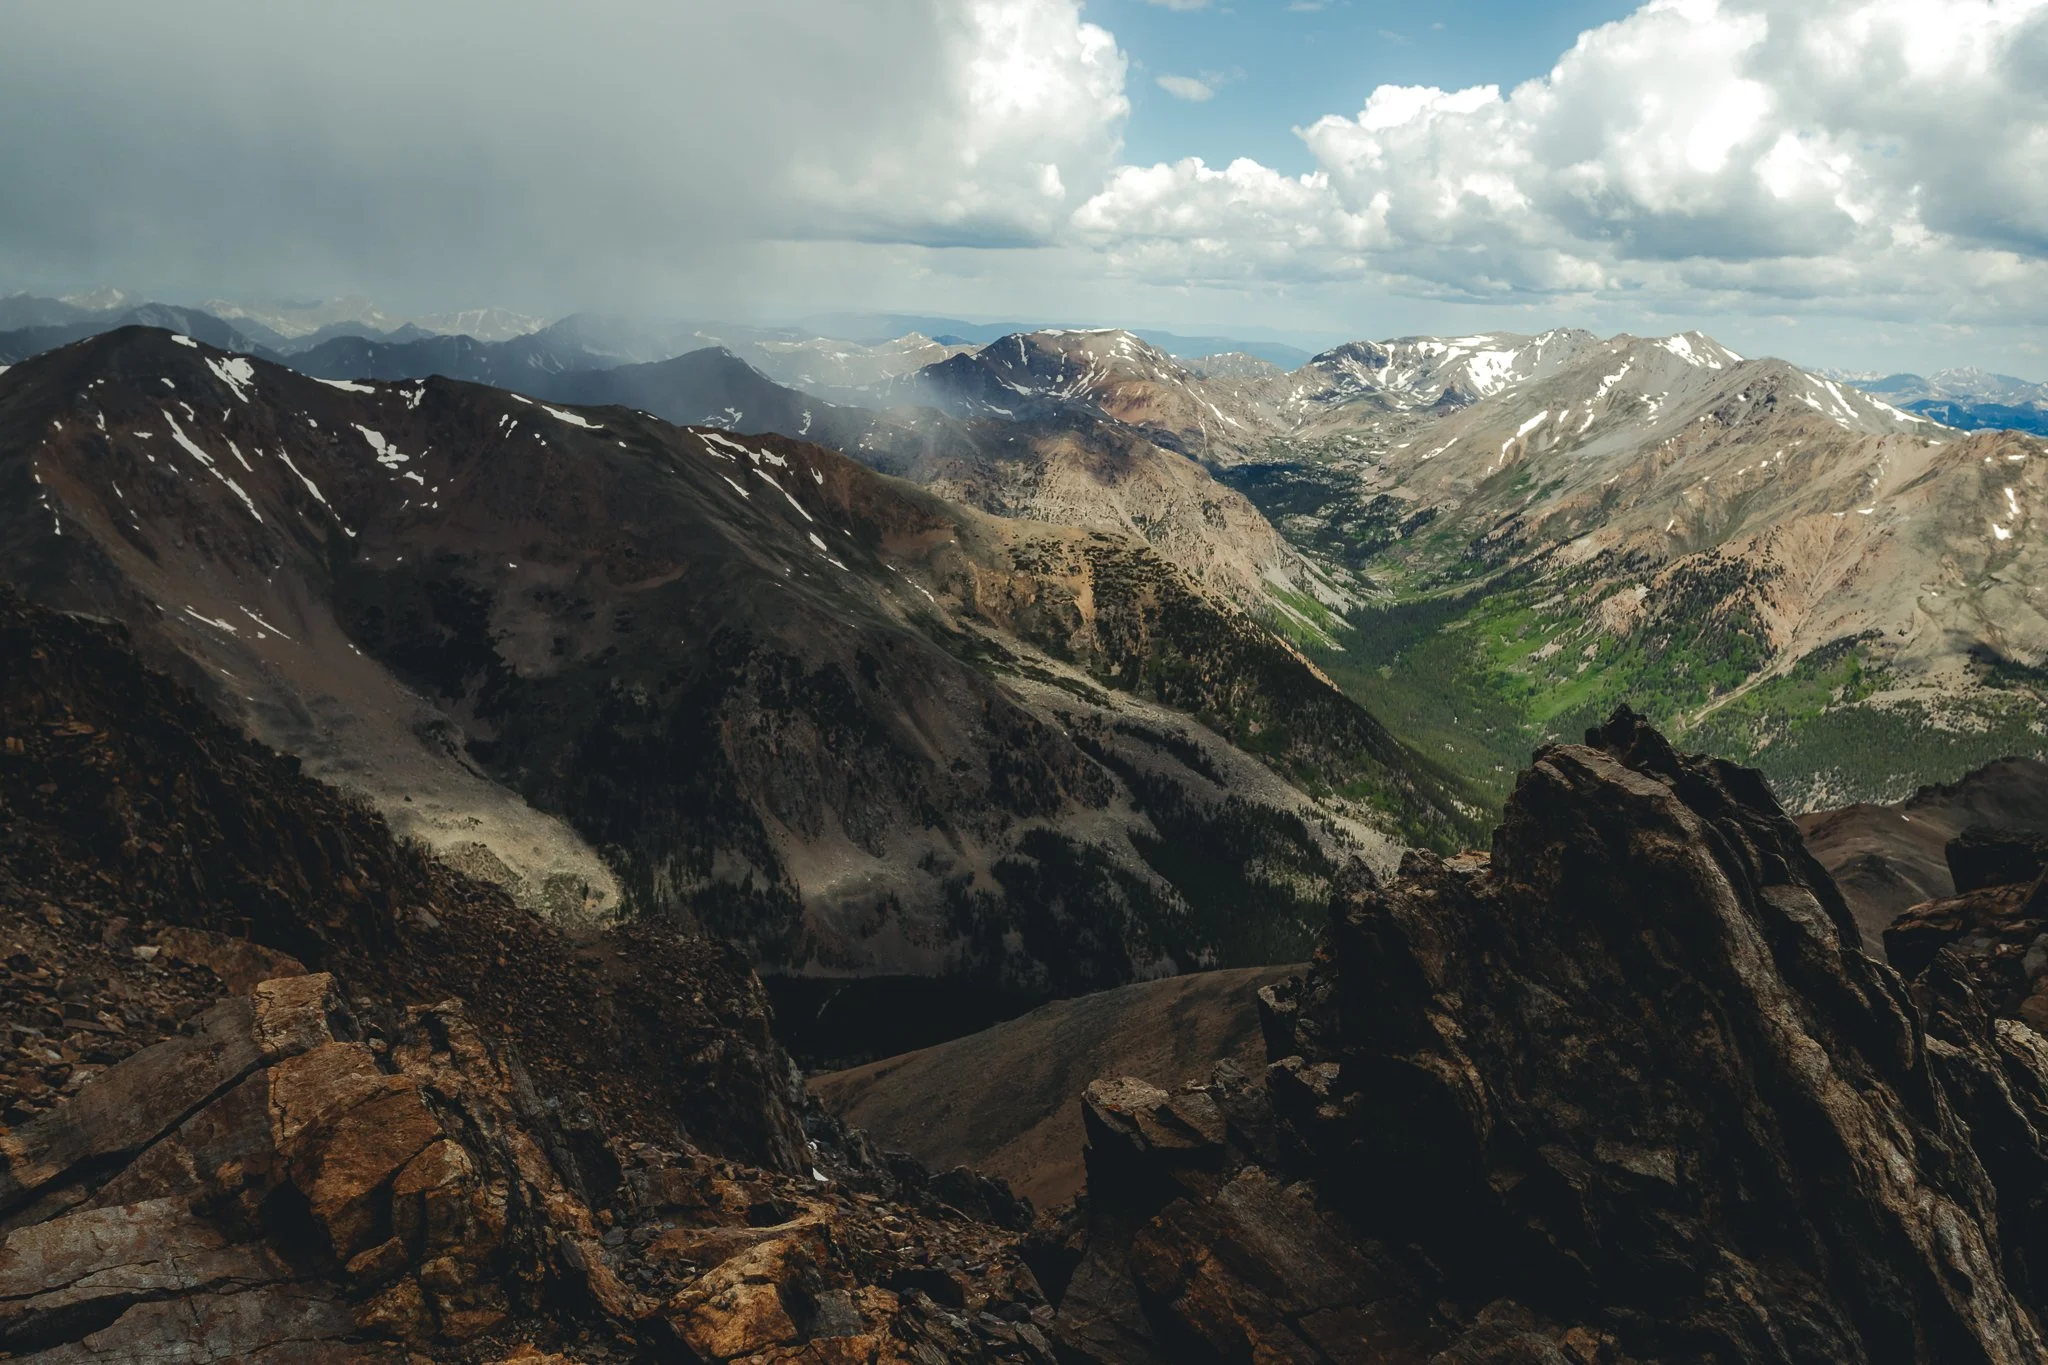
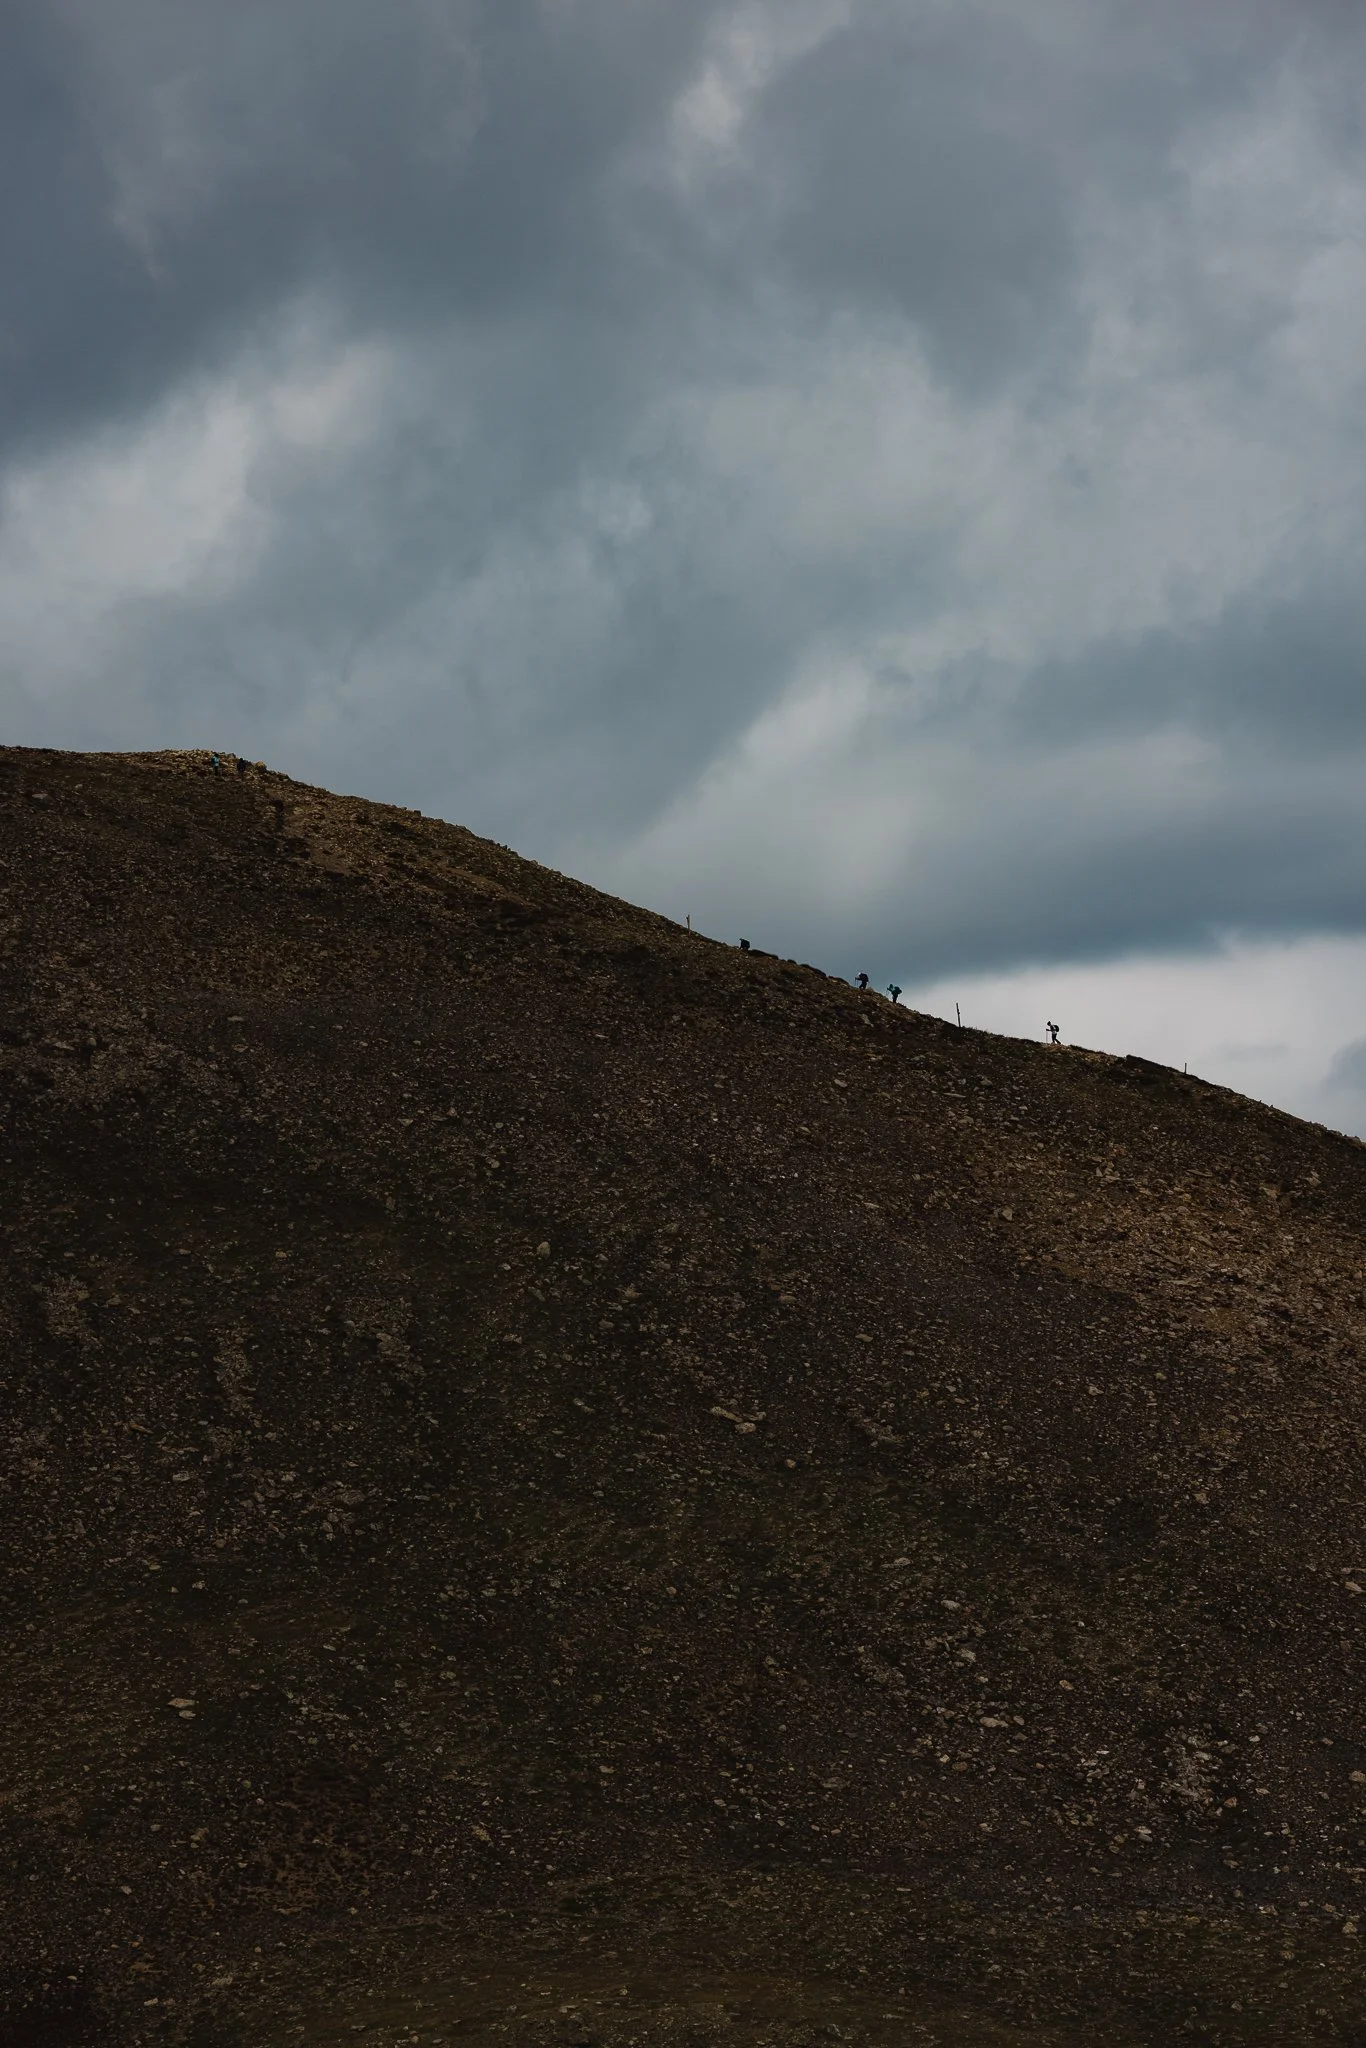
As you start to get above tree line you will encounter a number of switch backs until you reach the peak. This is honestly when the hike was the most challenging, but if you take breaks and go at a pace that you’re comfortable with the hike is doable. As you get to the top you might even encounter snow, even in July.
Once you make it to the top, congrats you’ve hiked all the way to 14,439 feet or 4,401 meters. Grab some photos at the top and take in the amazing views of the Sawatch mountain range. There’s a chance that weather can roll in right around the time you reach the summit, make your own judgement call, but I wouldn’t hang out for too long at the summit if that is the case.

The Descent
On the way back towards the end of the hike I took the service road instead of the trail because it will be a faster way to get to your car since the hike is pretty long.
Are there any False Summits
I didn’t experience any on the East Ridge Trail, but I read that there are a couple on the North Mount trail. If you’re like me and aren’t the best at reading maps downloading an app like All Trails will be helpful in preventing you from going off trail or taking a wrong turn. Bad cell service?, download the trail on your phone ahead of time to navigate the hike when needed.
Is there camping nearby
Yep, there is some awesome campgrounds either right on the lake or close to the Lake. The closet campground to the South Mount trailhead is the Lakeview Campground. There’s also BLM camping close to the trailhead. Other campgrounds in the area include White Start and Dexter Point. You can visit recreation.gov to make a reservation in advance. Weekends tend to book out pretty early and weekdays are a little more open.
Not into camping? There is also lodging nearby that you can book through VRBO.
Is this a crowded trail
Depending on the time of year and what day of the week you go, I would say weekdays aren’t very crowded. I only saw a handful of people as I made my way to the Summit and almost no one on the hike down. That being said 14ers continue to grow in popularity each year, so I would arrive to the parking lot as early as possible. The Southeast Ridge route is an alternative route if you don’t want to deal with more people while hiking. Keep in mind that there isn’t really a parking lot for this trailhead.
Do you need a permit
You do not need a permit to hike Elbert or a parking pass
Any recommended websites to check the weather forecast ahead of time
Noaa or Mountain Forecast are great online resources to check weather ahead of time when going on hikes or doing anything outdoors.

What Class 14er is Elbert
Elbert is considered class 1, meaning it has a designated trail all the way to summit. The class system (1-5) goes from a Hiking trail to scrambling (using hands to navigate up boulders) to technical climbing.
Any Downsides to this hike
The only downside I experienced was the number of switchbacks towards the summit. Other then that amazing views, not many people on the trail, easy to access parking, and plenty of camping options in the area.
What are the best tips for hiking a 14er
Start with smaller hikes first that have less mileage and lower elevation gain, use All Trails to look for local hikes in your area or your destination of choice
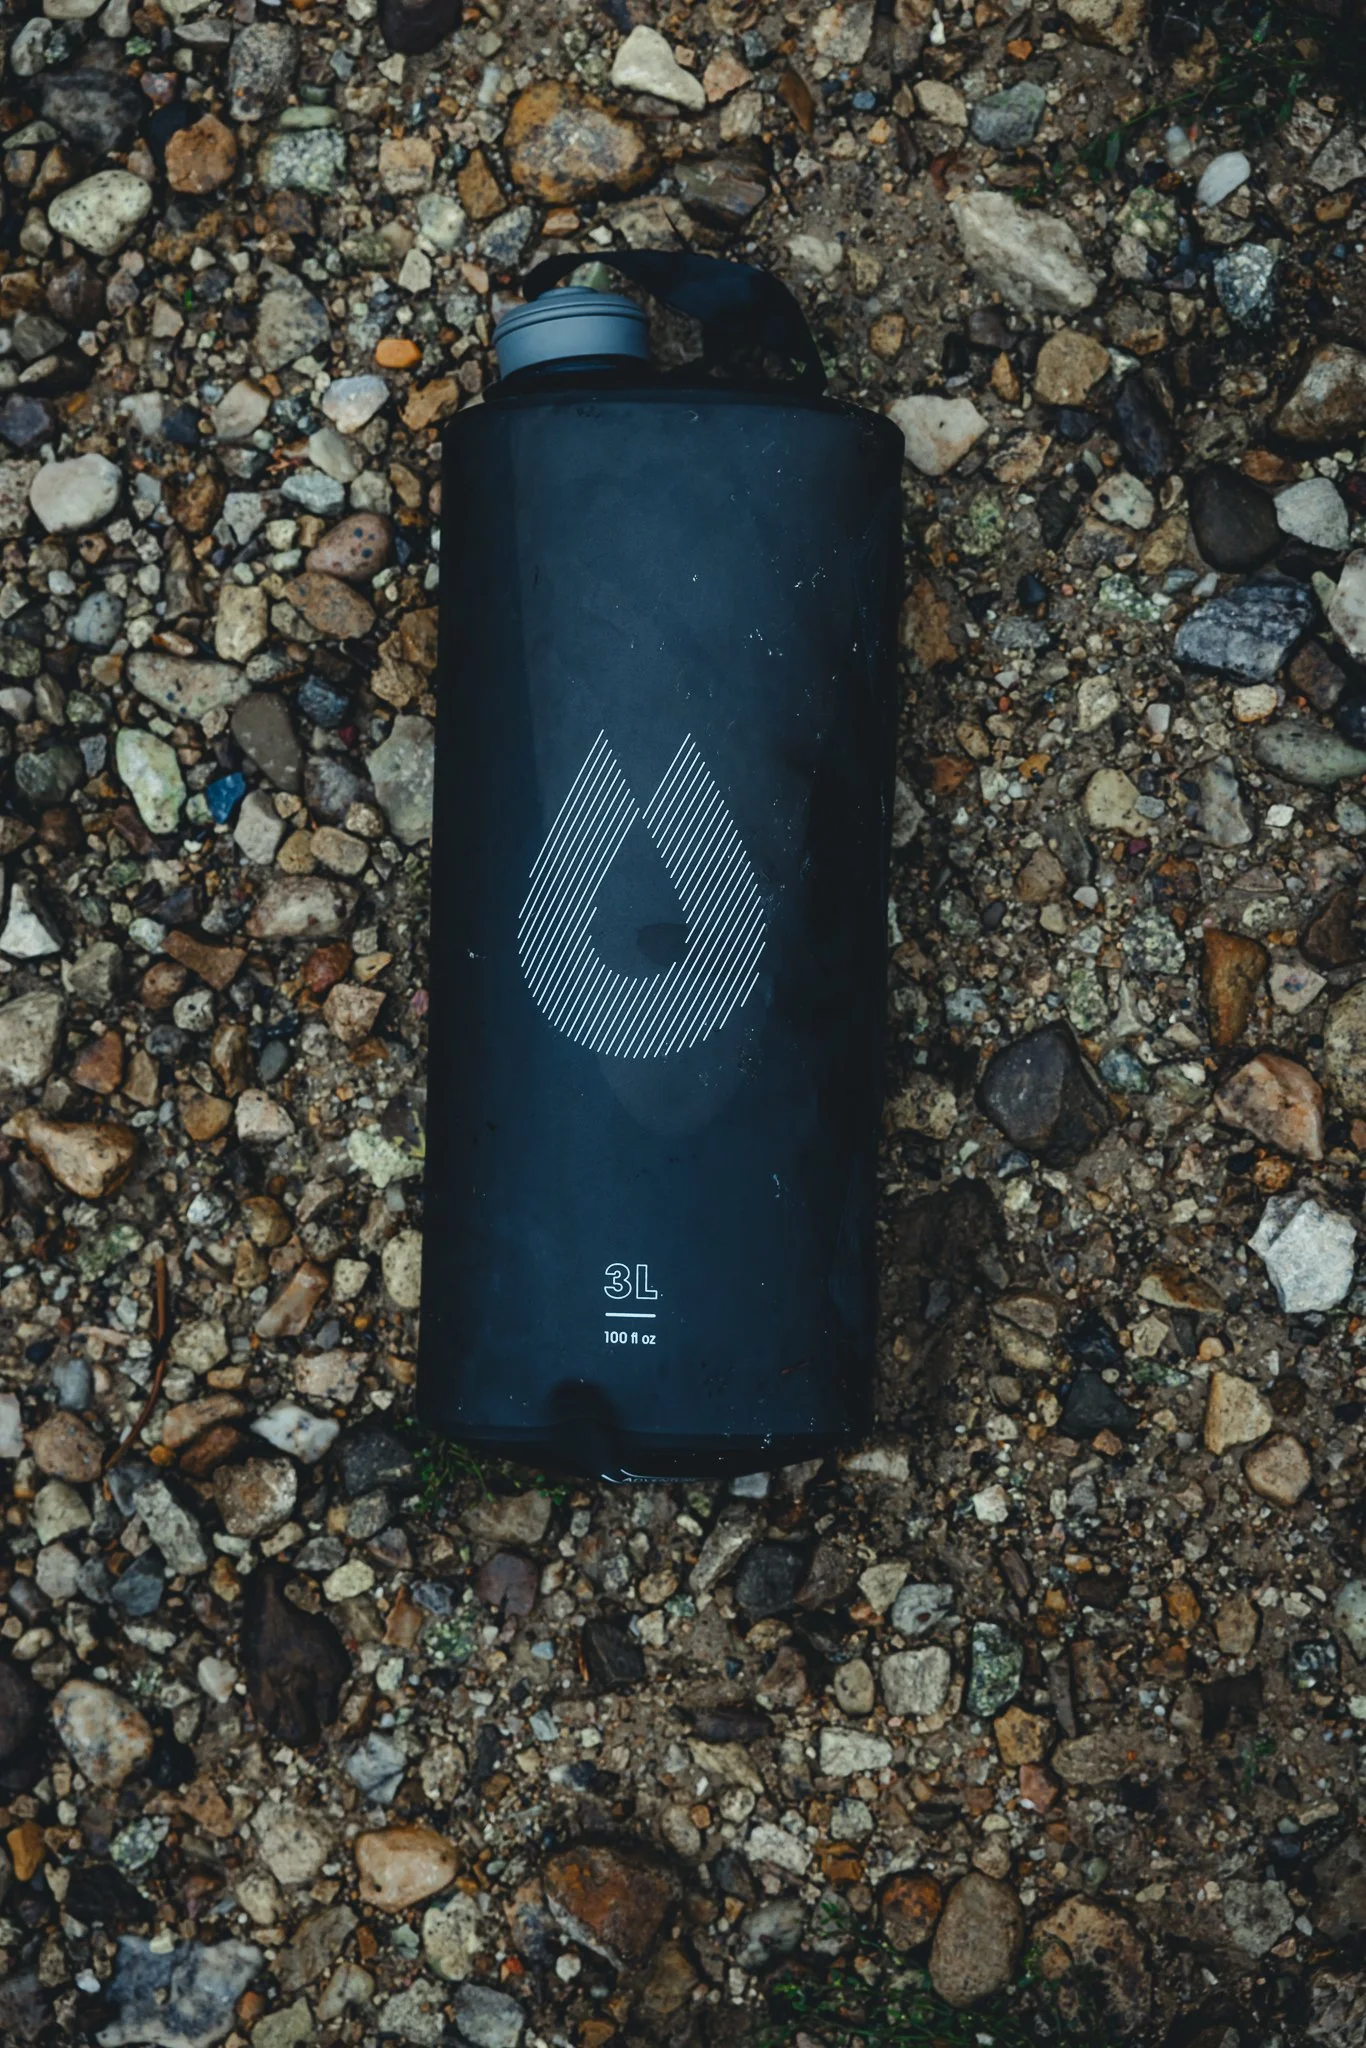
Pack enough water, but not too much that the weight is overbearing while hiking. I use a Hydroflask as well as a Hydrapak when hiking 14ers.
Start hiking EARLY. Waking up at 3:30am isn’t ideal, but ALWAYS worth it. Plus, weather can roll in at any moment in the afternoon so you want to reach the summit as early as possible.
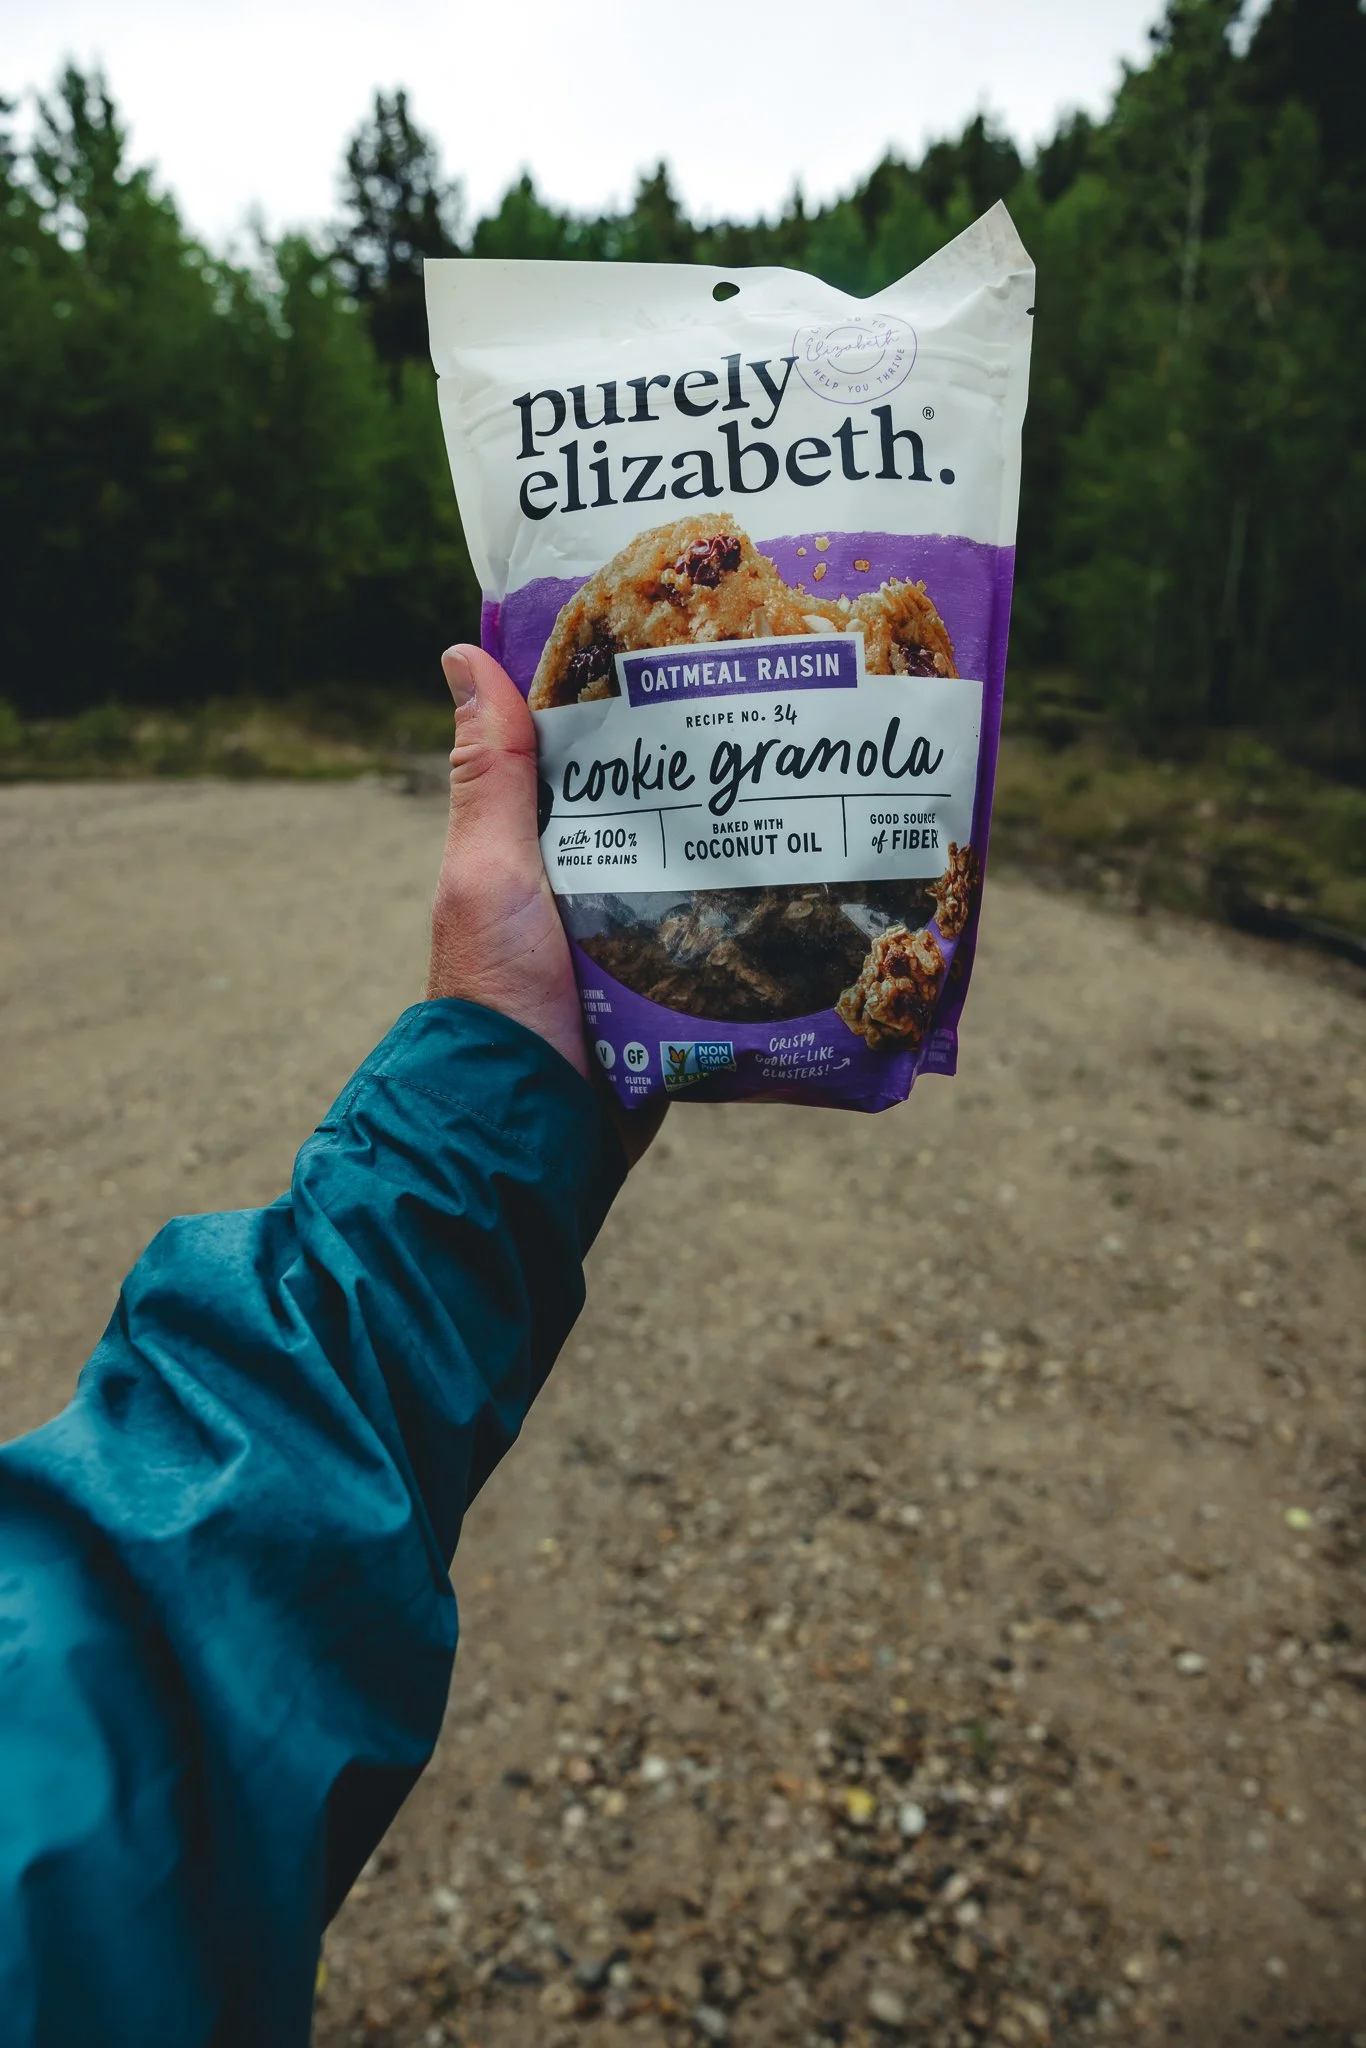
Pack Snacks that will give you fuel while you hike
Make sure to pack a rain jacket, extra layer, and hiking pants or shorts for when the weather changes
I don’t own a pair of hiking poles, but I would highly recommend using these as they are an added bonus
Only use a good pair of hiking boots with great traction and support
Go at your own pace, not only will you enjoy the hike more, but your body will thank you later
Pack out what you packed in by not leaving any trash or waste behind
Have fun and be ready to push yourself physically and mentally!
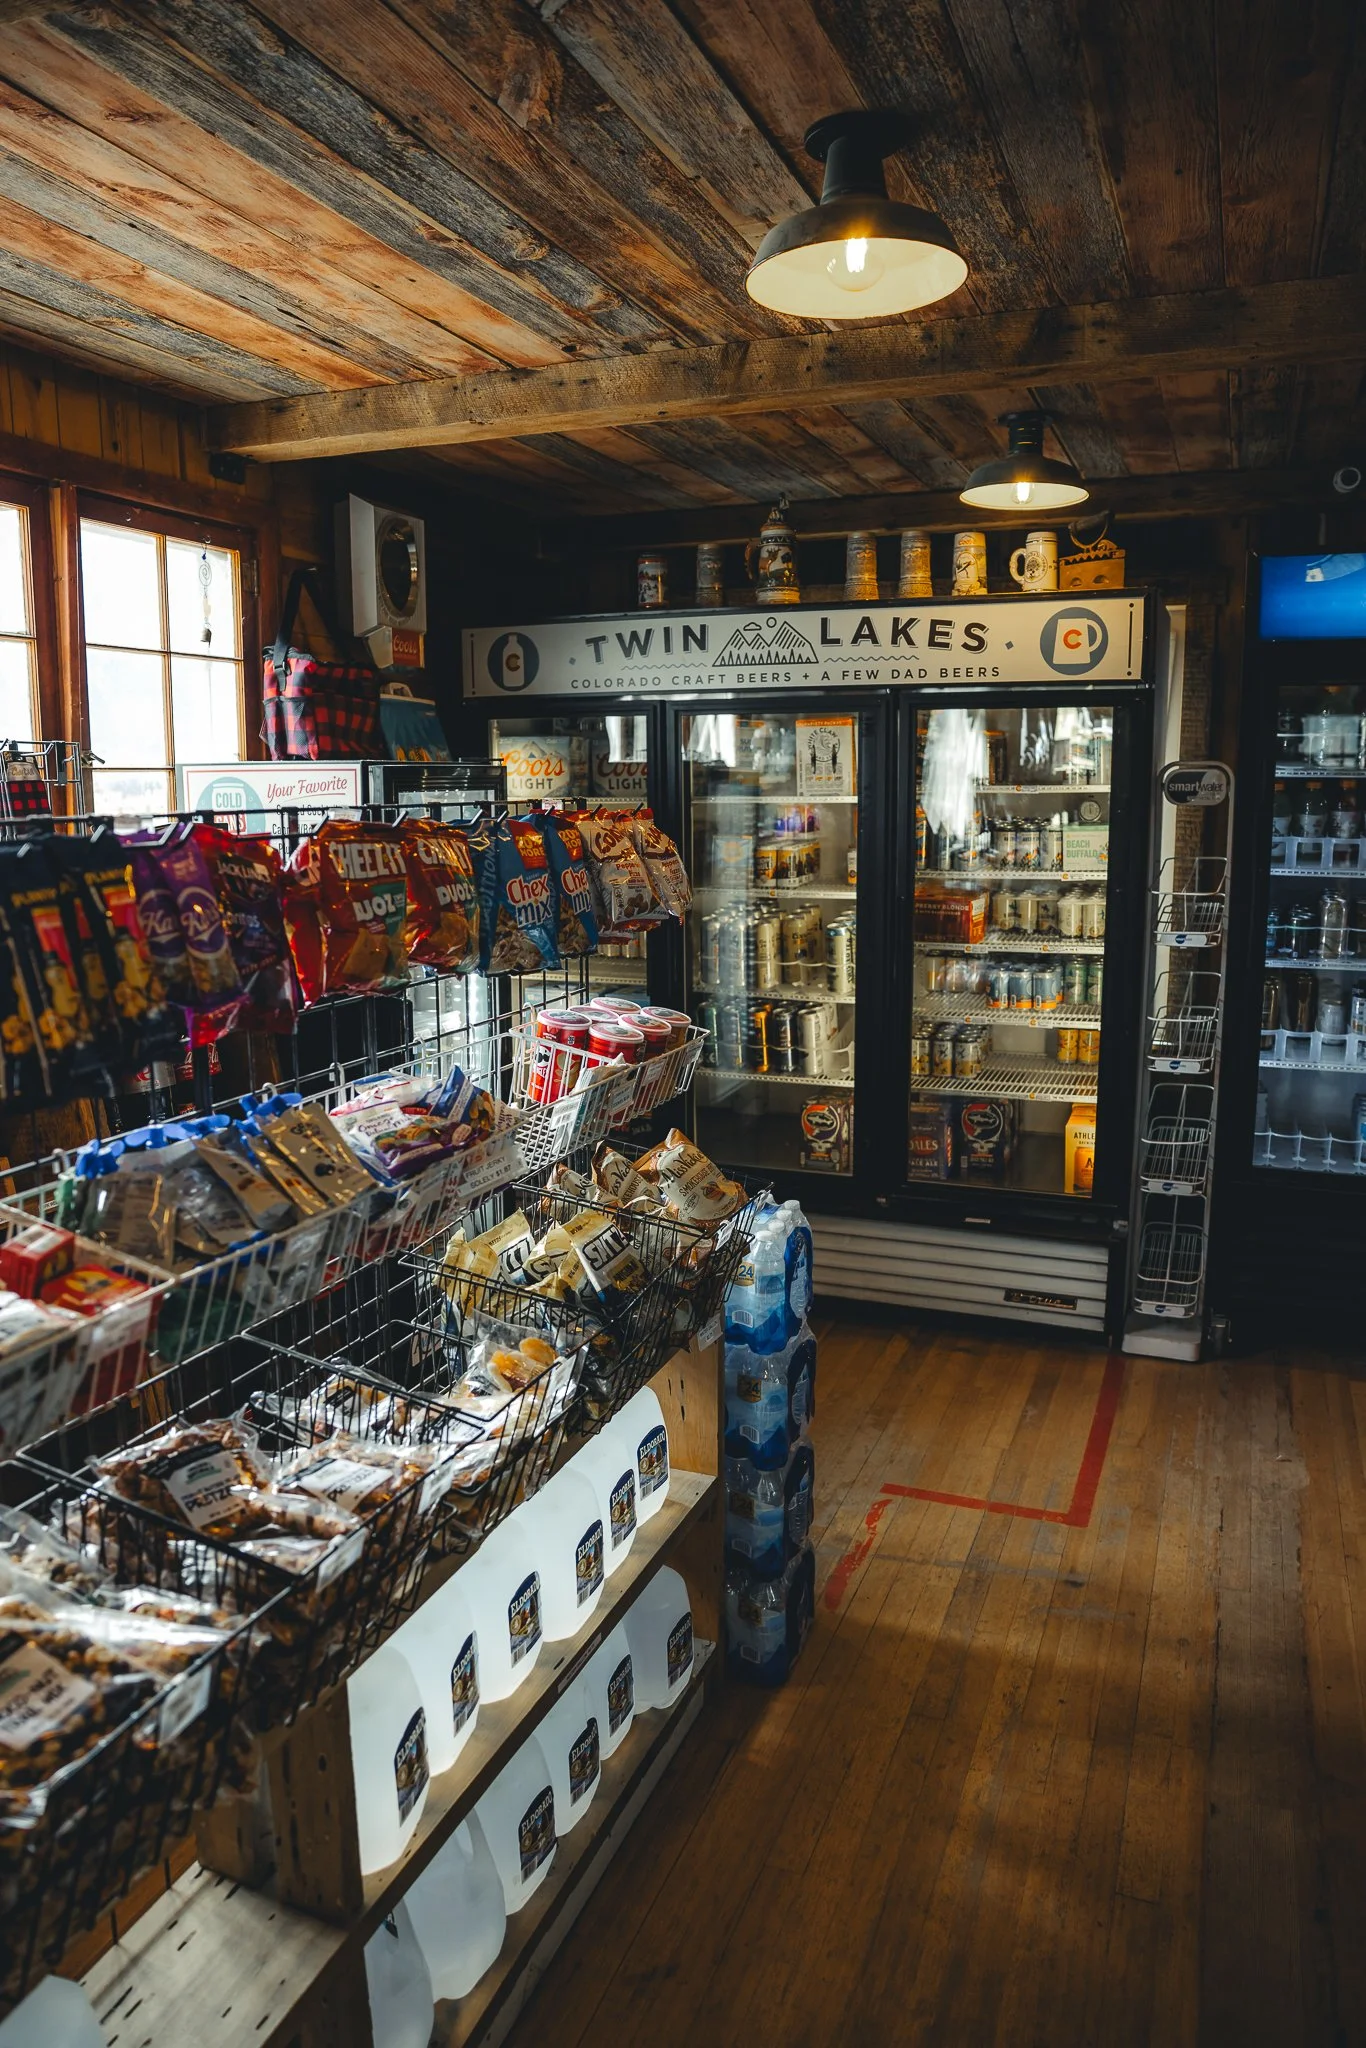
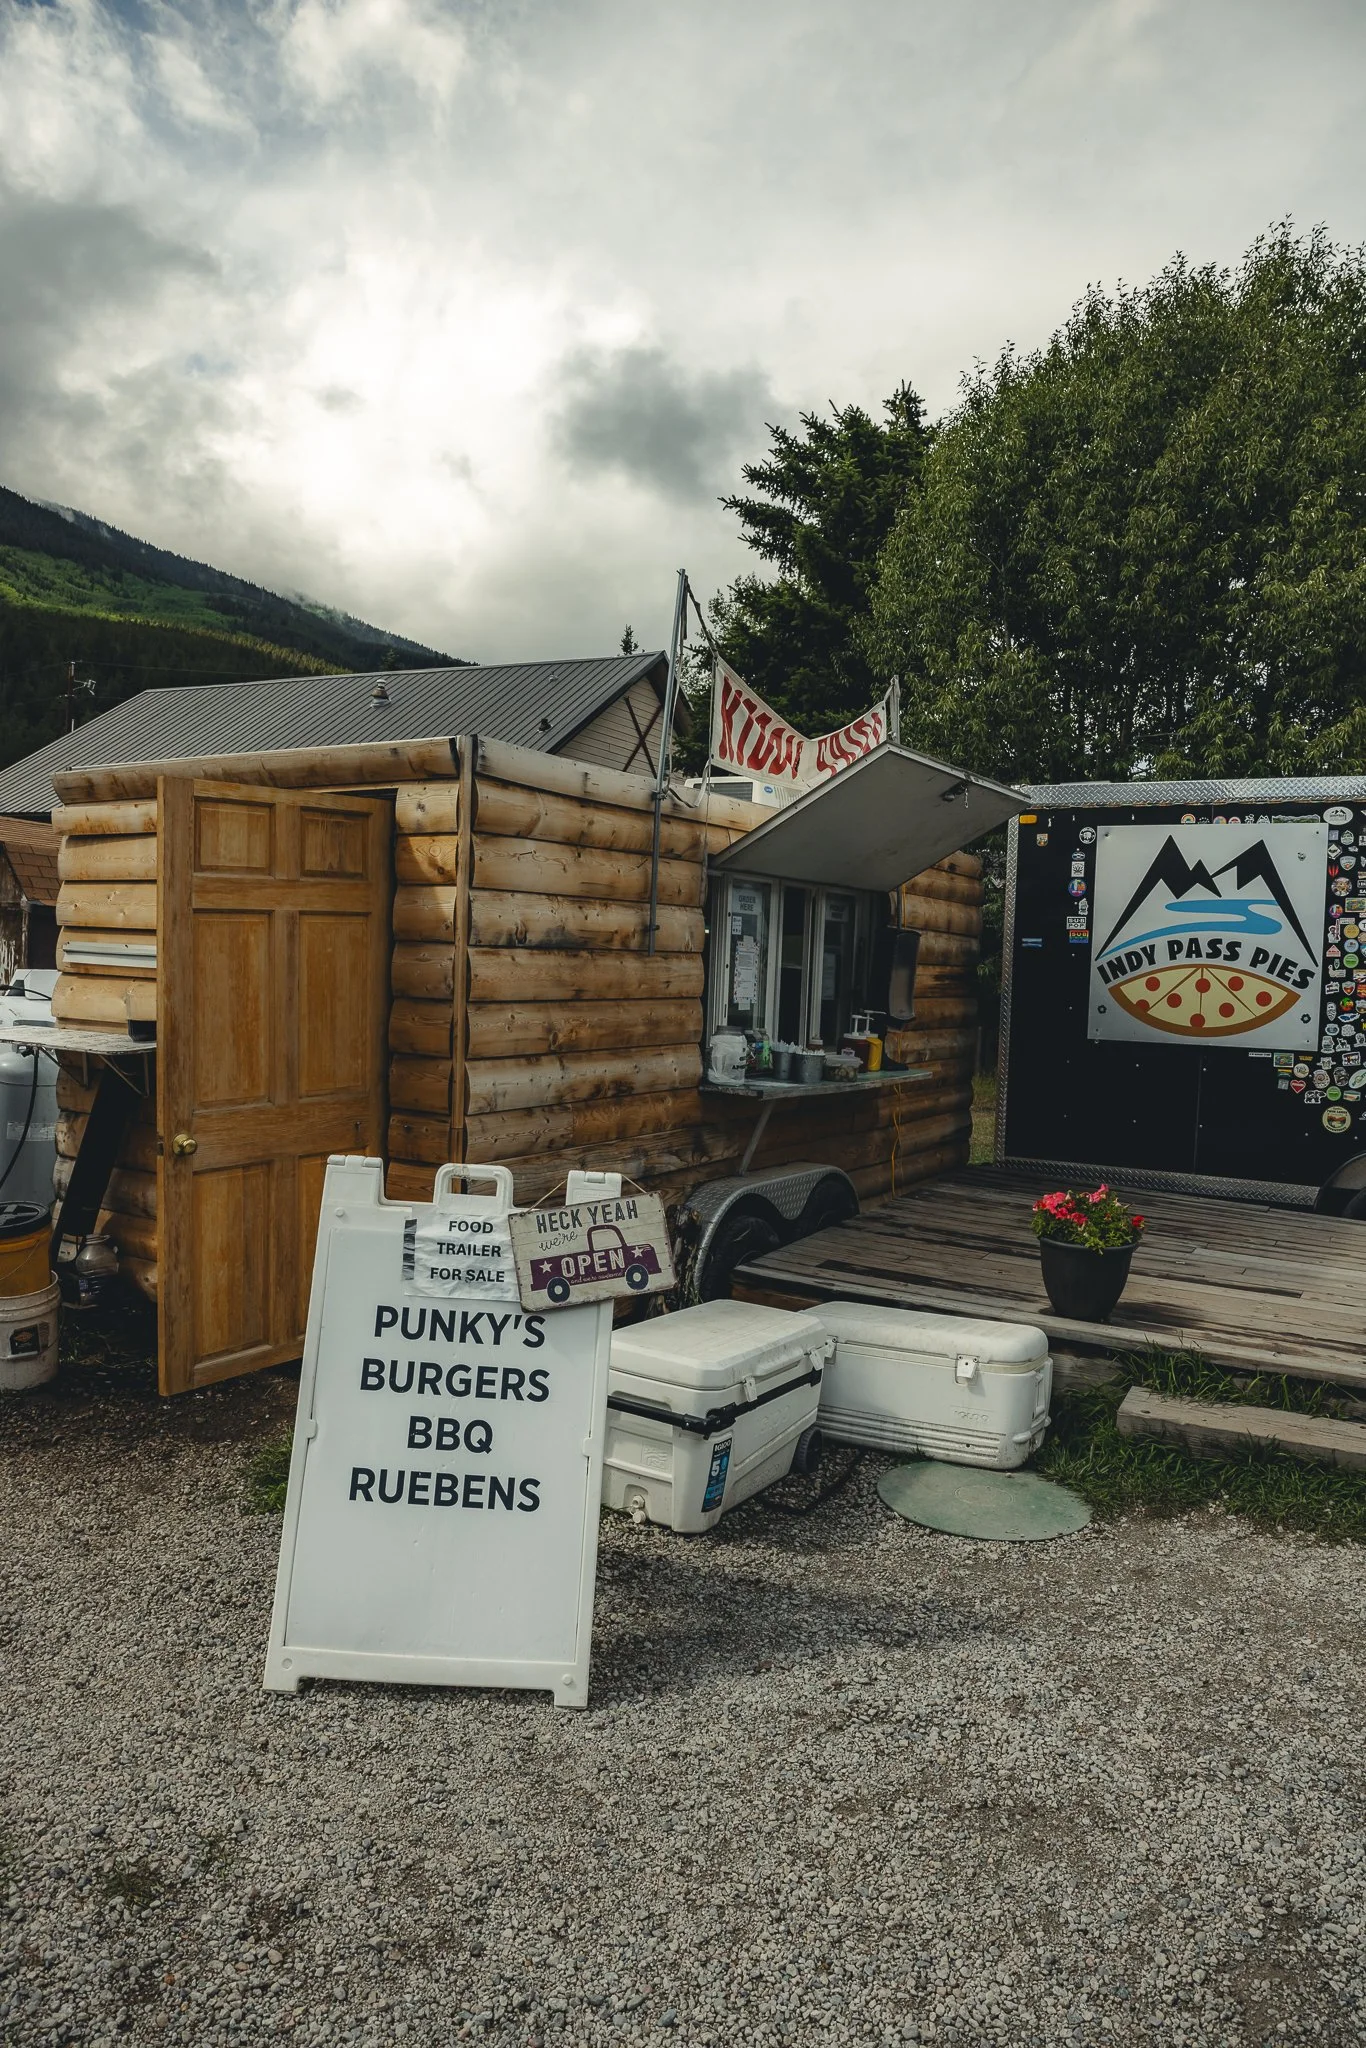
That’s it for for hiking Elbert, if you have any information to add or have questions, leave a comment below! If you’re looking for to grab some food after your hike (You’ll probably be hungry), at one of the food stands next to the Inn or the camp/grocery store that’s right there. If you liked the blog post subscribe to our email list below for more outdoor adventure info.
Looking for other hikes to do in the Twin Lakes area, check out A complete guide to the Interlaken Trail. Thanks for reading and I’ll see you on the next post!

Meet Jeremiah
Growing up, I loved being outside. I took a lot of cool trips with my family, whether it was camping, going to the beach, road trips, and national parks. Even though I didn’t fully appreciate those experiences at the time, as I got older I started getting more into the outdoors and traveling, reconnecting with my past. The feeling of traveling or going somewhere new always seems to give a sense of excitement or adventure.
Snowboarding and boardsports in general have been a passion of mine for over 20 years. I always loved the culture that came with it; from local retail shops to magazines and videos, to riding with friends as well as geeking out on the latest gear, it’s all part of the experience. After working in snowboard/outdoor gear shops for the past decade along with traveling to different outdoor places, I decided to put all of that experience in digital form to inspire and connect with other people.